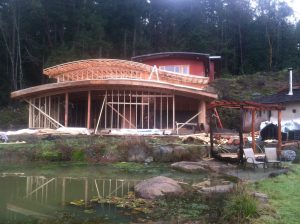
All of the internal walls of our straw bale house are shear walls- meaning that they are constructed to be structural panels that can resist lateral forces acting on them. Lateral forces are those that are parallel to the plane of the wall, and are typically wind and seismic loads. In simple terms, lateral forces could push over parallel structural panels of a building were it not for perpendicular shear walls keeping them upright. In our case, the external structure of the 2×4 framing with bales stacked as infill for the walls, does not meet the structural requirements that protect against racking, particularly as we live in a high seismic event zone. Our structual engineer calculated that we needed 36feet by 8feet of shear wall, which amounted to all of the interior walls in our house. After building our walls with plywood on one side and a LOT of nails, as well as metal brackets from the foundation to the end of each wall and strapping over blocking in the ceiling rafters of the main room, we were good to go.
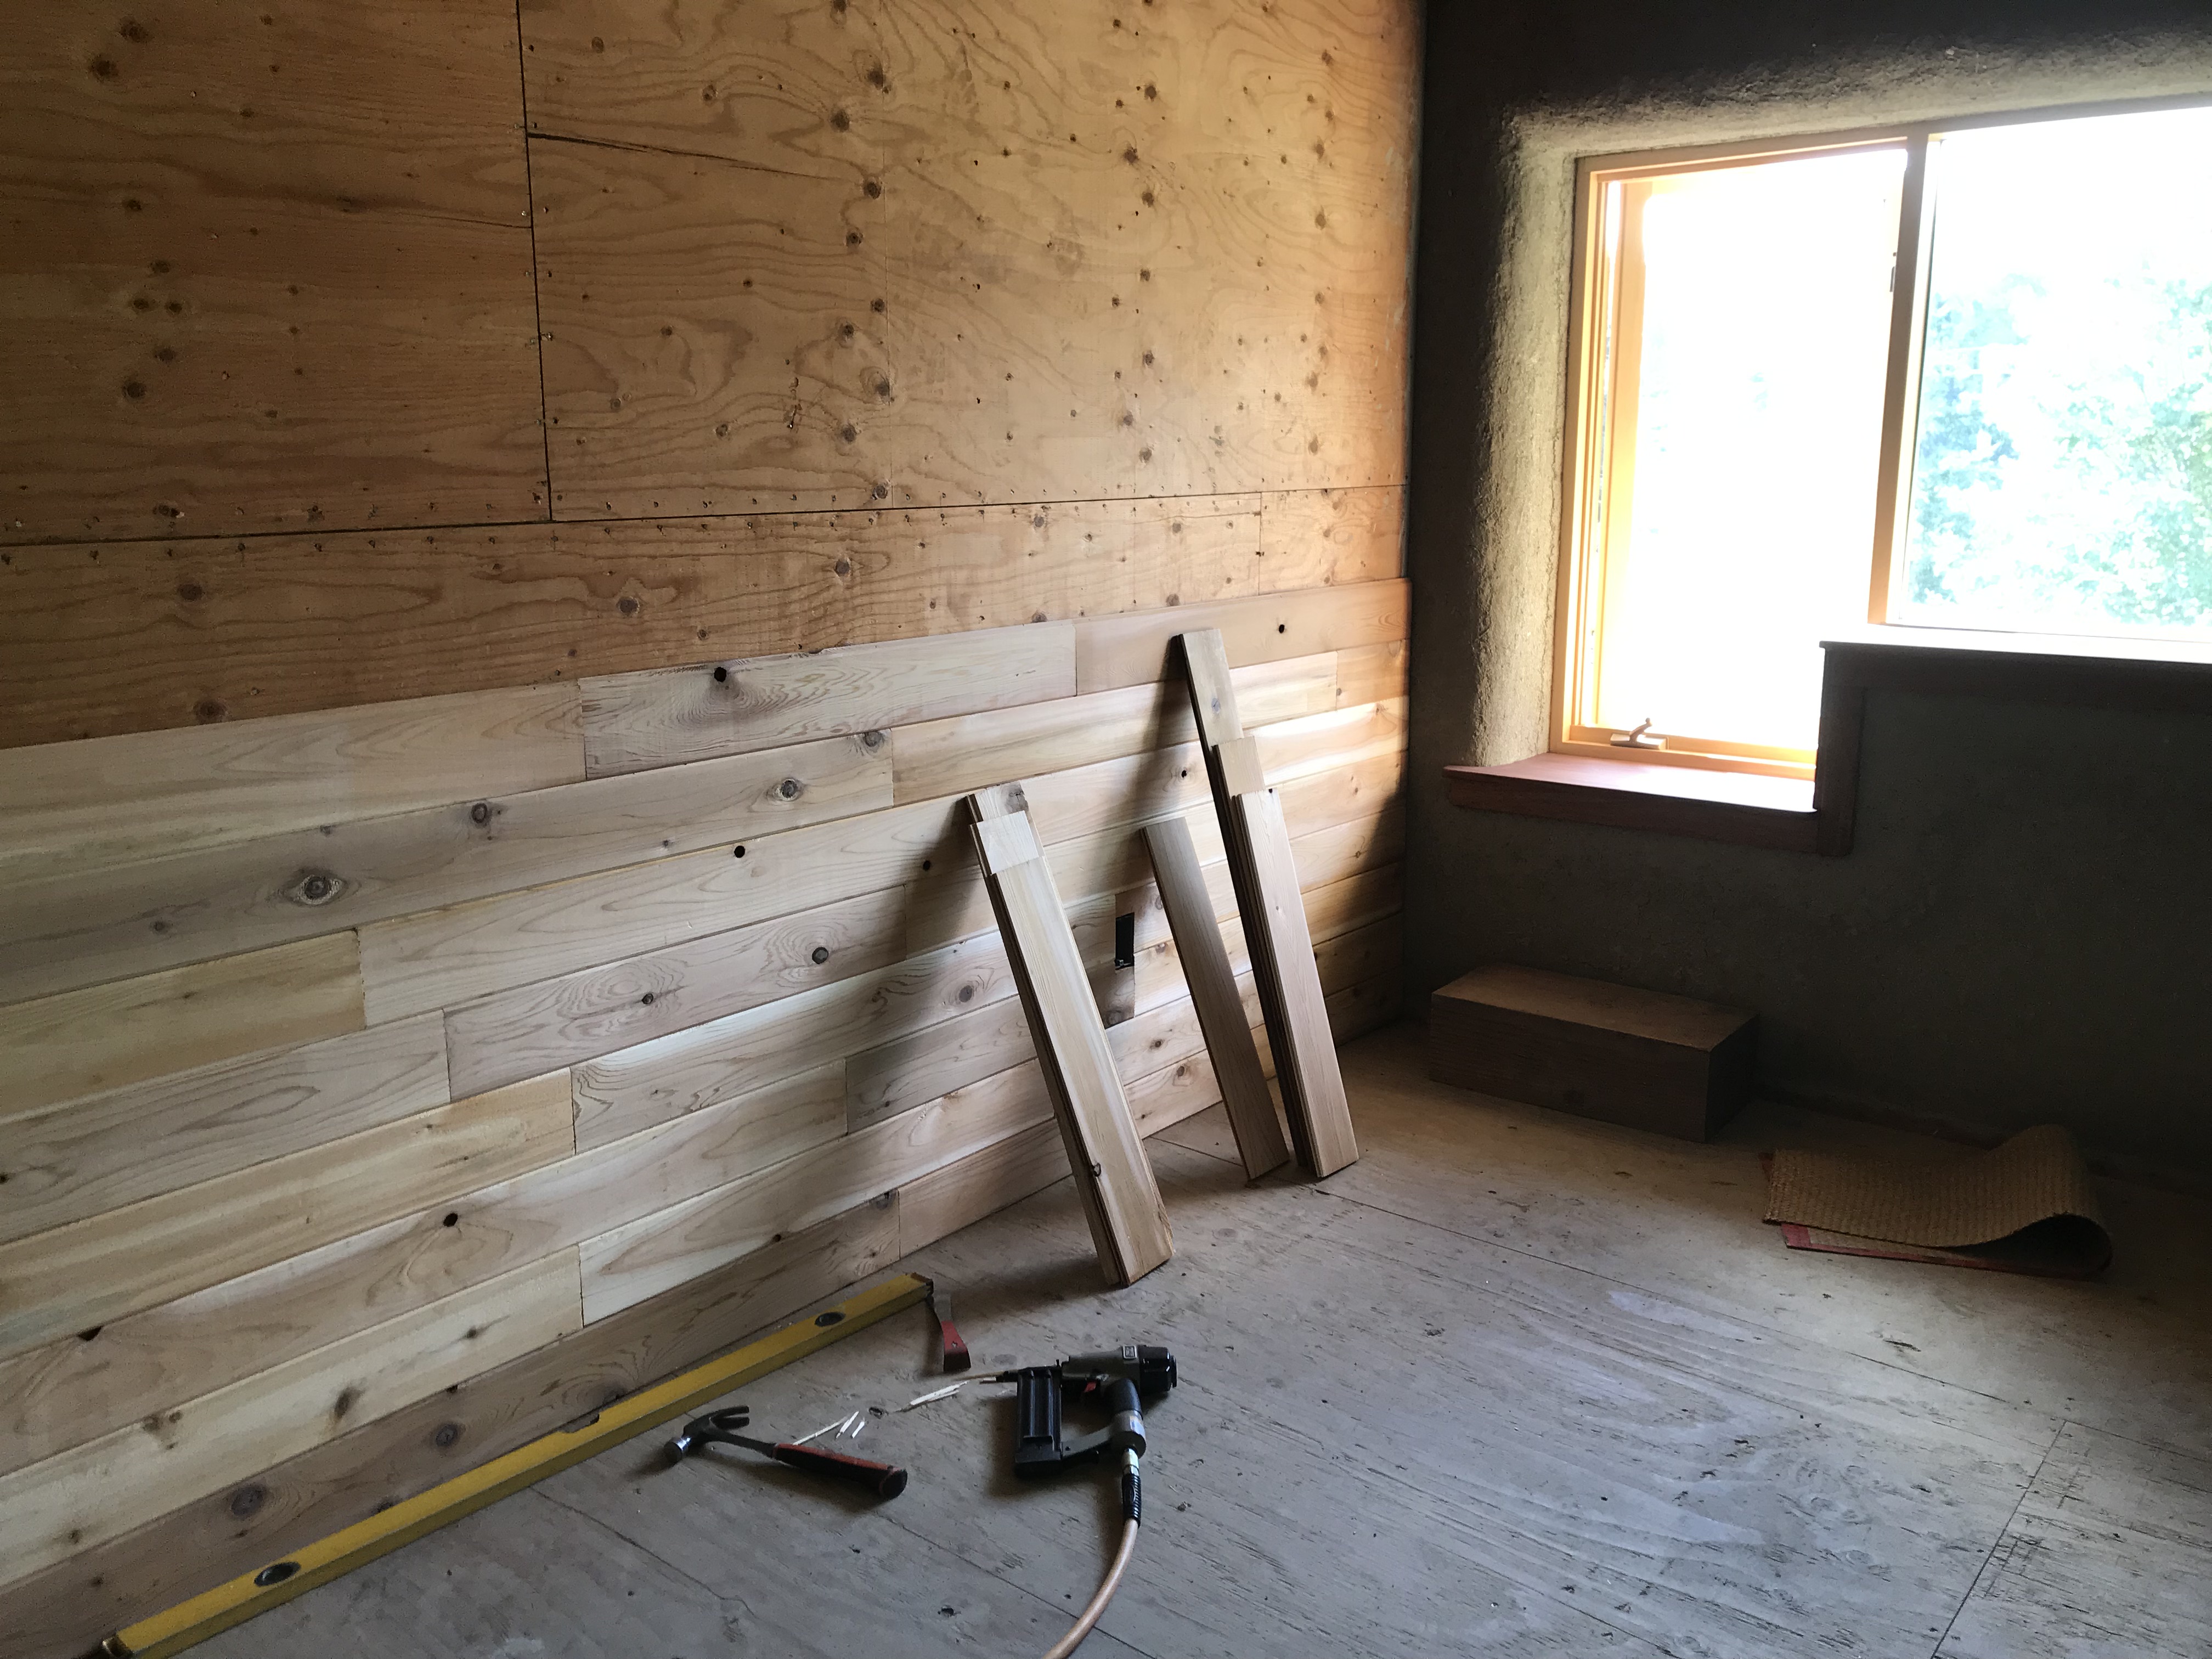

Mostly, these internal walls occur around the bedrooms, the utility room and staircase. The lower room of the house is basically one big open area, with shear walls separating the mudroom and utility room. We decided to buy some tongue and groove cedar and cover all the plywood with it, so we found a whole lift of 5inch wide cedar that was rather rough, meaning lots of knots (and knot holes) cracks, scrapes, scuff marks, discoloration, but in a general state of usability and affordable!
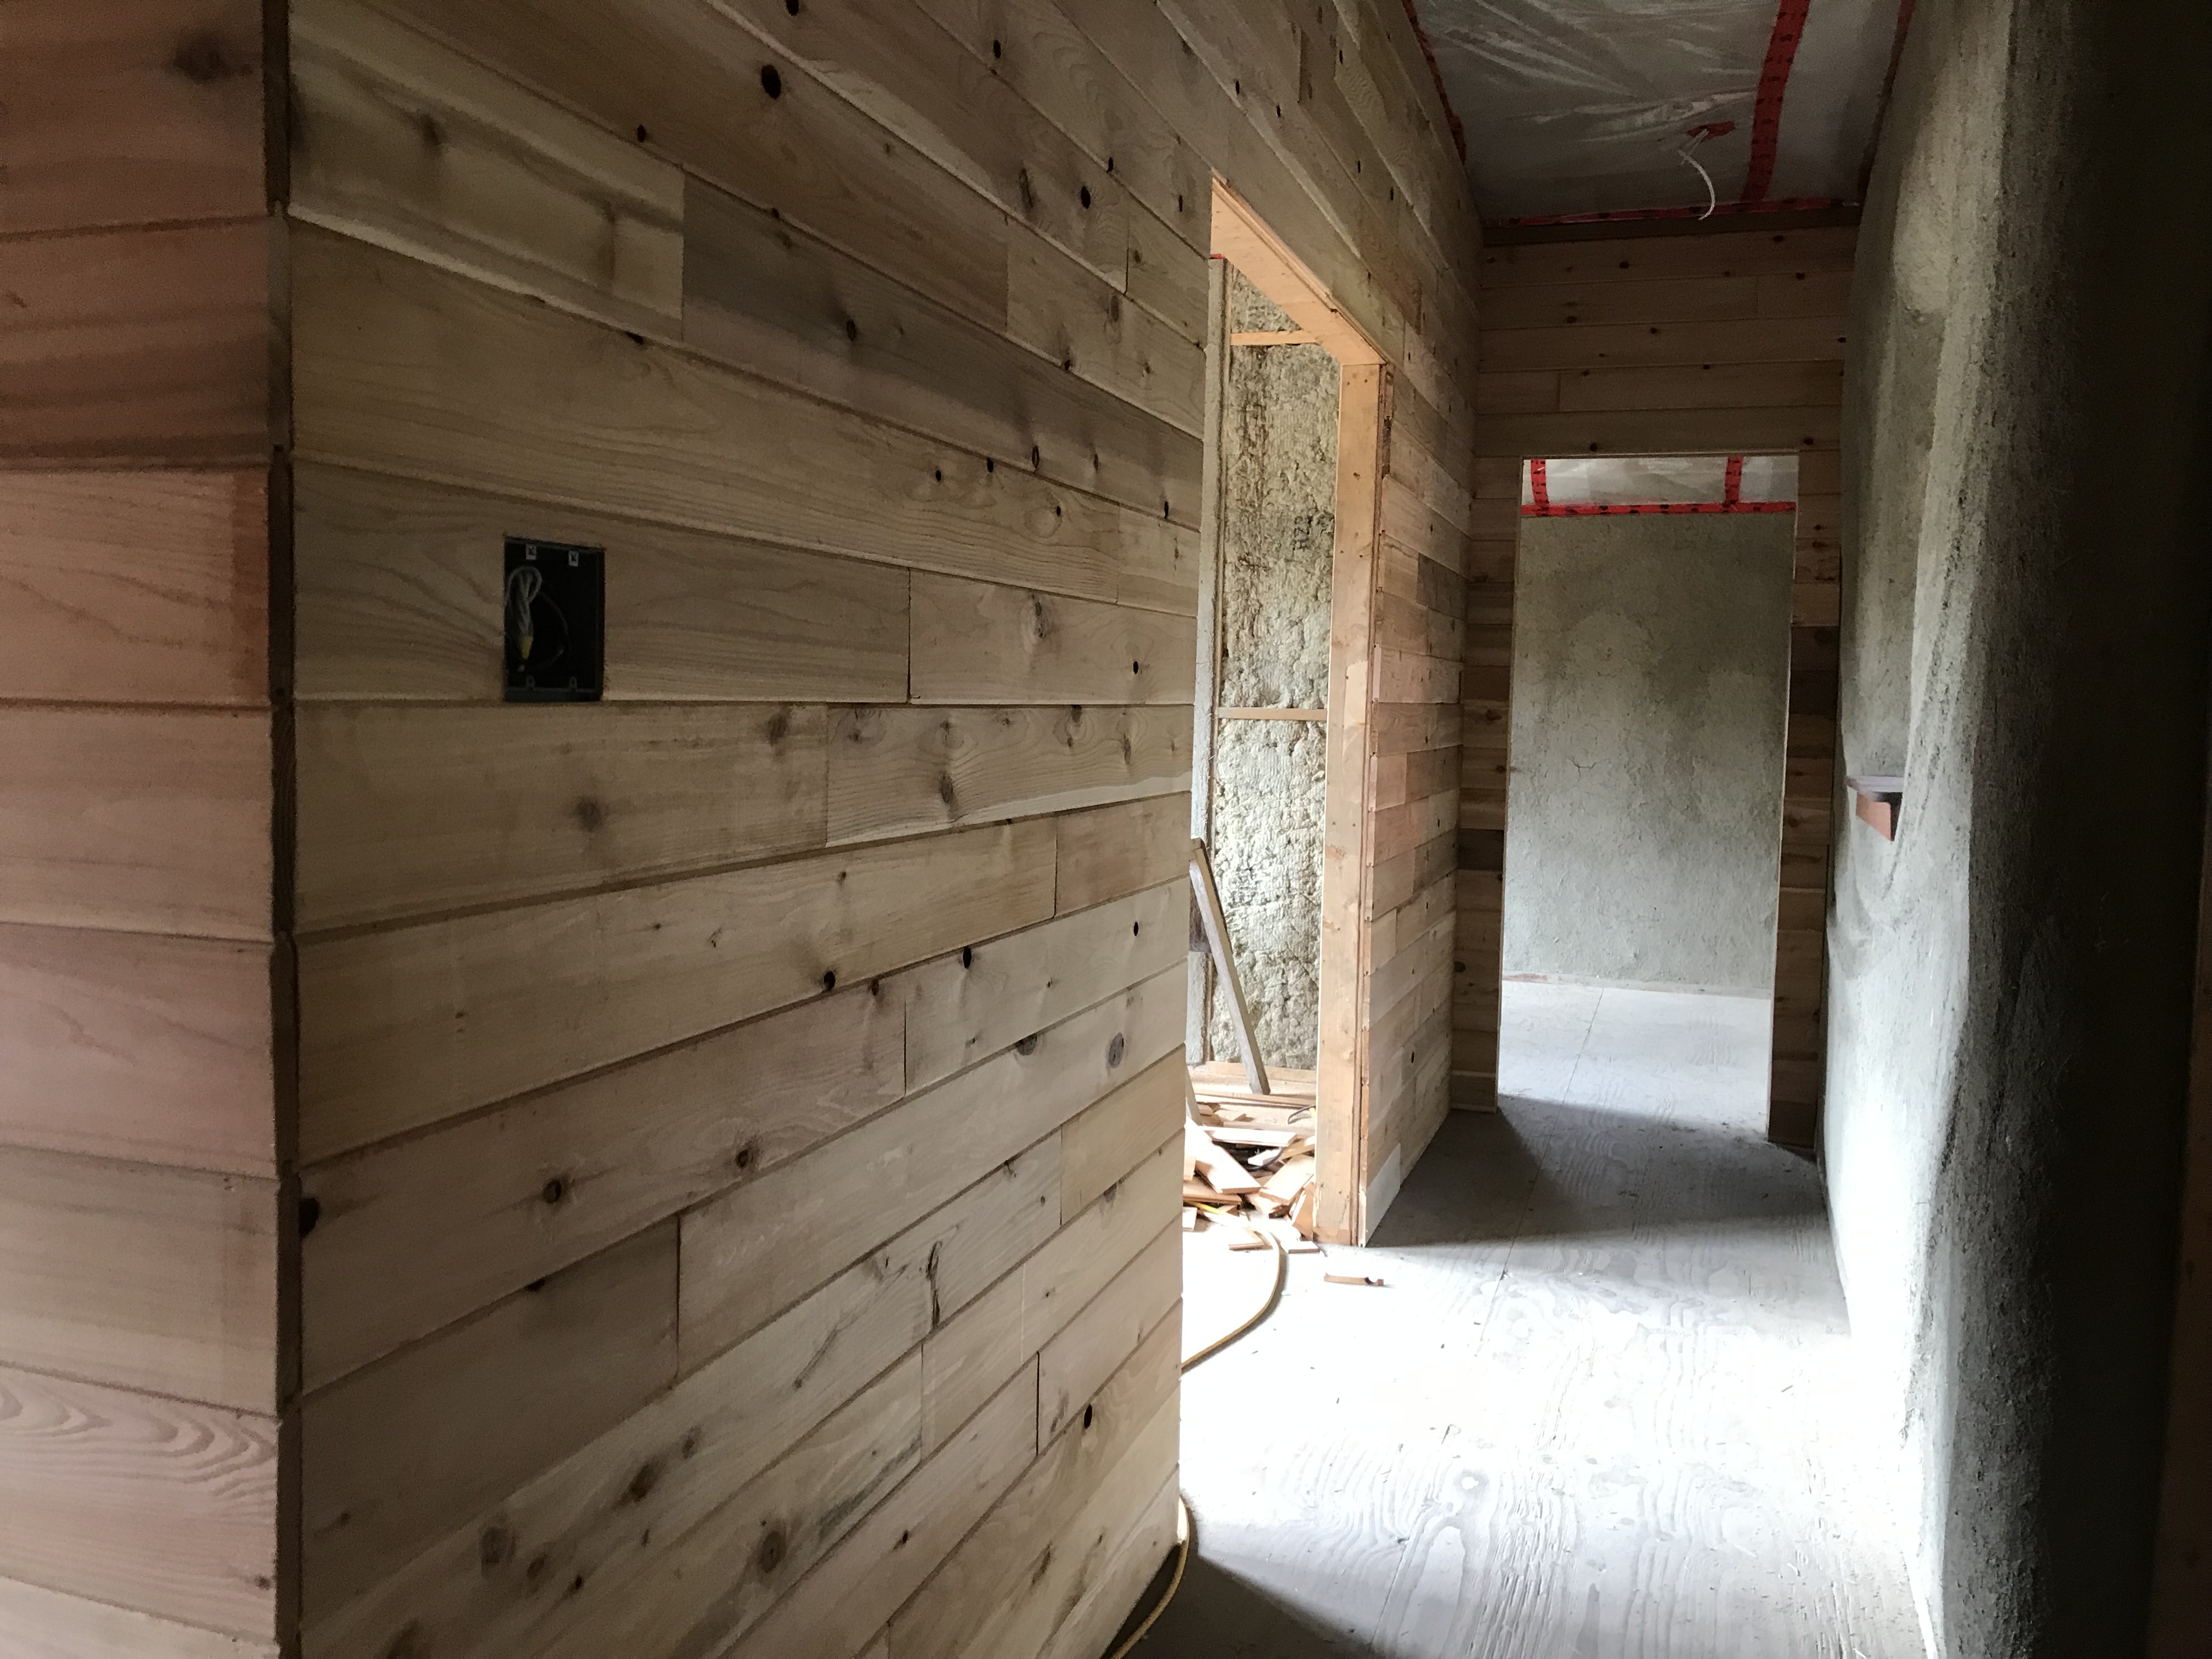
For the upstairs bedroom/hallway zone we pulled the best of the pile and used a clear natural stain product called Osmo as a finish. Luckily, with the solid plywood wall it really didn’t matter about the length of the wood. We finished the passage that connects to the upper house, which then took on a bit of a sauna feel, seeing as the ceiling is also cedar.
One of my original ideas for covering these walls was to use old pallet wood, and so to create a rustic, upcycled look by painting or colour staining the pallet material. This seemed like a good cheap option but ultimately we decided that it would be way too much work for the amount of wall we needed to cover. However I was still interested in adding a coloured stain to the cedar, which was all rather rough looking anyways. I experimented with creating multiple colour tones using blue, white, and grey water based stains from Saman, which was really easy to use and gave a nice palette. I prestained a whole bunch of boards, finished them afterwards with the same Osmo natural oil stain, and then assembled them on the walls from the mudroom, into the kitchen and then up the staircase on either side. Because the ceiling was made of uncoloured cedar, I decided to arrange the colour tones from dark at the bottom to light at the top, effectively fading into the clear boards before they hit the ceiling.


It was a fun experiment, and I think the blue, grey, and white palette creates a fun feature amoung the neutrality of the white/grey tone of the natural plaster which will cover the straw bale walls. I hadn’t really pre-thought the interior decor of this house, at least not as a priority, but as we move along into the finishing phases it is really fun to choose materials not only for their price and availability, but also for their attributes of atmosphere and tone.
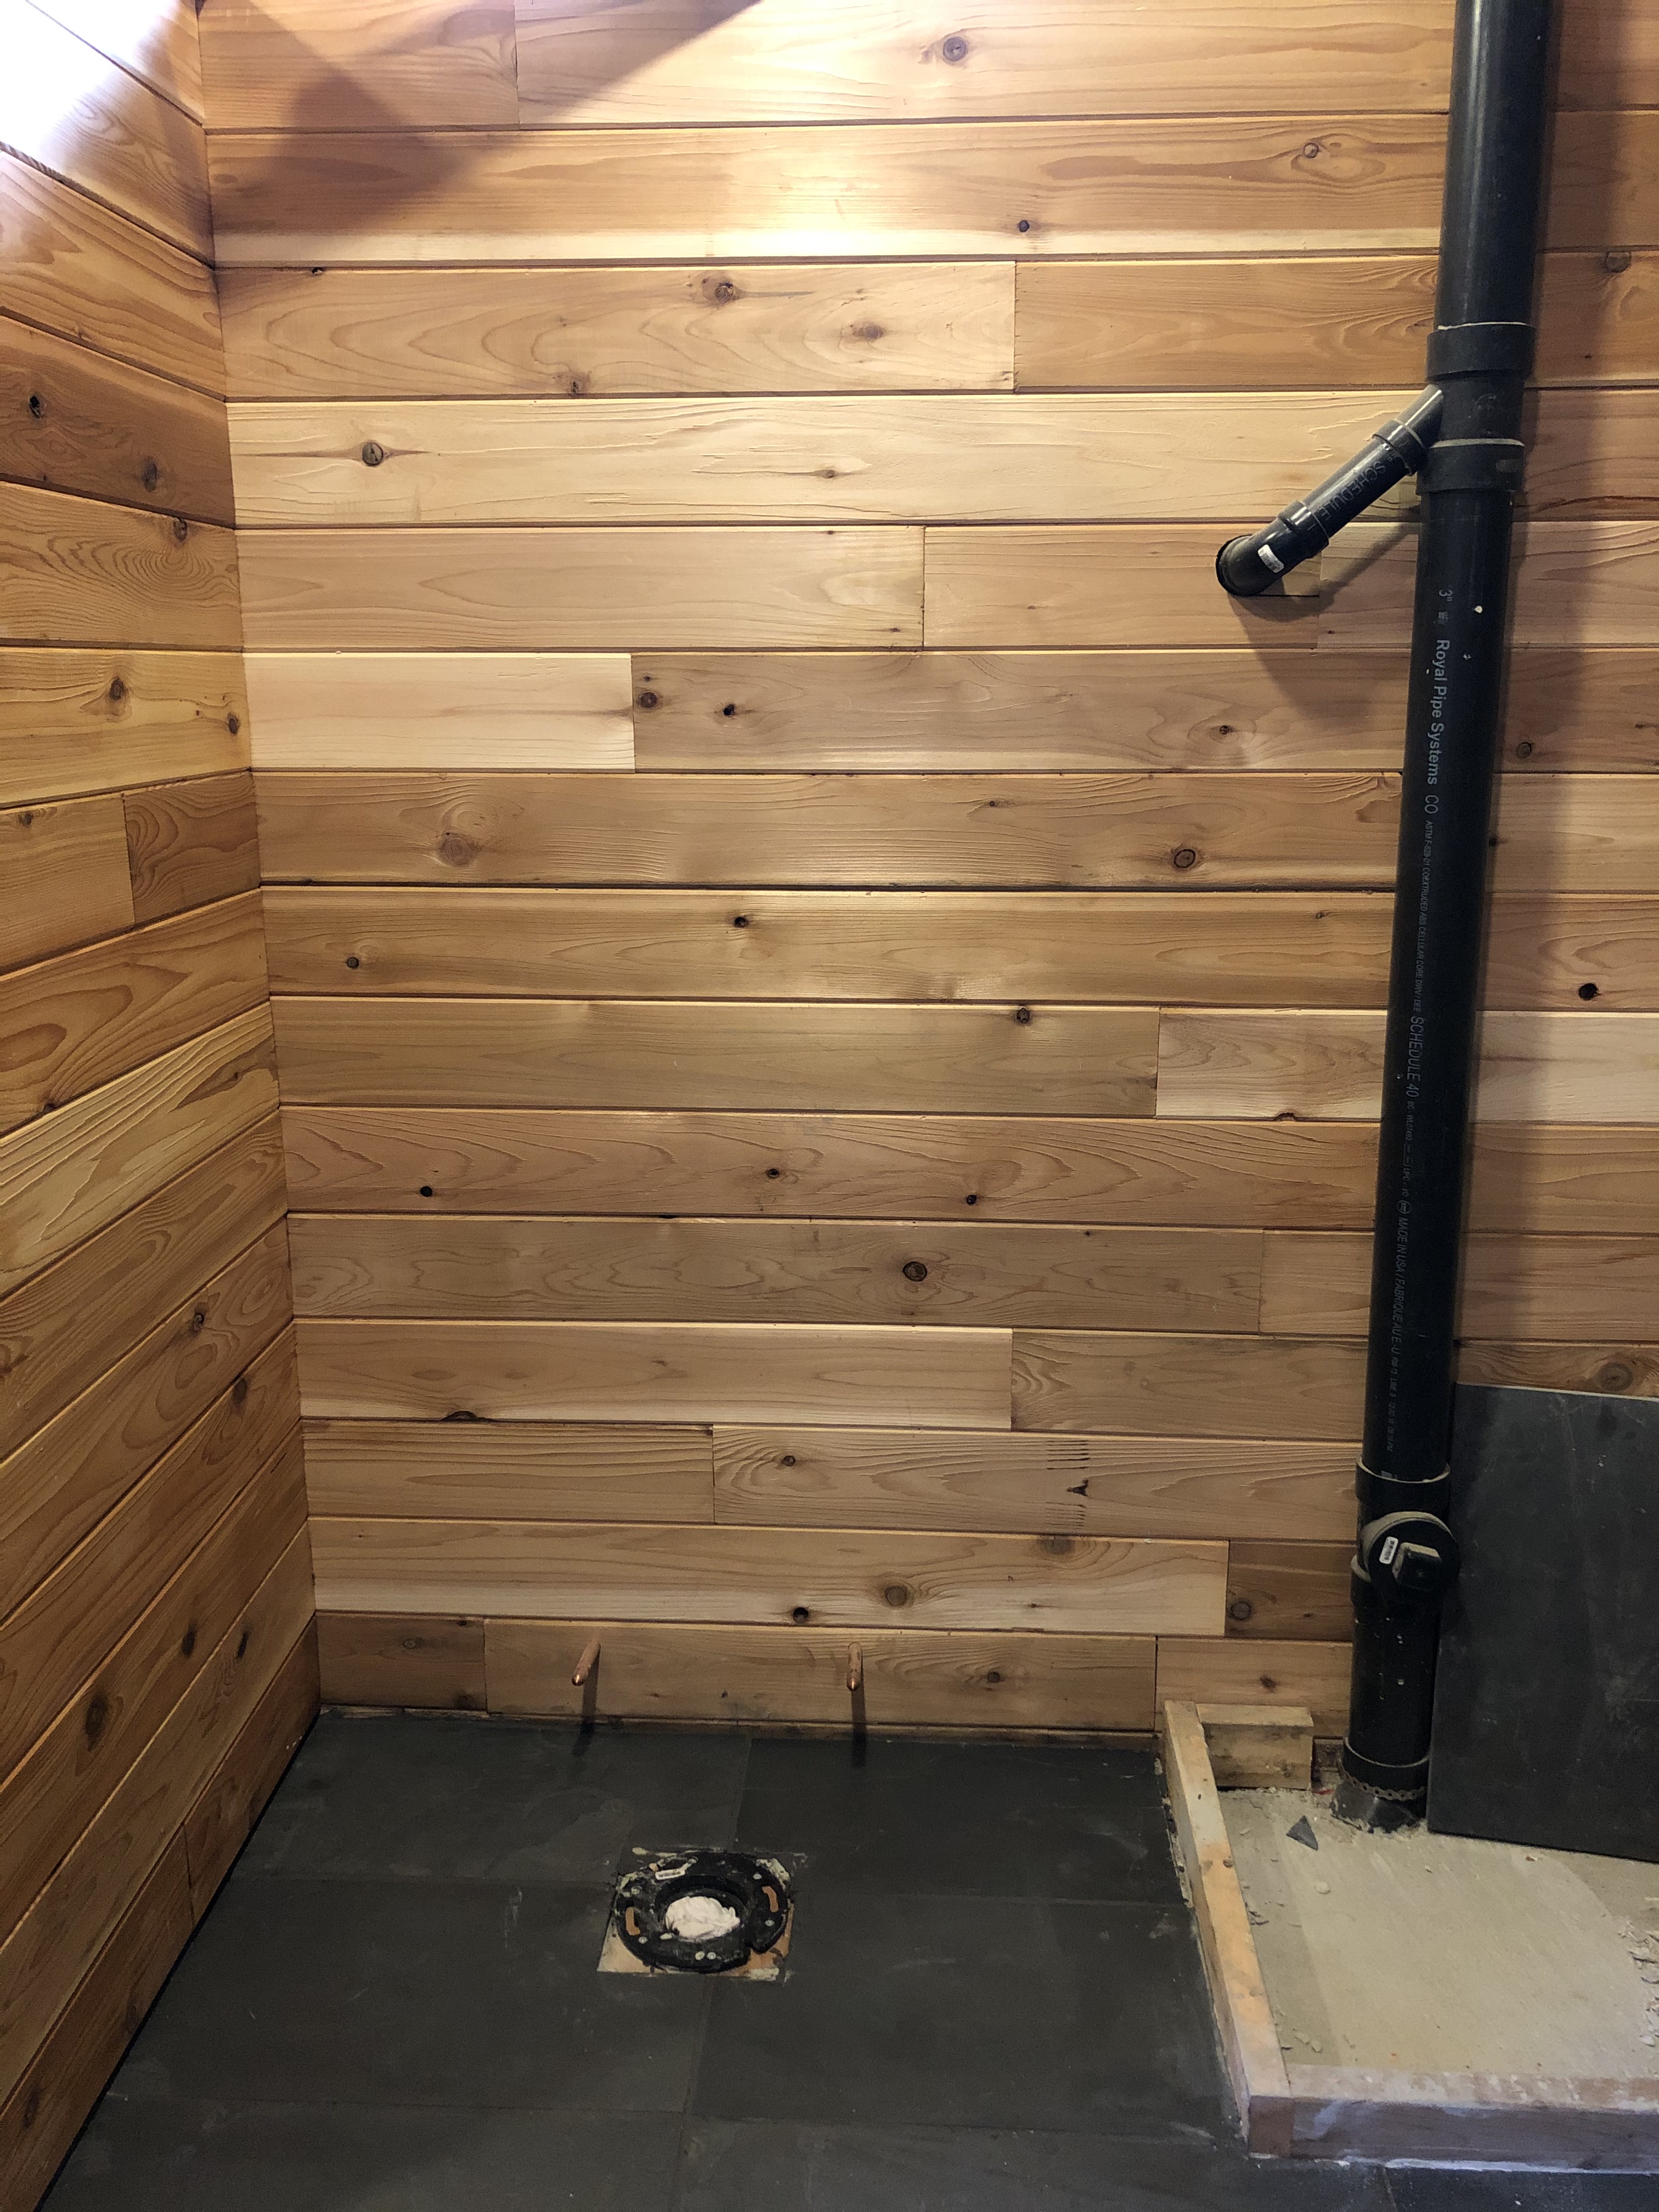
We had a lot of this cedar leftover, so we also used it to finish some of the framed bathroom walls which create the toilet corner. Also, the we used it for the walls inside the utility room, which didn’t need to be beautiful, and despite the roughest boards being used in this room, looks surprisingly decent for a utility room.