Ceiling Layers

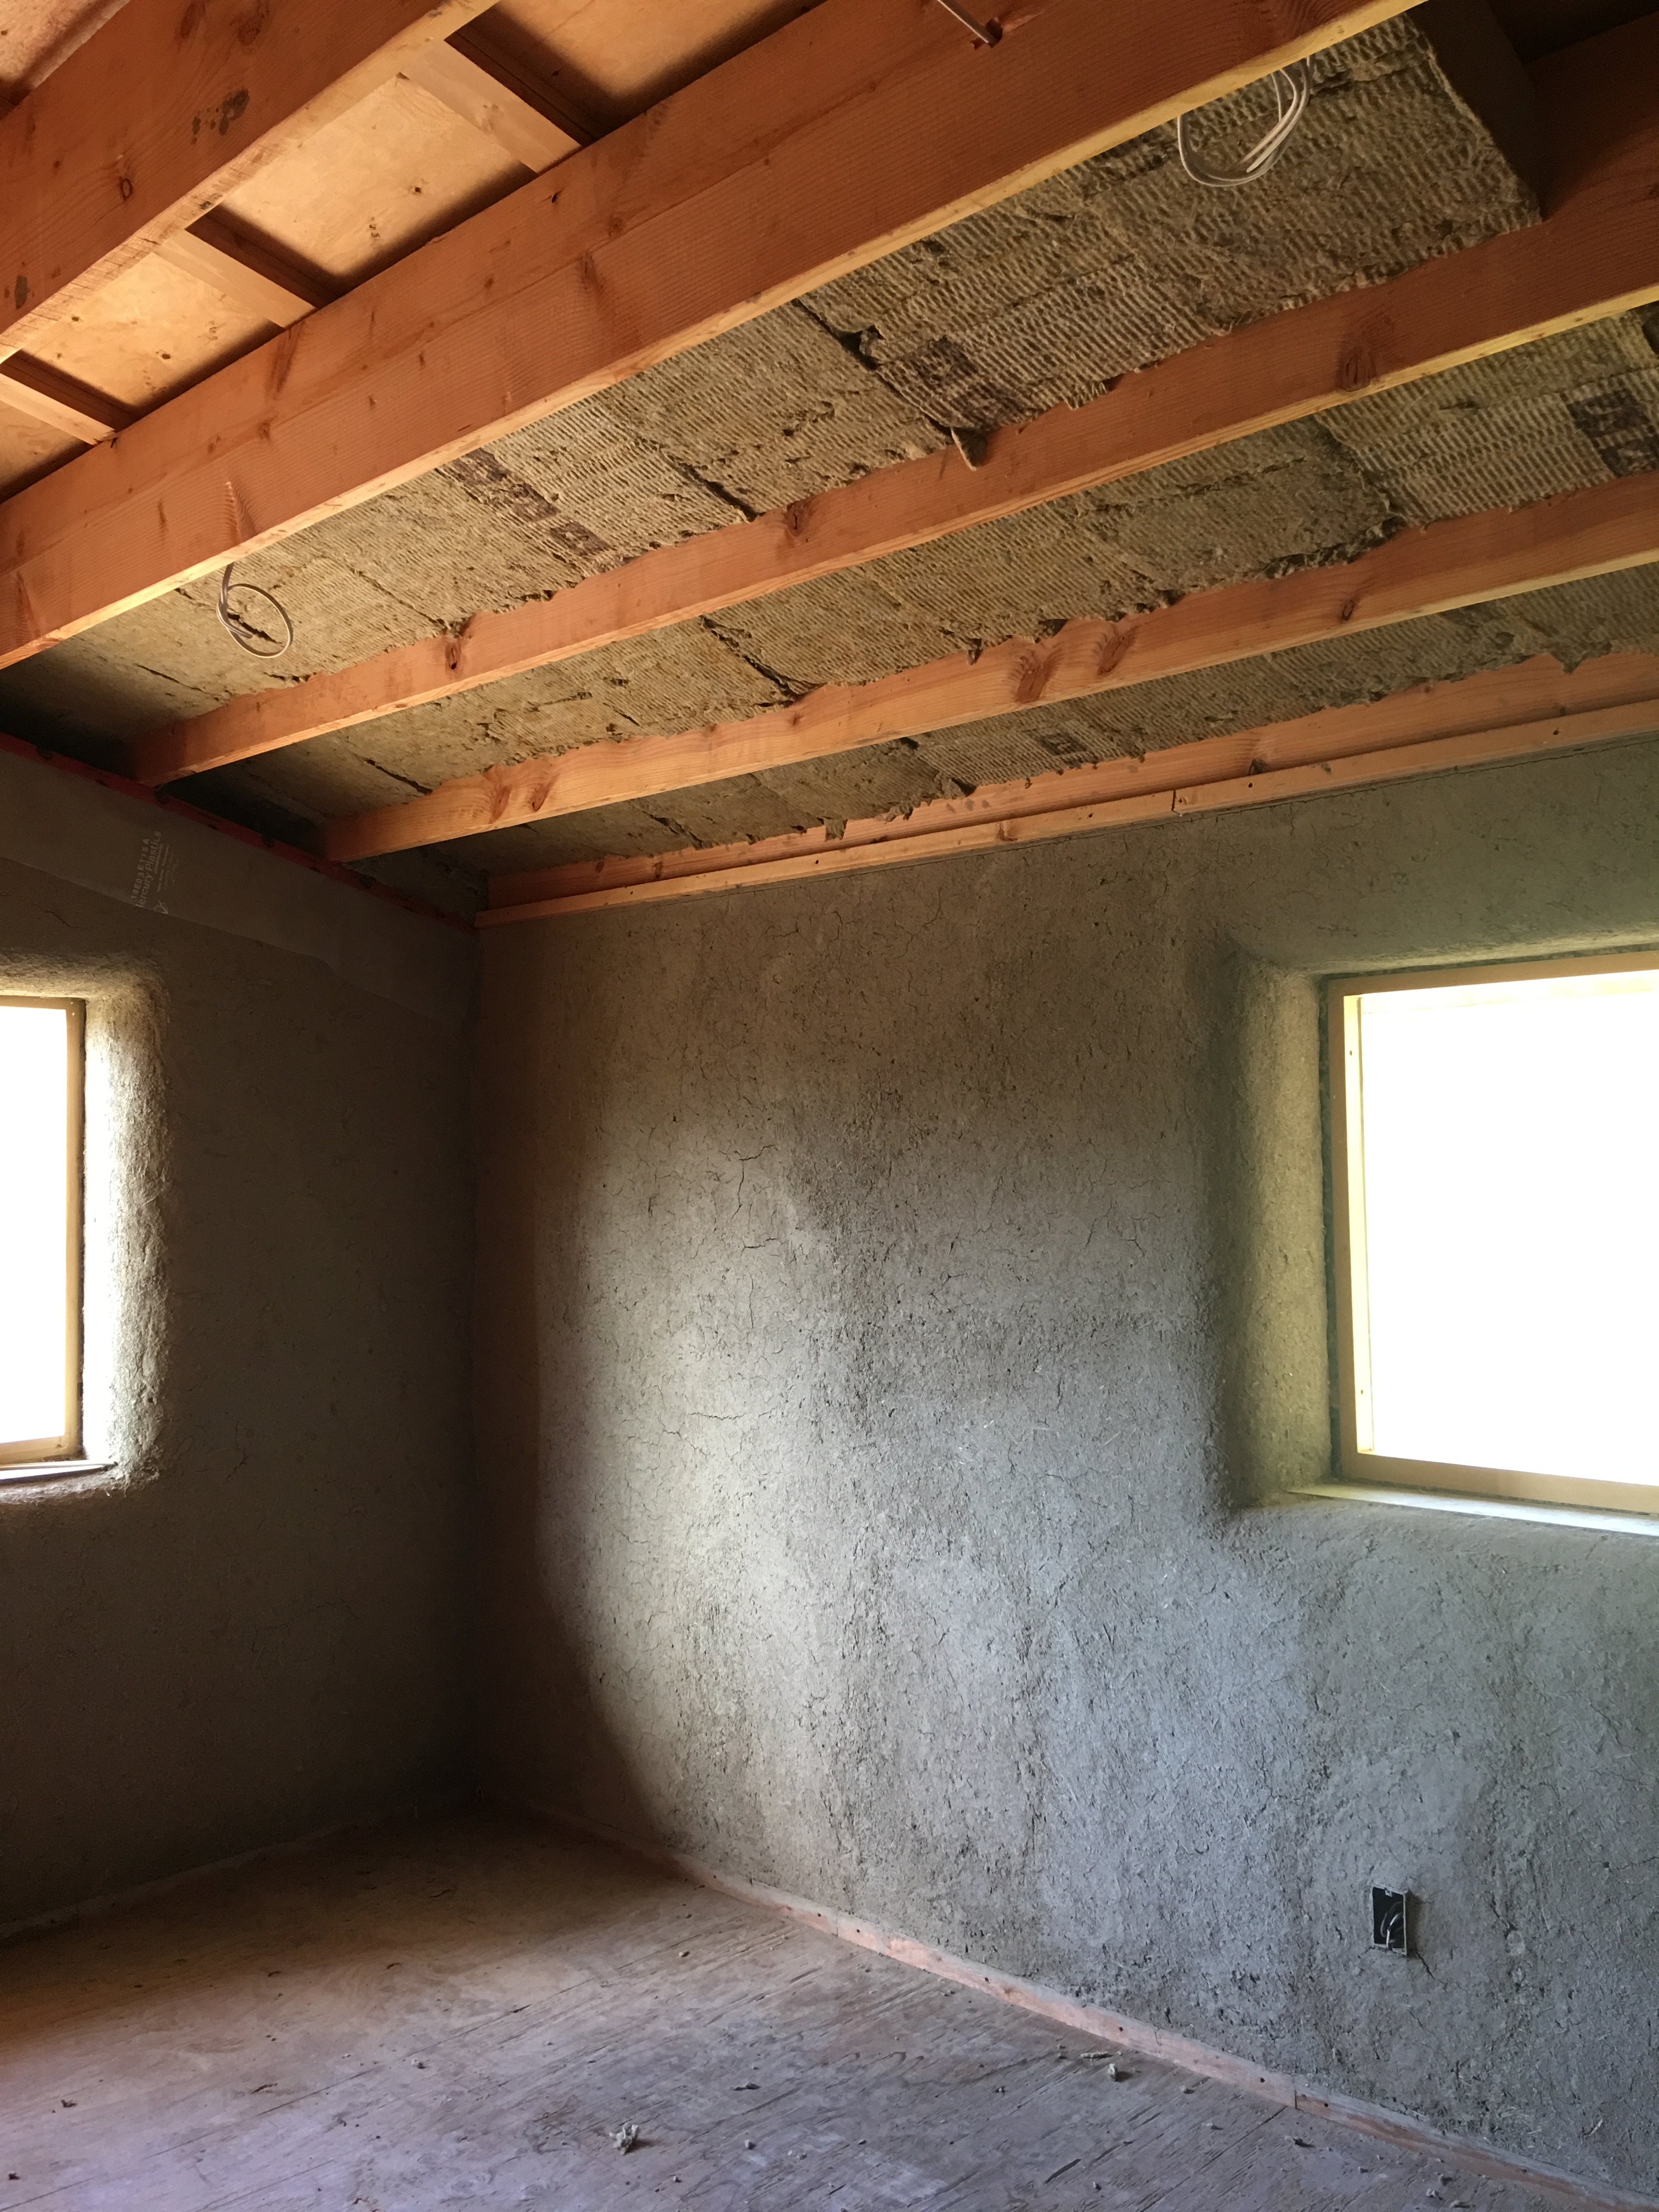
Getting the ceiling finished was the next important step, allowing for lights to be turned on so we could work past daylight hours, and enabling us to finish the walls with the final plaster. We were also keen to get the insulation above our heads as soon as possible, since the cold space of the addition was effecting our heating abilities in the finished part.

We did the same as before, adding 10 inches of rock wool insulation in two layers- R14 and then R22, giving us a total value of R36 above our heads. Since the strawbale walls are somewhere around R35-40, it made sense to match that in the ceiling, even though it is way above code for this area, is twice as much work to install, and ups the cost of the insulation dramatically. We did the same in the first build and are incredibly happy with the heating and cooling effect of the high insulation.

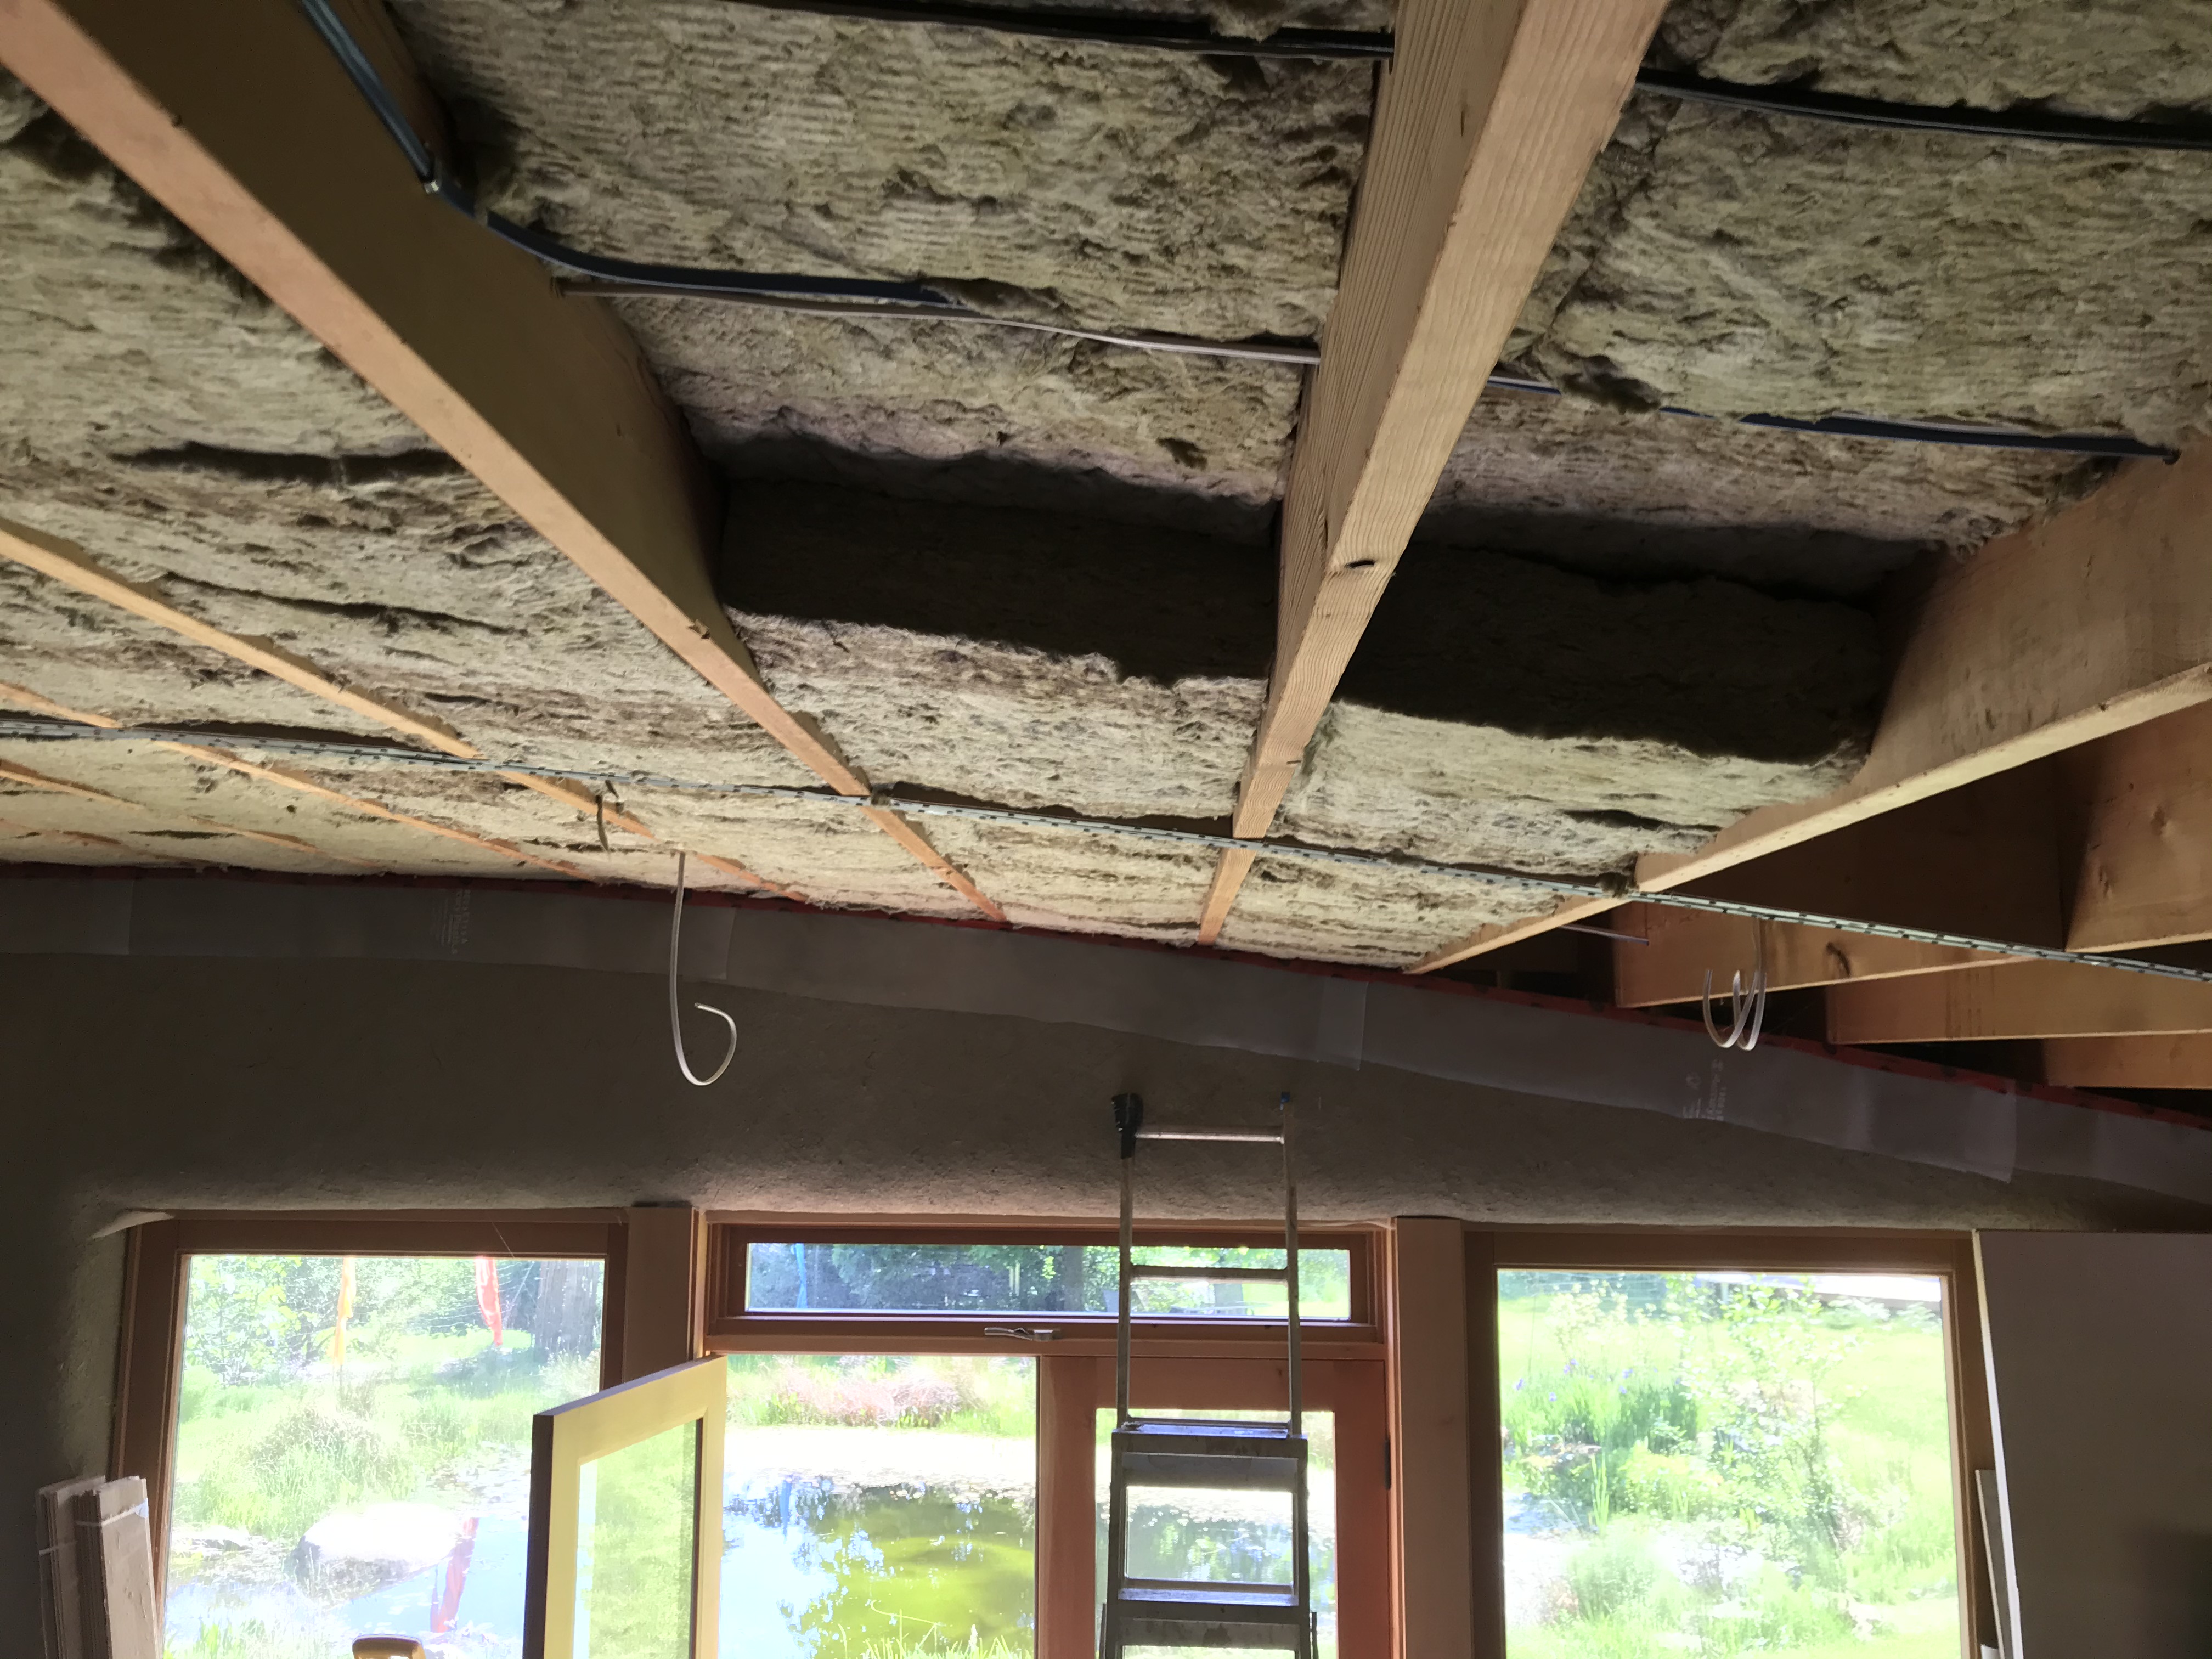
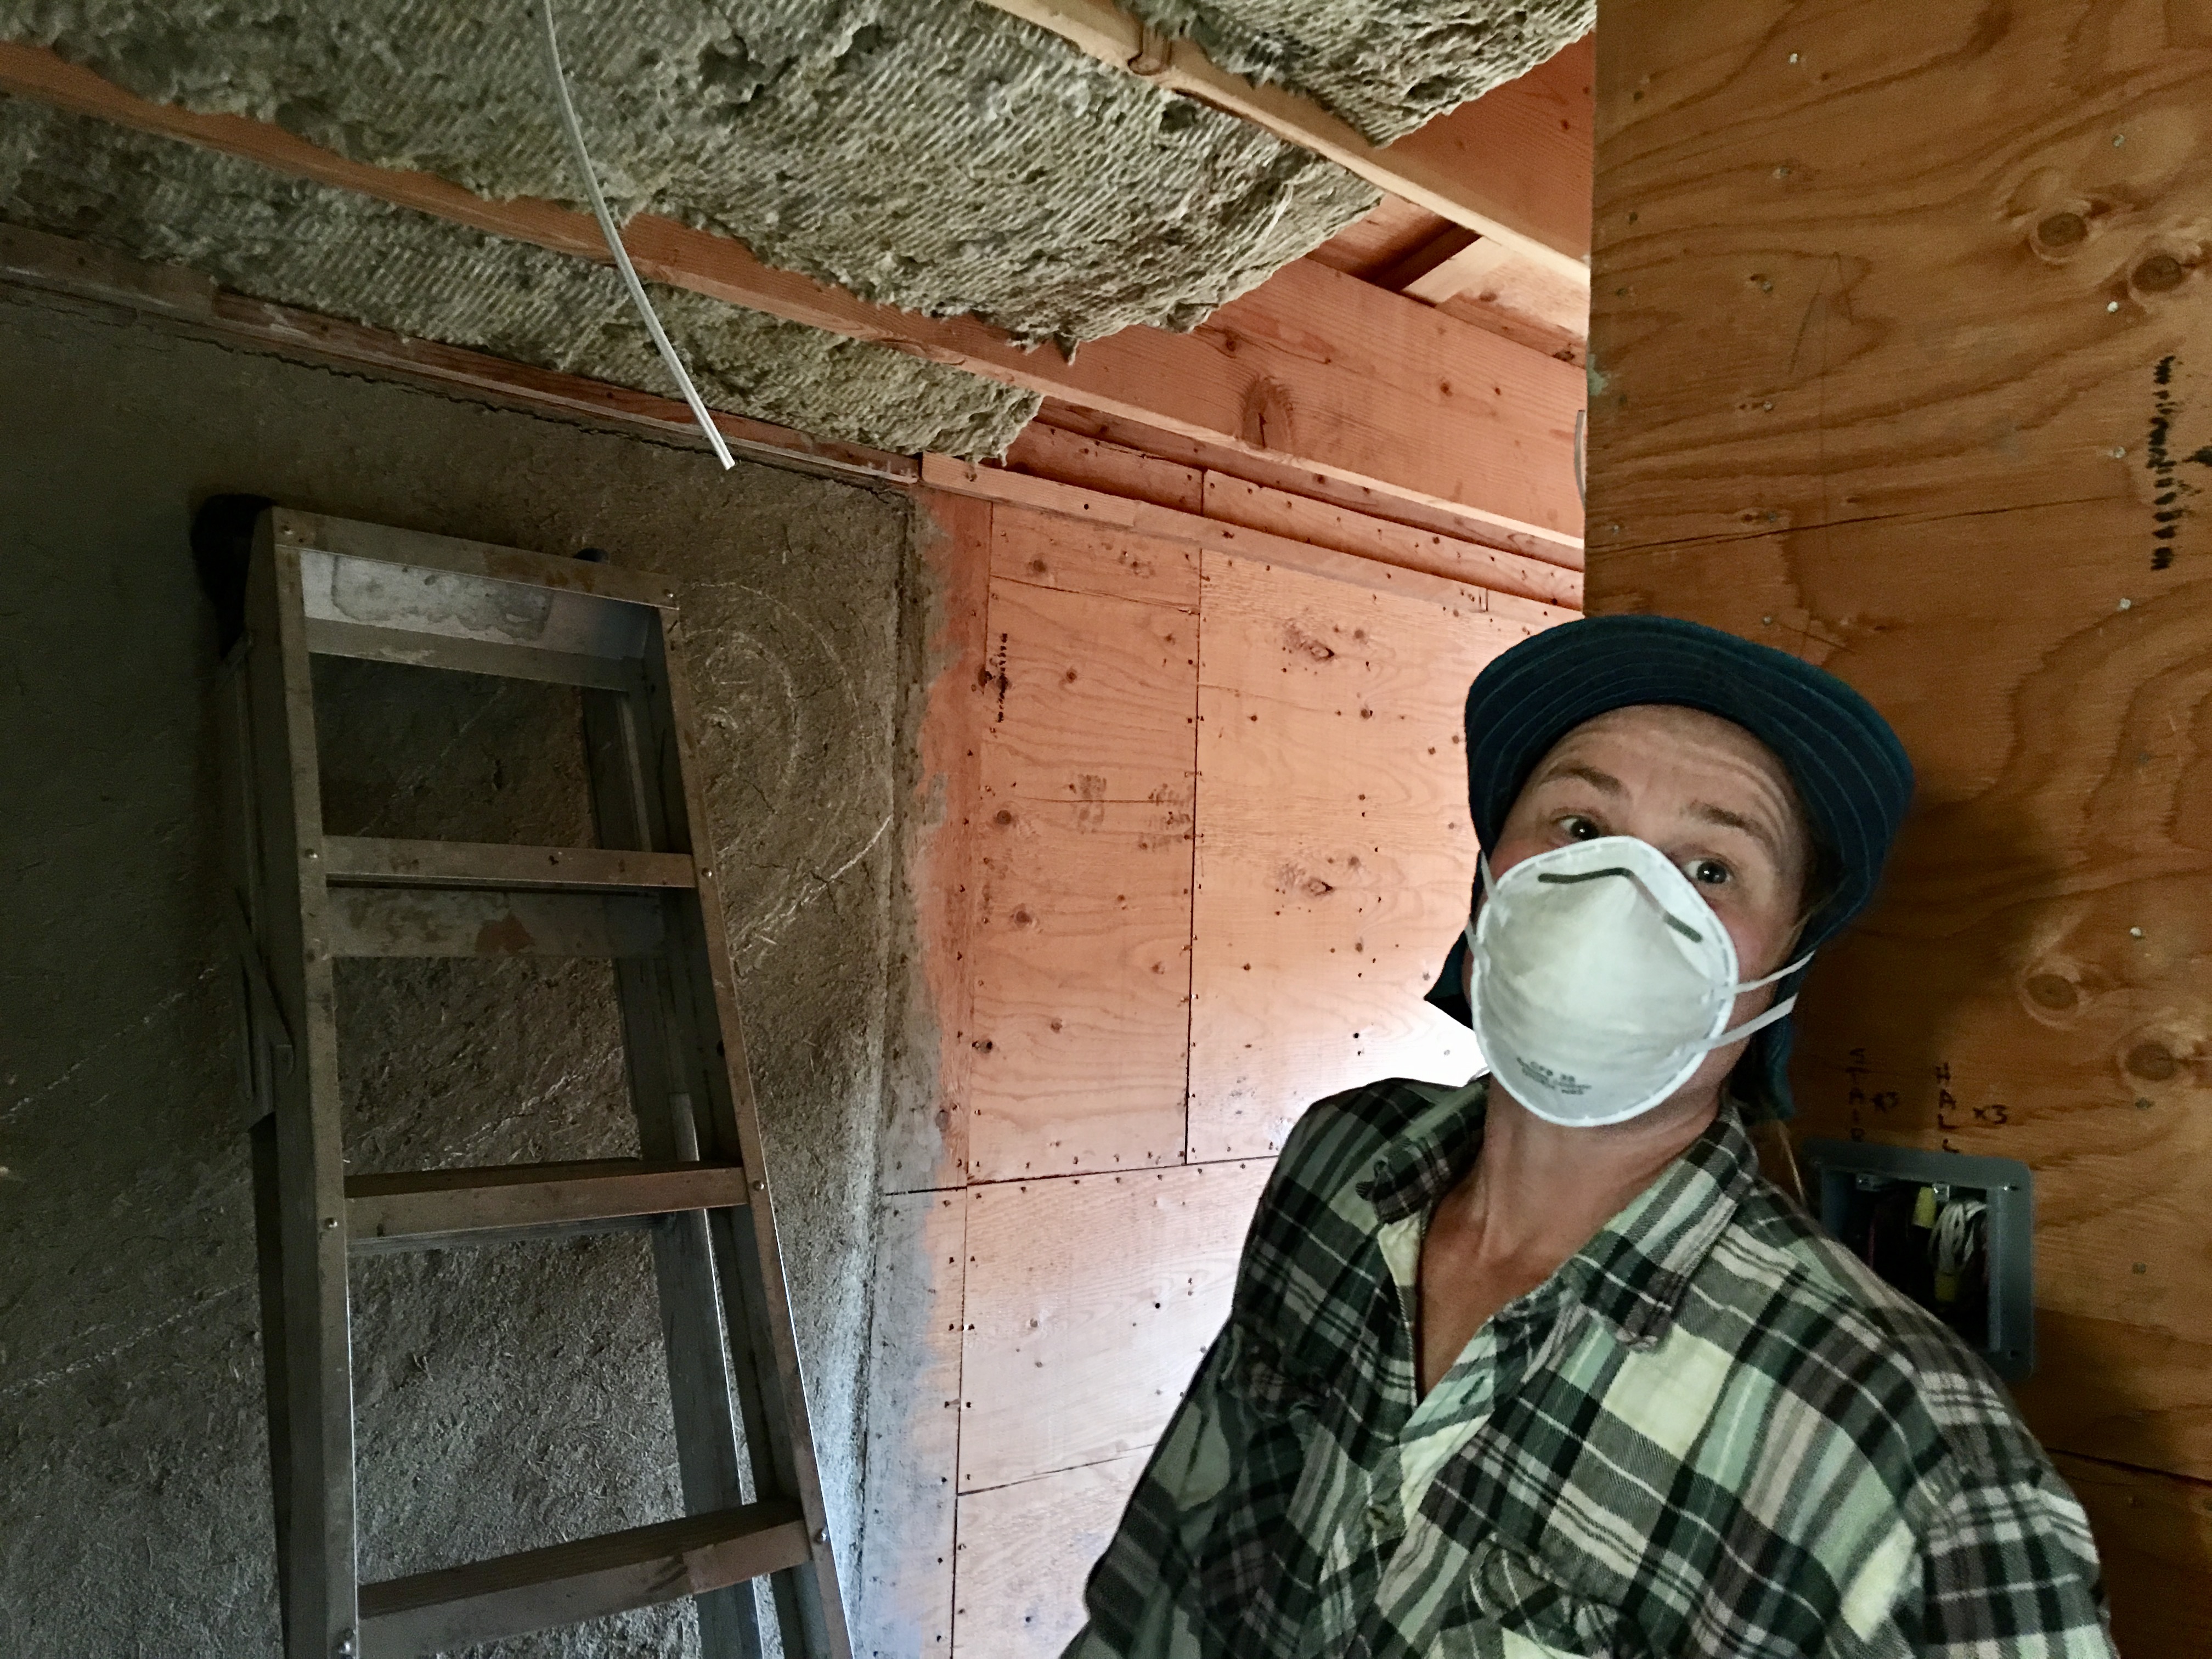
Because of the changing angles of the rafters, pieces needed to be cut on varying matching angles to stay held in place. It is not a pleasant job, with the configuring of ladders and the rub of insulation across one’s head and face, but at least the rock wool is less irritating than fibreglass, and eventually it gets done and then it’s… done!!

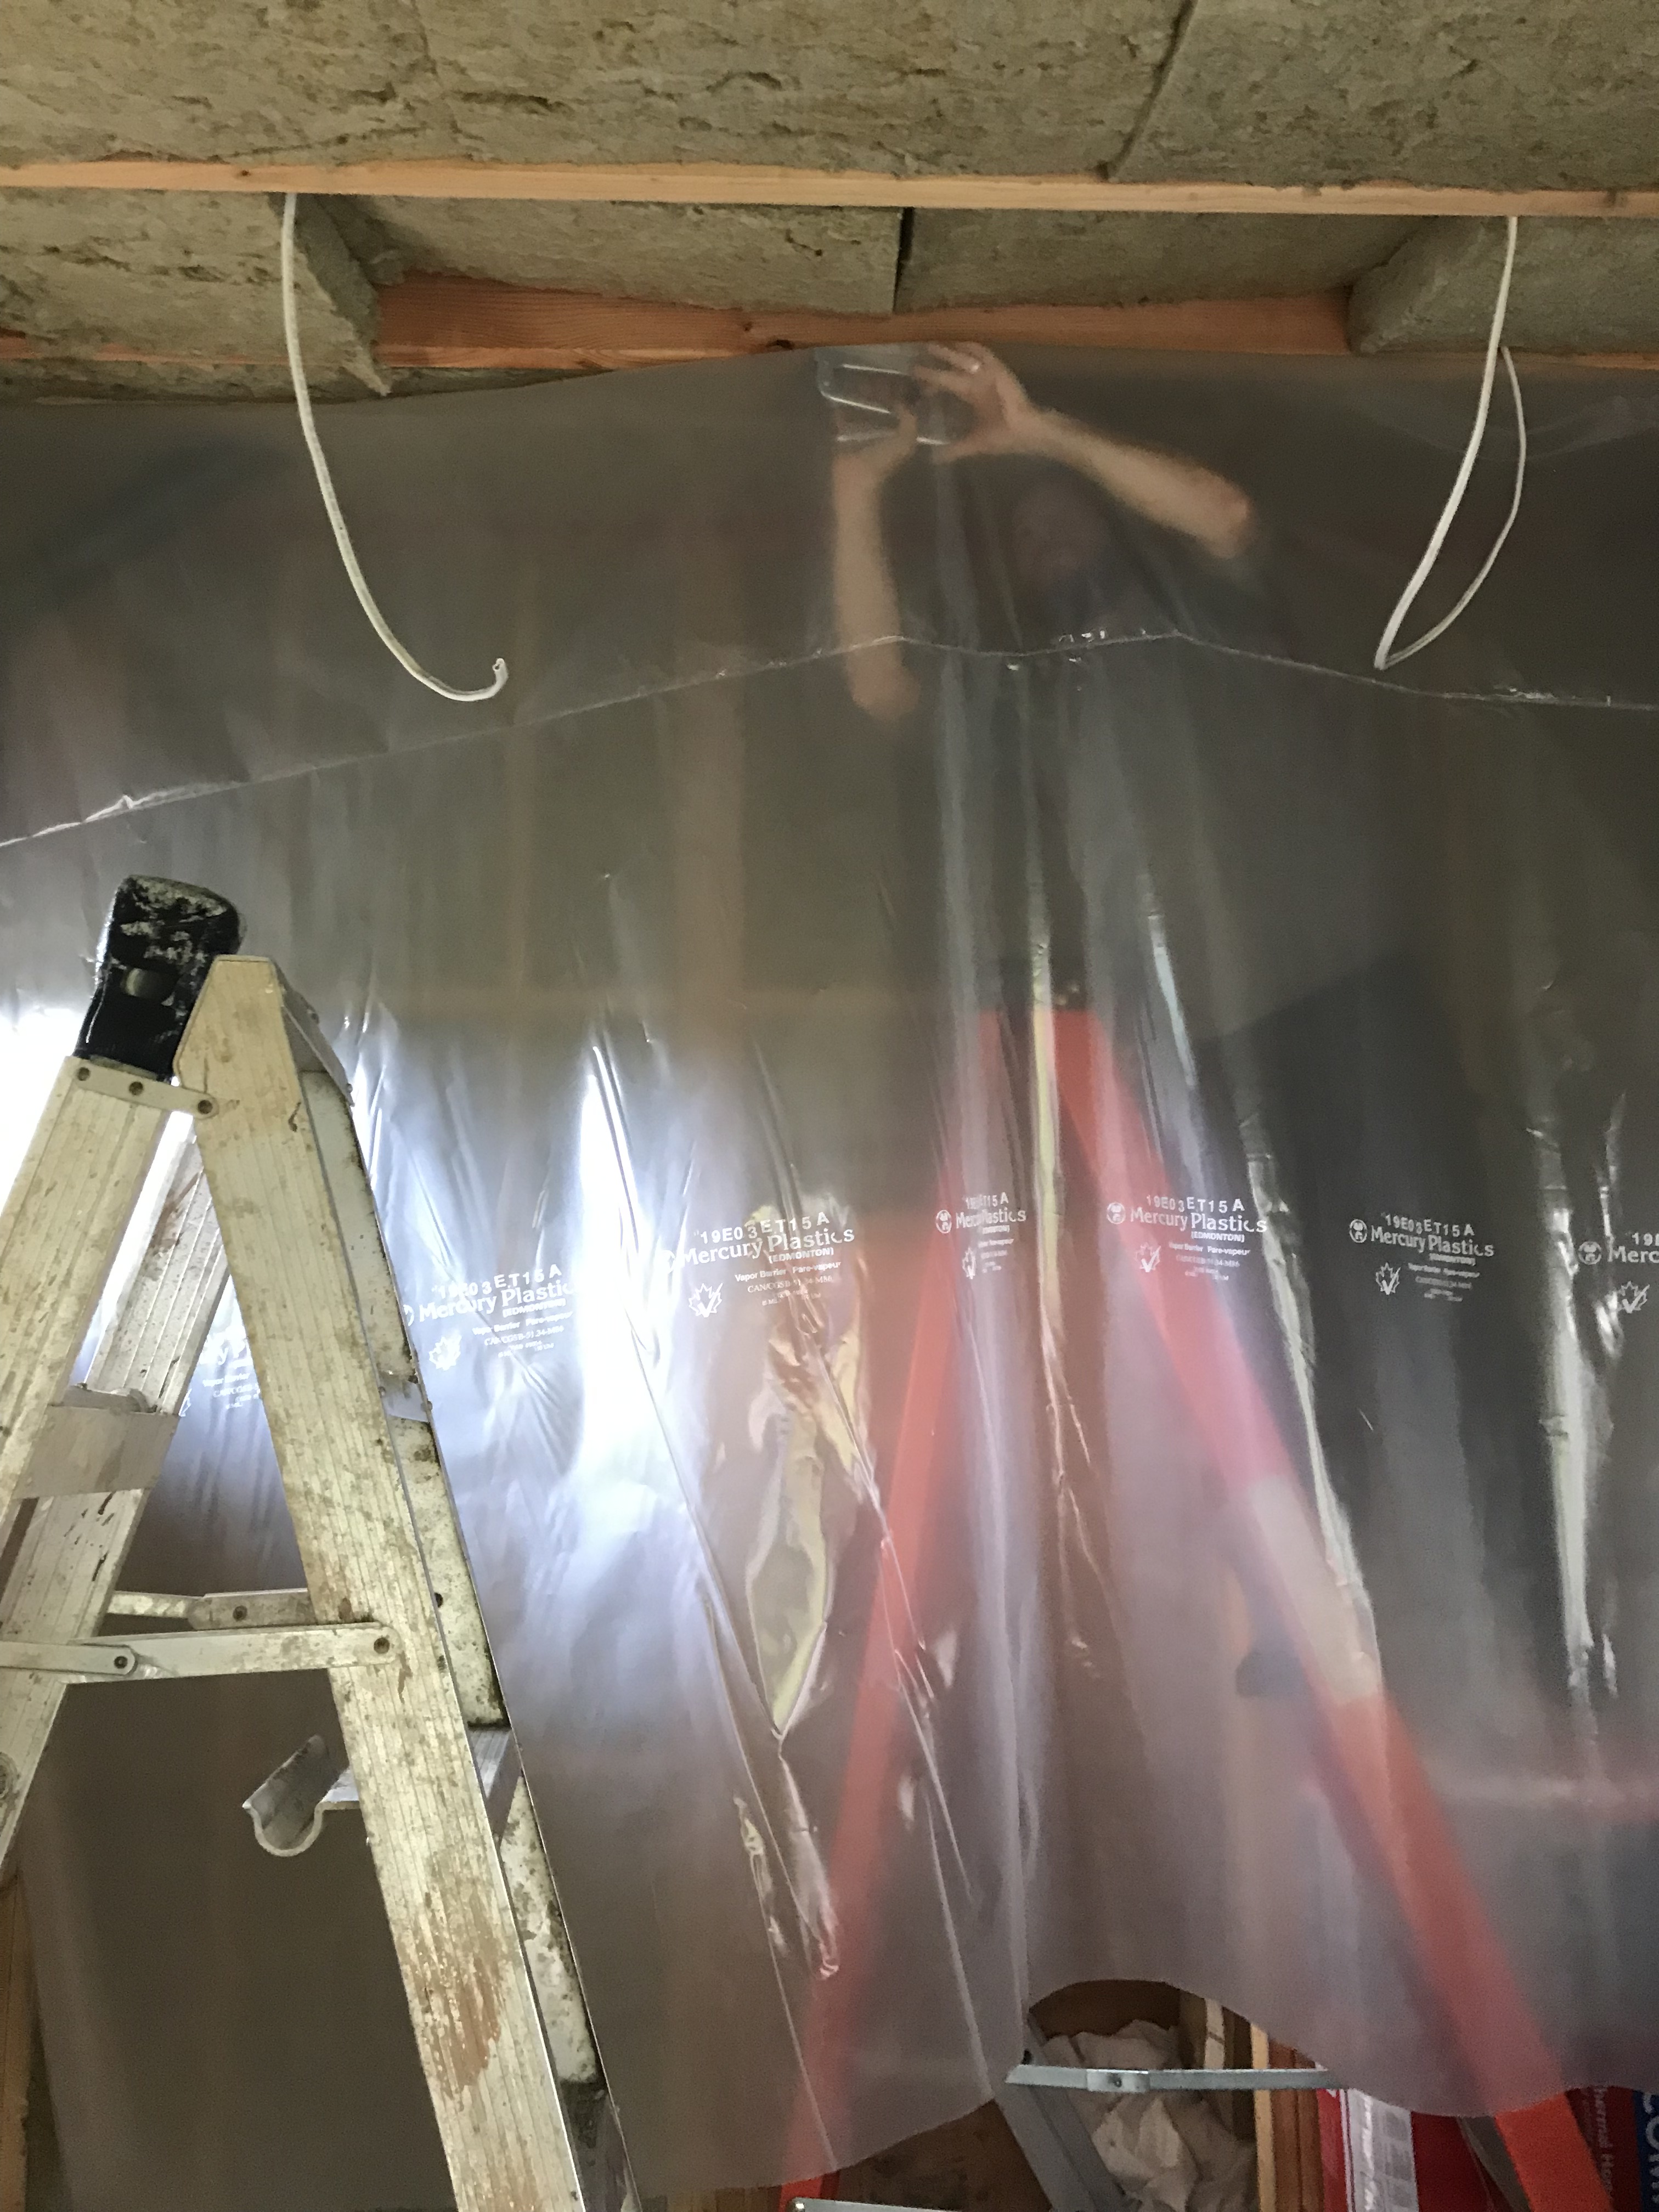
Covering the whole ceiling with the vapour barrier afterwards is way better as a two person job. Crinkled and oddly stapled plastic is just annoying.

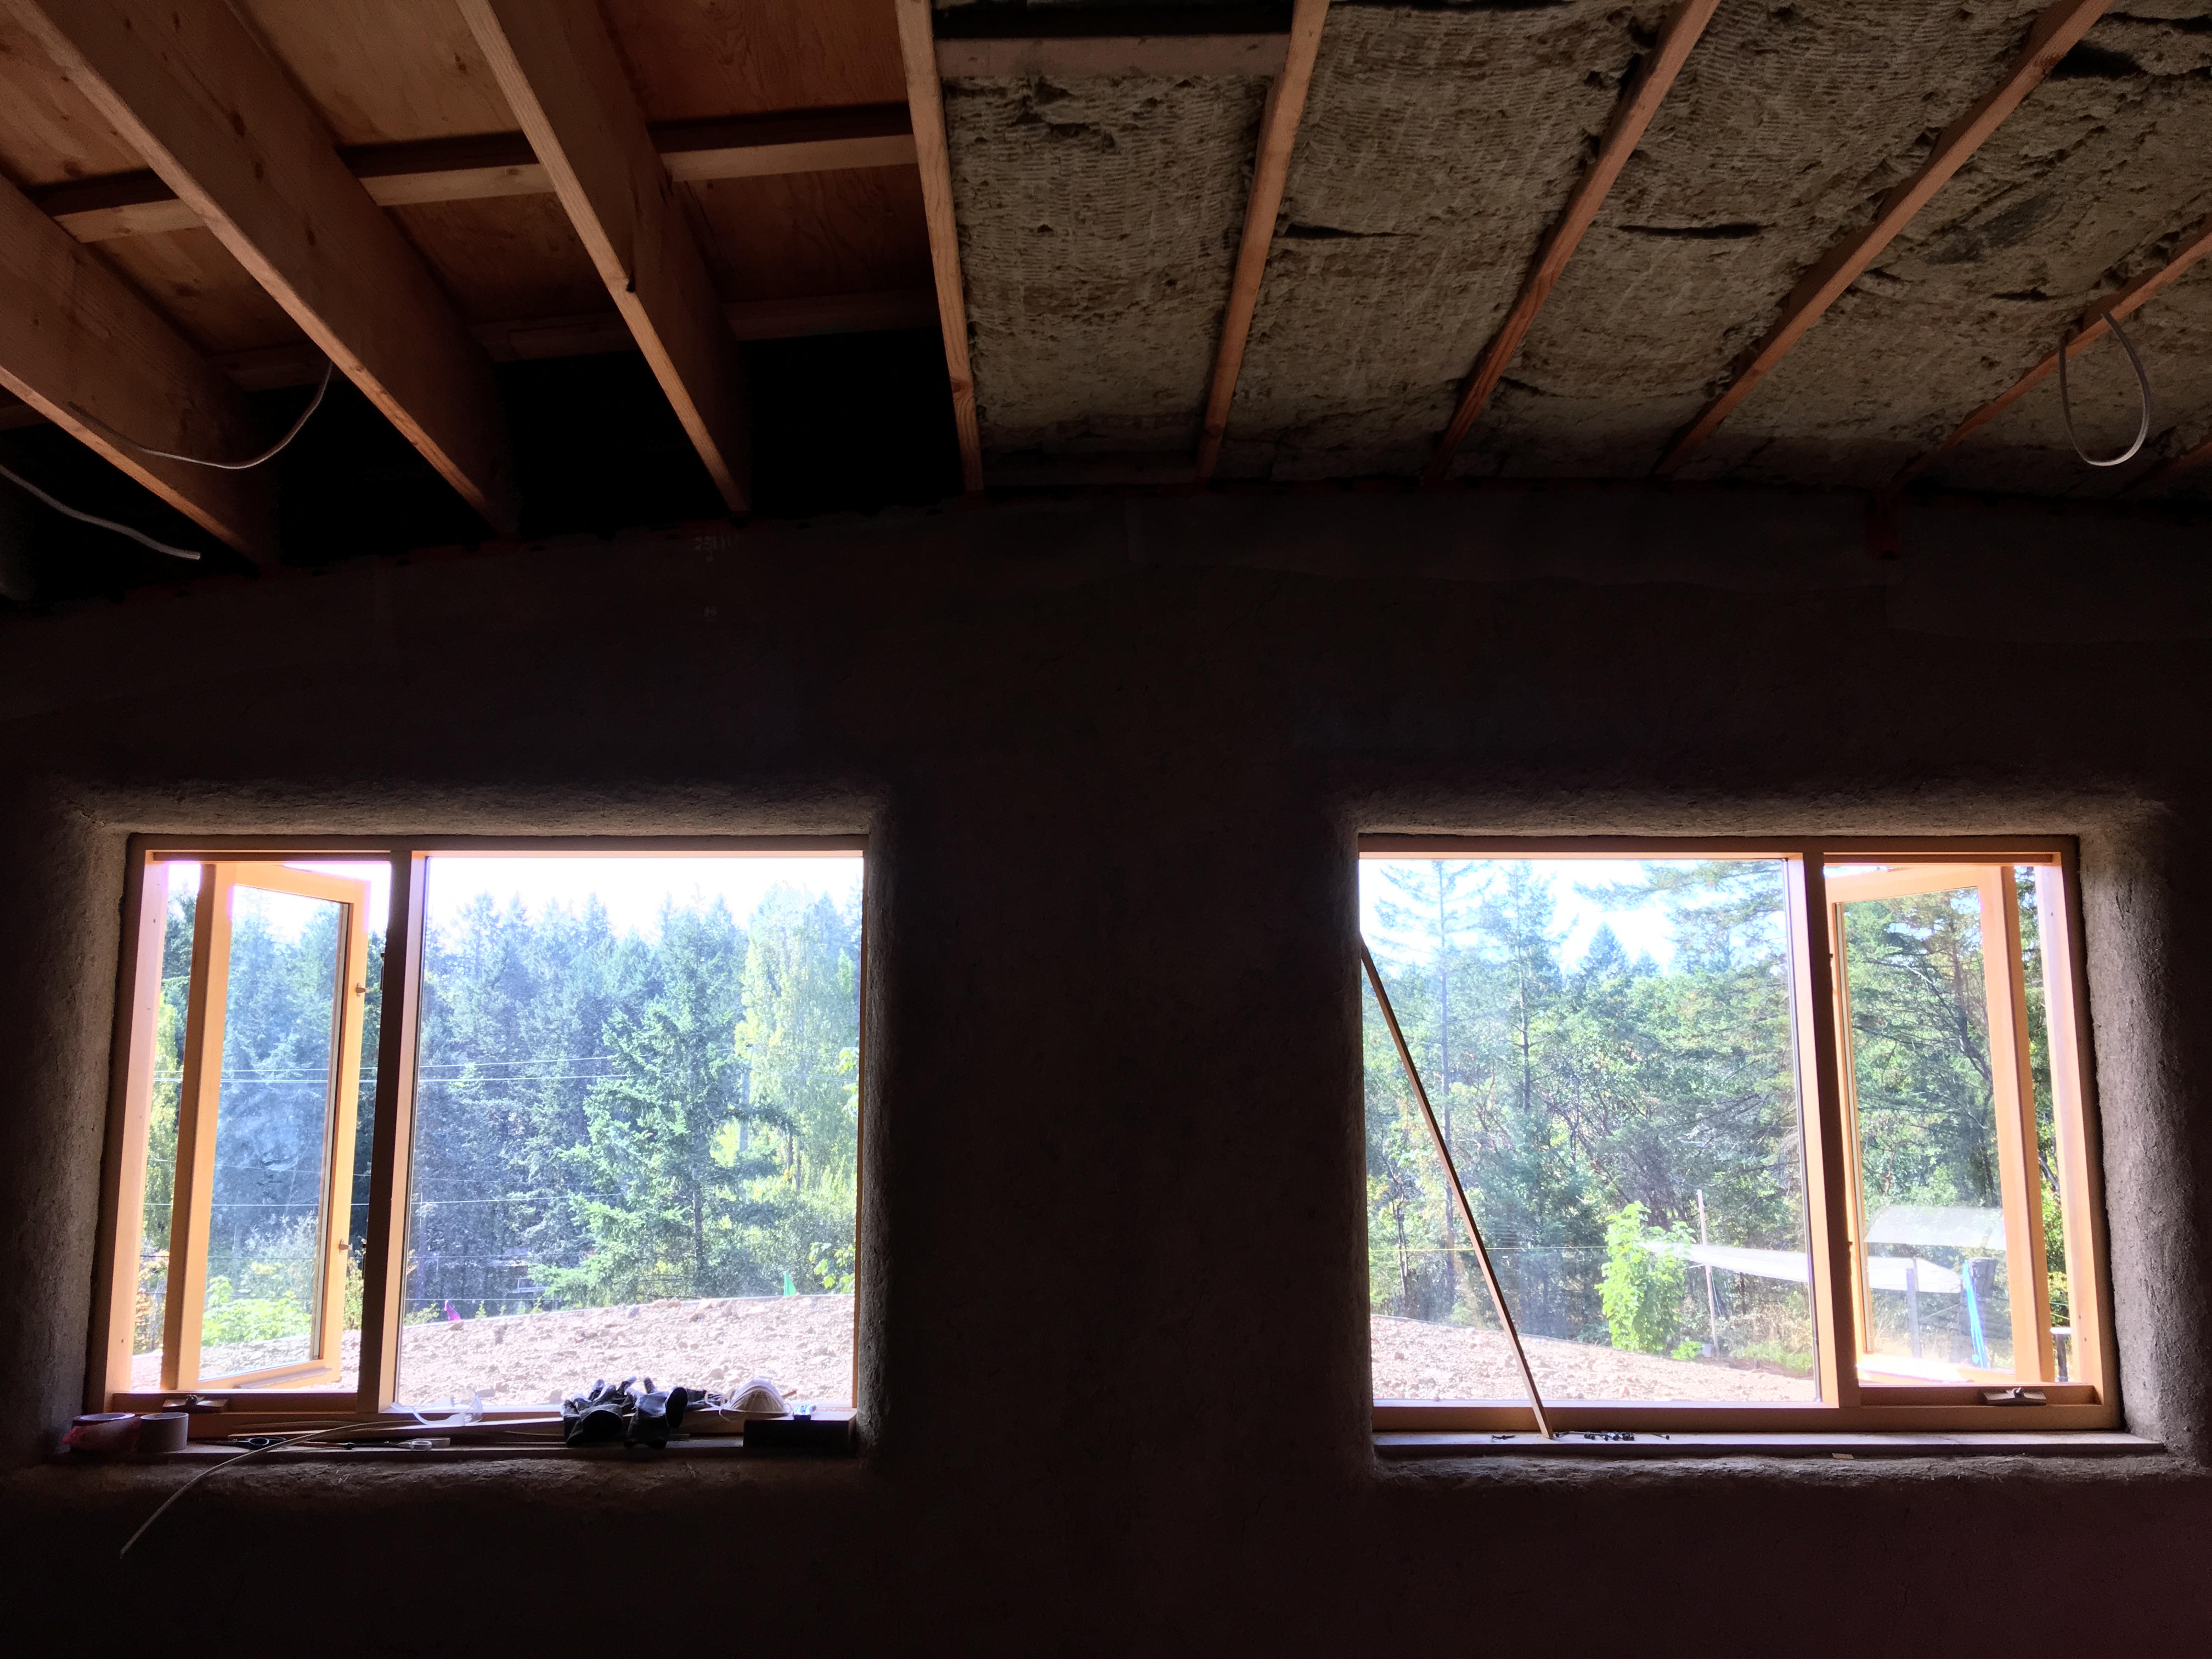
We had acquired (for a fairly cheap price) 5inch wide tongue and groove cedar in 10 foot lengths, which needed to be stained previous to being installed- we used a natural product called Osmo which is a Geman product of natural oils and waxes. The wood is quite varied in colour tone and has a fair amount of knots, but none the less is a beautiful material to use and the oil stain made it even more brilliant in tone. Because our rafters run the width of the house (15feet) but curve the length of the space (40 feet) we needed to put strapping across the rafters so the ceiling boards could go up in the same direction as the rafters. Initailly we thought we could find ceiling material that would flex a bit with the curve, and so run lengthwise, but without incurring the high cost of custom milling something thin enough to bend, we had to change plans.

We had round LED lights to set into the ceiling, and of course other required things like the bathroom fan, stove fan, and smoke detectors to work around. Having the ceilings done really changed the whole space!

Odds, Ends, and Leftovers

Well there’s not much left for us to finish up with on the house- just a smattering of trim around a few doors and at the edges of the floor in the kitchen.  At the end of such a long project, it was a relief to be able to gather together the leftovers of our supplies and find as many uses as possible without spending any more money.  We got shelves in place, towel racks done, cupboard doors on, drawers inserted, light covers constructed, a built in closet installed, the table finished, and the shower up and running.  The materials that we had left over to use were mostly yellow cedar in various dimensions and red cedar 3inch tongue and groove boards.

yellow cedar plank to become a table

The yellow cedar came our way when we connected with someone on Salt Spring who reclaims high quality wood and sells it by dimension to window and door makers in the city.  He drove by our place one day and offered us a large amount of yellow cedar for a really great price if we bought his whole pile.  Colin estimated that what he had would do our own windows and doors and have a bit left over, but the pile lasted through all the trim work and the edging for the kitchen drawers and cupboards.

legs from left over timber frame fir

We also had 2×12 pieces that became the table, which had legs made from left over fir from the knee braces of the timber frame.  Yellow cedar cutoffs became the phone table.  We had a similar story with a whole lift of tongue and groove red cedar.  After the main use of covering the ceiling and the inside walls, we used it for the facings of the drawers and cupboards and for trim in some places.  Bulk buying can really provide a lot of benefits!  The house really took on a much more unified look than Colin and I originally anticipated.  Towel racks utilized yellow cedar cut offs and the leftover bamboo poles that we used to frame either side of the straw bale walls for extra support.  We tiled the kitchen counter with a combination of tiles that were from a huge donated pile.  We found three types of tiles that matched in colour and in size, and after laying them out to fit, we had not a single tile left of each kind- so careful cuts with the tile cutter were imperative.  We found a sink from the recycling depot here on the island.  The bathroom sink also came from a renovation, as well as the taps.

handmade light covers

My mom made light shades with a split cedar frame wrapped in handmade paper.  I wish I could say we made the paper, but we didn’t.  It was a very affordable purchase from an art store.  January was the cheapest month of building by far and we were just in time for my mom to move in and for Colin and I to head to California for a week.  Slowly the tools are being replaced by daily use things, like clothes and art supplies and books, and Colin is focusing back on his business.  I remember once when Taeven asked me what I would be doing if I wasn’t building a house.  At the time I was on the top of a ladder pushing insulation into the ceiling- a less than enjoyable job.  It took me awhile to answer- and I was amazed at what I had possibly forgotten about myself, or rather, that house building had become my primary interest- but then I remembered gardening, spinning, weaving, writing, felting, going hiking, trips to the beach, home school projects, friends over for dinner, music…

Plans are in the works however for the next half.

bench seat with drawers

the shower

%d bloggers like this: