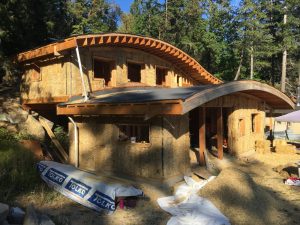
 The last two weeks of August kept us busy as we were finally ready to place the straw bales into the walls of our house. This was a completely different process from the first part of the house that we completed in 2013, in which we stacked the bales like bricks around a traditional timber frame. This time we constructed a regular stud frame to support the roof, placing the stud’s on 16″ centers to accommodate the width of the bales in between the studs. The stud wall effectively disappeared as the bales were placed between them and stacked up end to end to the ceiling. At the base of the walls were toe-ups which the bales would sit on- filled with drain rock and rigid insulation (which also included some rough electrical).
The straw bales were reported to be 18″ wide, 36″ long and 14″ deep. However, as we discovered when we got them, they were more like 19 or 20″ wide, which didn’t work too well with our framing. So we set up two stations where the bales were cut before we could place them. The first was an electric chain saw placed in an Alaskan mill device so the chain saw could slide easily across the edge of a bale at a set height. Then the bale would get notched~ a second station in which a jig holding a grinder with a chain saw blade would carve a 4″ wide notch down the center of each side of the bale.

grinder jig for notching the sides

bales guides on the underside

chainsaw jig

both stations set up

toe-ups on the concrete slab, including rough electrical

toe-ups on the plywood subfloor with rough electrical
If we needed any specific length bales to fit into smaller spaces, which happened all along the tops of each wall, we would manually resize the bales first, then send them to station number one. Eventually a system of tagging the bales with their length, as well as having a written order of the needed sizes on a piece of paper meant that when they were ready to go into the walls, we could just refer to the paper and the tags to put them in from one side to the other. To make mini bales, baling needles, baling twine and a measuring tape are needed. Thread the needles with twine, poke them through the bale at the needed length and in the same place as the original twine, pull one end of each through and then wrap the other end around the bale to tie them together… tightly! Then cut the original twine. Save those pieces for making other smaller bales.
An integral piece of equipment for getting the bales in was the CRAZY CARPET!! It was quite difficult to shove the bales in, as we had to place the bale in against the open stud, place a crazy carpet against the straw of the bale on the other side, force the width through to the other side of the stud, then remove the crazy carpet. Depending on the density of the bale, we had stakes to push with, mallets to slam with, and 2×4 scraps to persuade with. Depending on the height, we could karate kick or shoulder check them as well. The higher bales proved more difficult as we were working on ladders. We had to be systematic in working right to left, (or left to right) along a wall as shoving a bale into a space with bales on both sides was pretty much impossible. This meant that we had to be prepared with all the odd bales as we went~ we couldn’t just place all the easy ones first! It also meant that things slowed a little sometimes while custom bales were made.

crazy carpets helped the bales slide into place

pushing the bale into place

sometimes, the tight fit called for various forms of persuation
 We inadvertently made a lot of cut straw byproduct. The chain saw station produced 9 large garbage bags and two large mountains of 2 inch straw pieces. The notching station made 5 large garbage bags of finely chopped straw. We kept the piles separate, as the longer straw will be perfect for the first two coats of plaster, and the fine straw will be great for the final plaster.
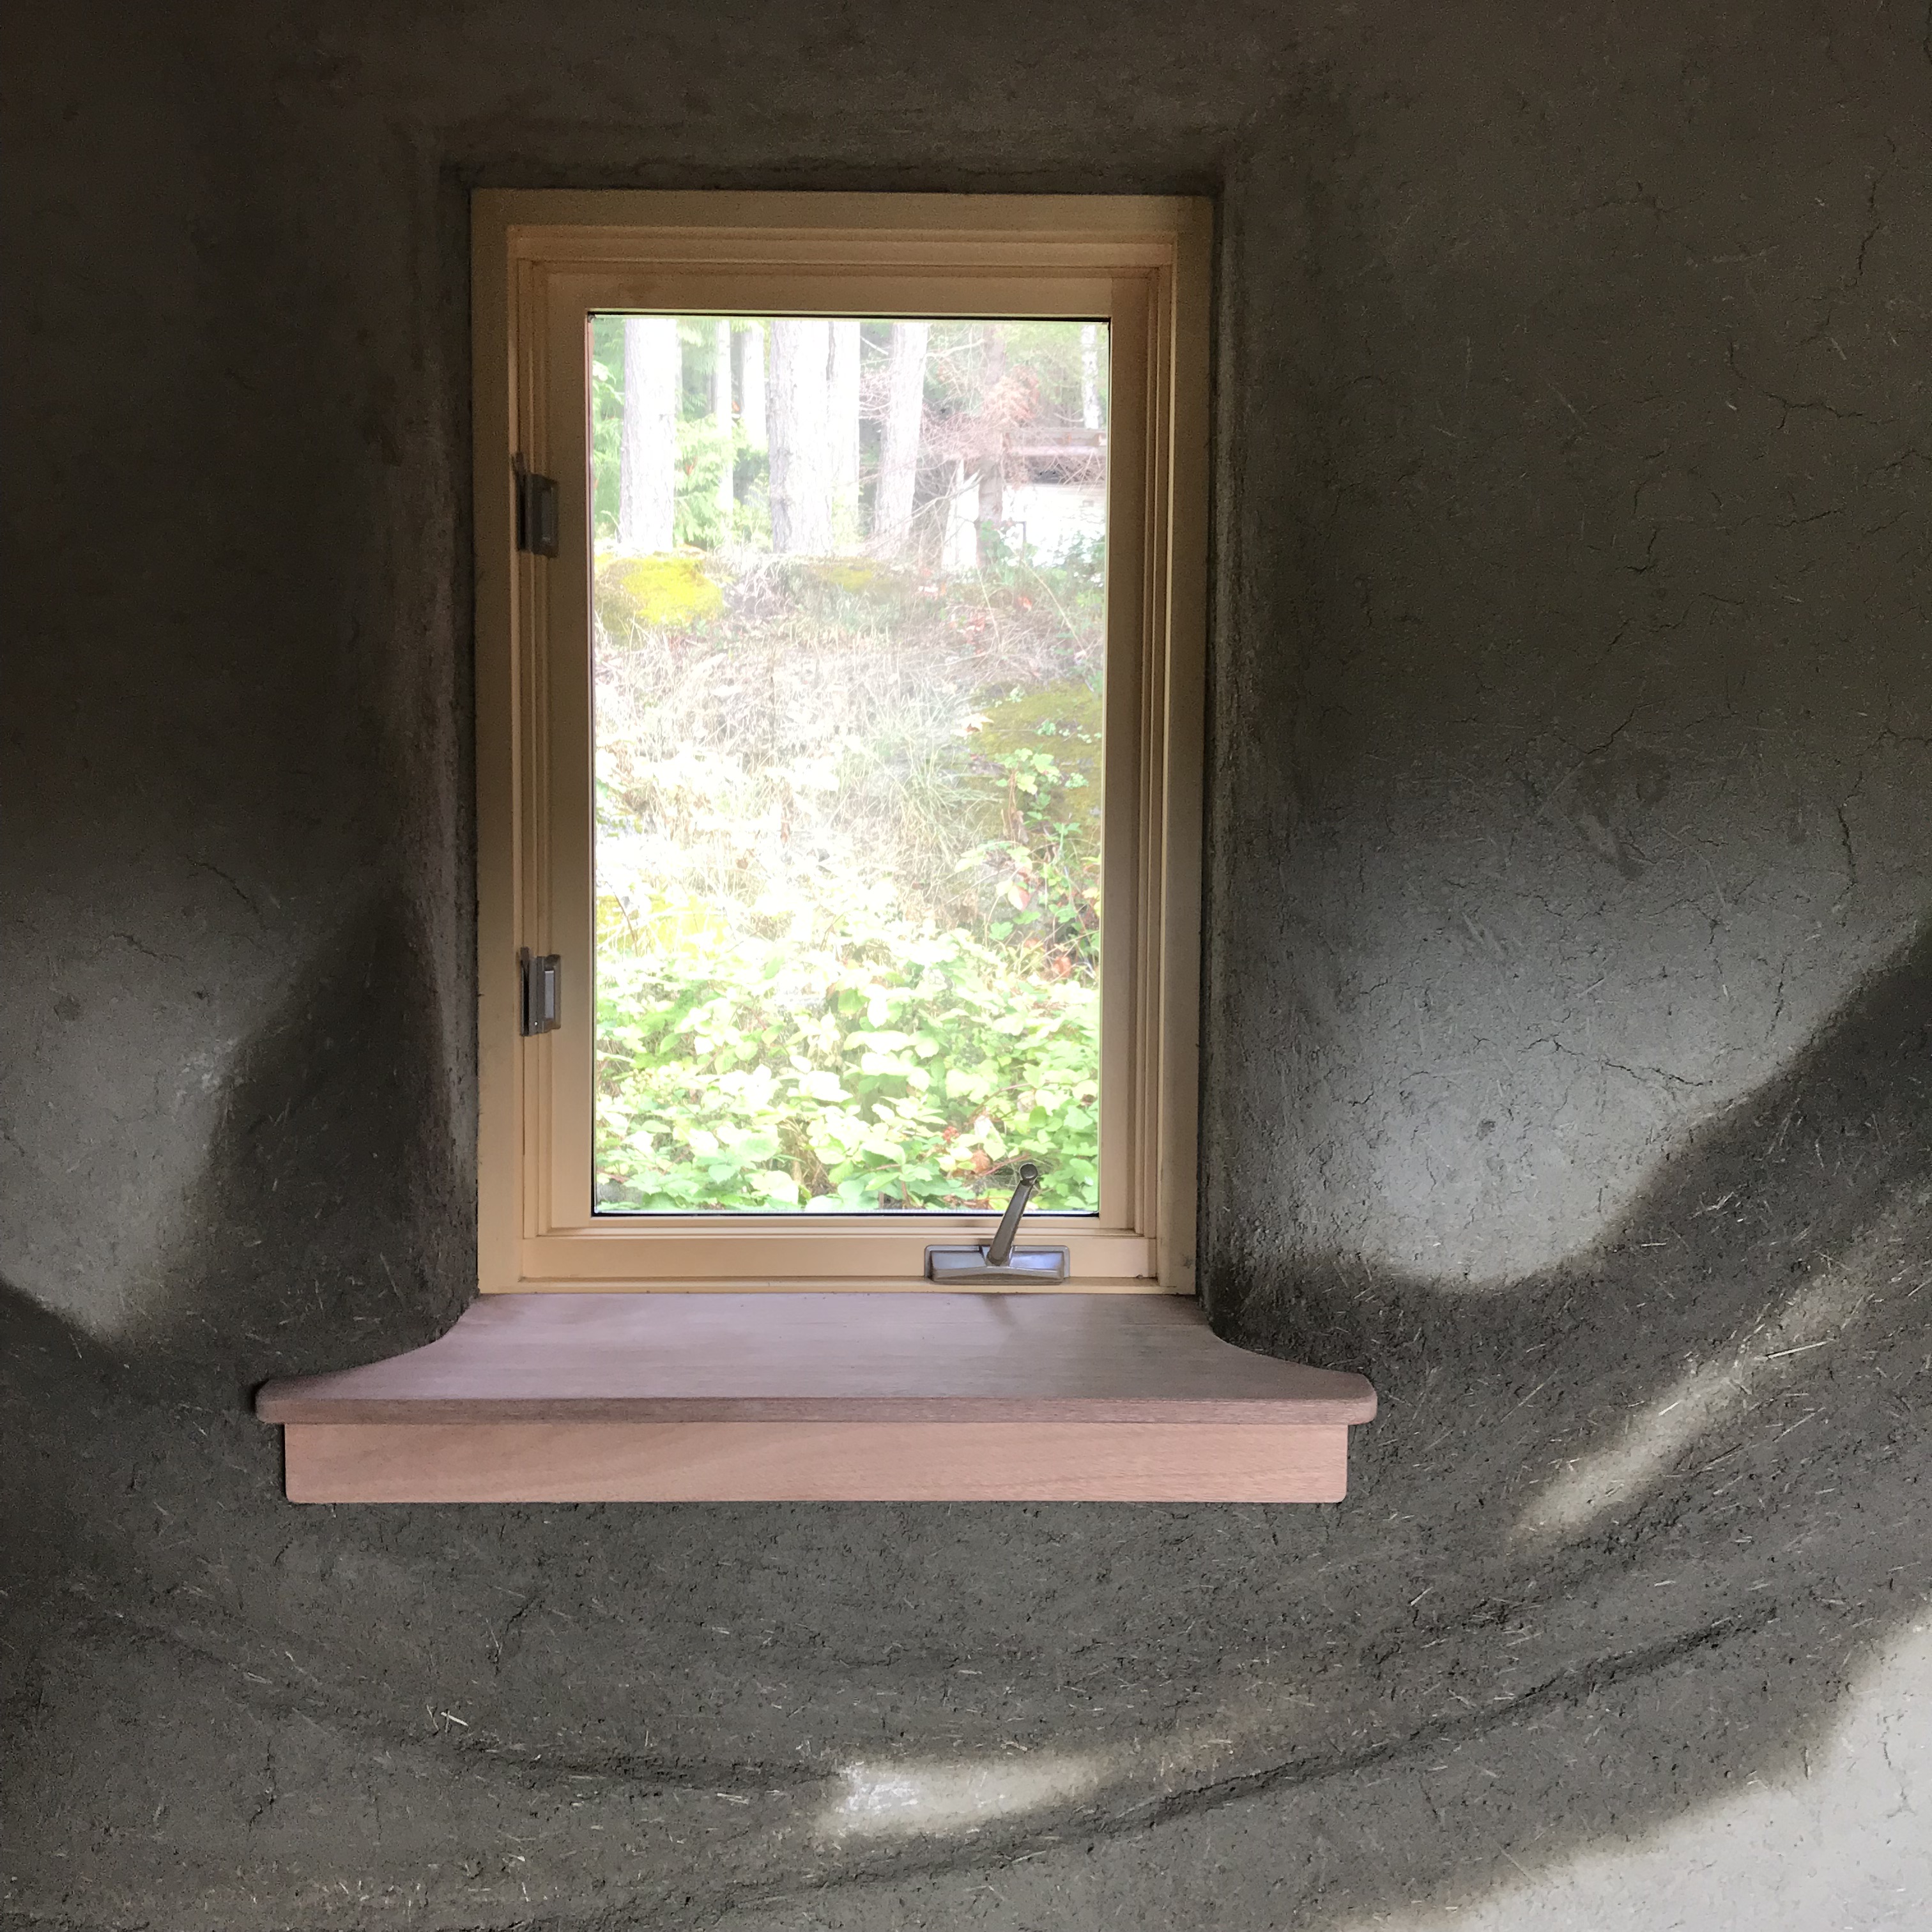
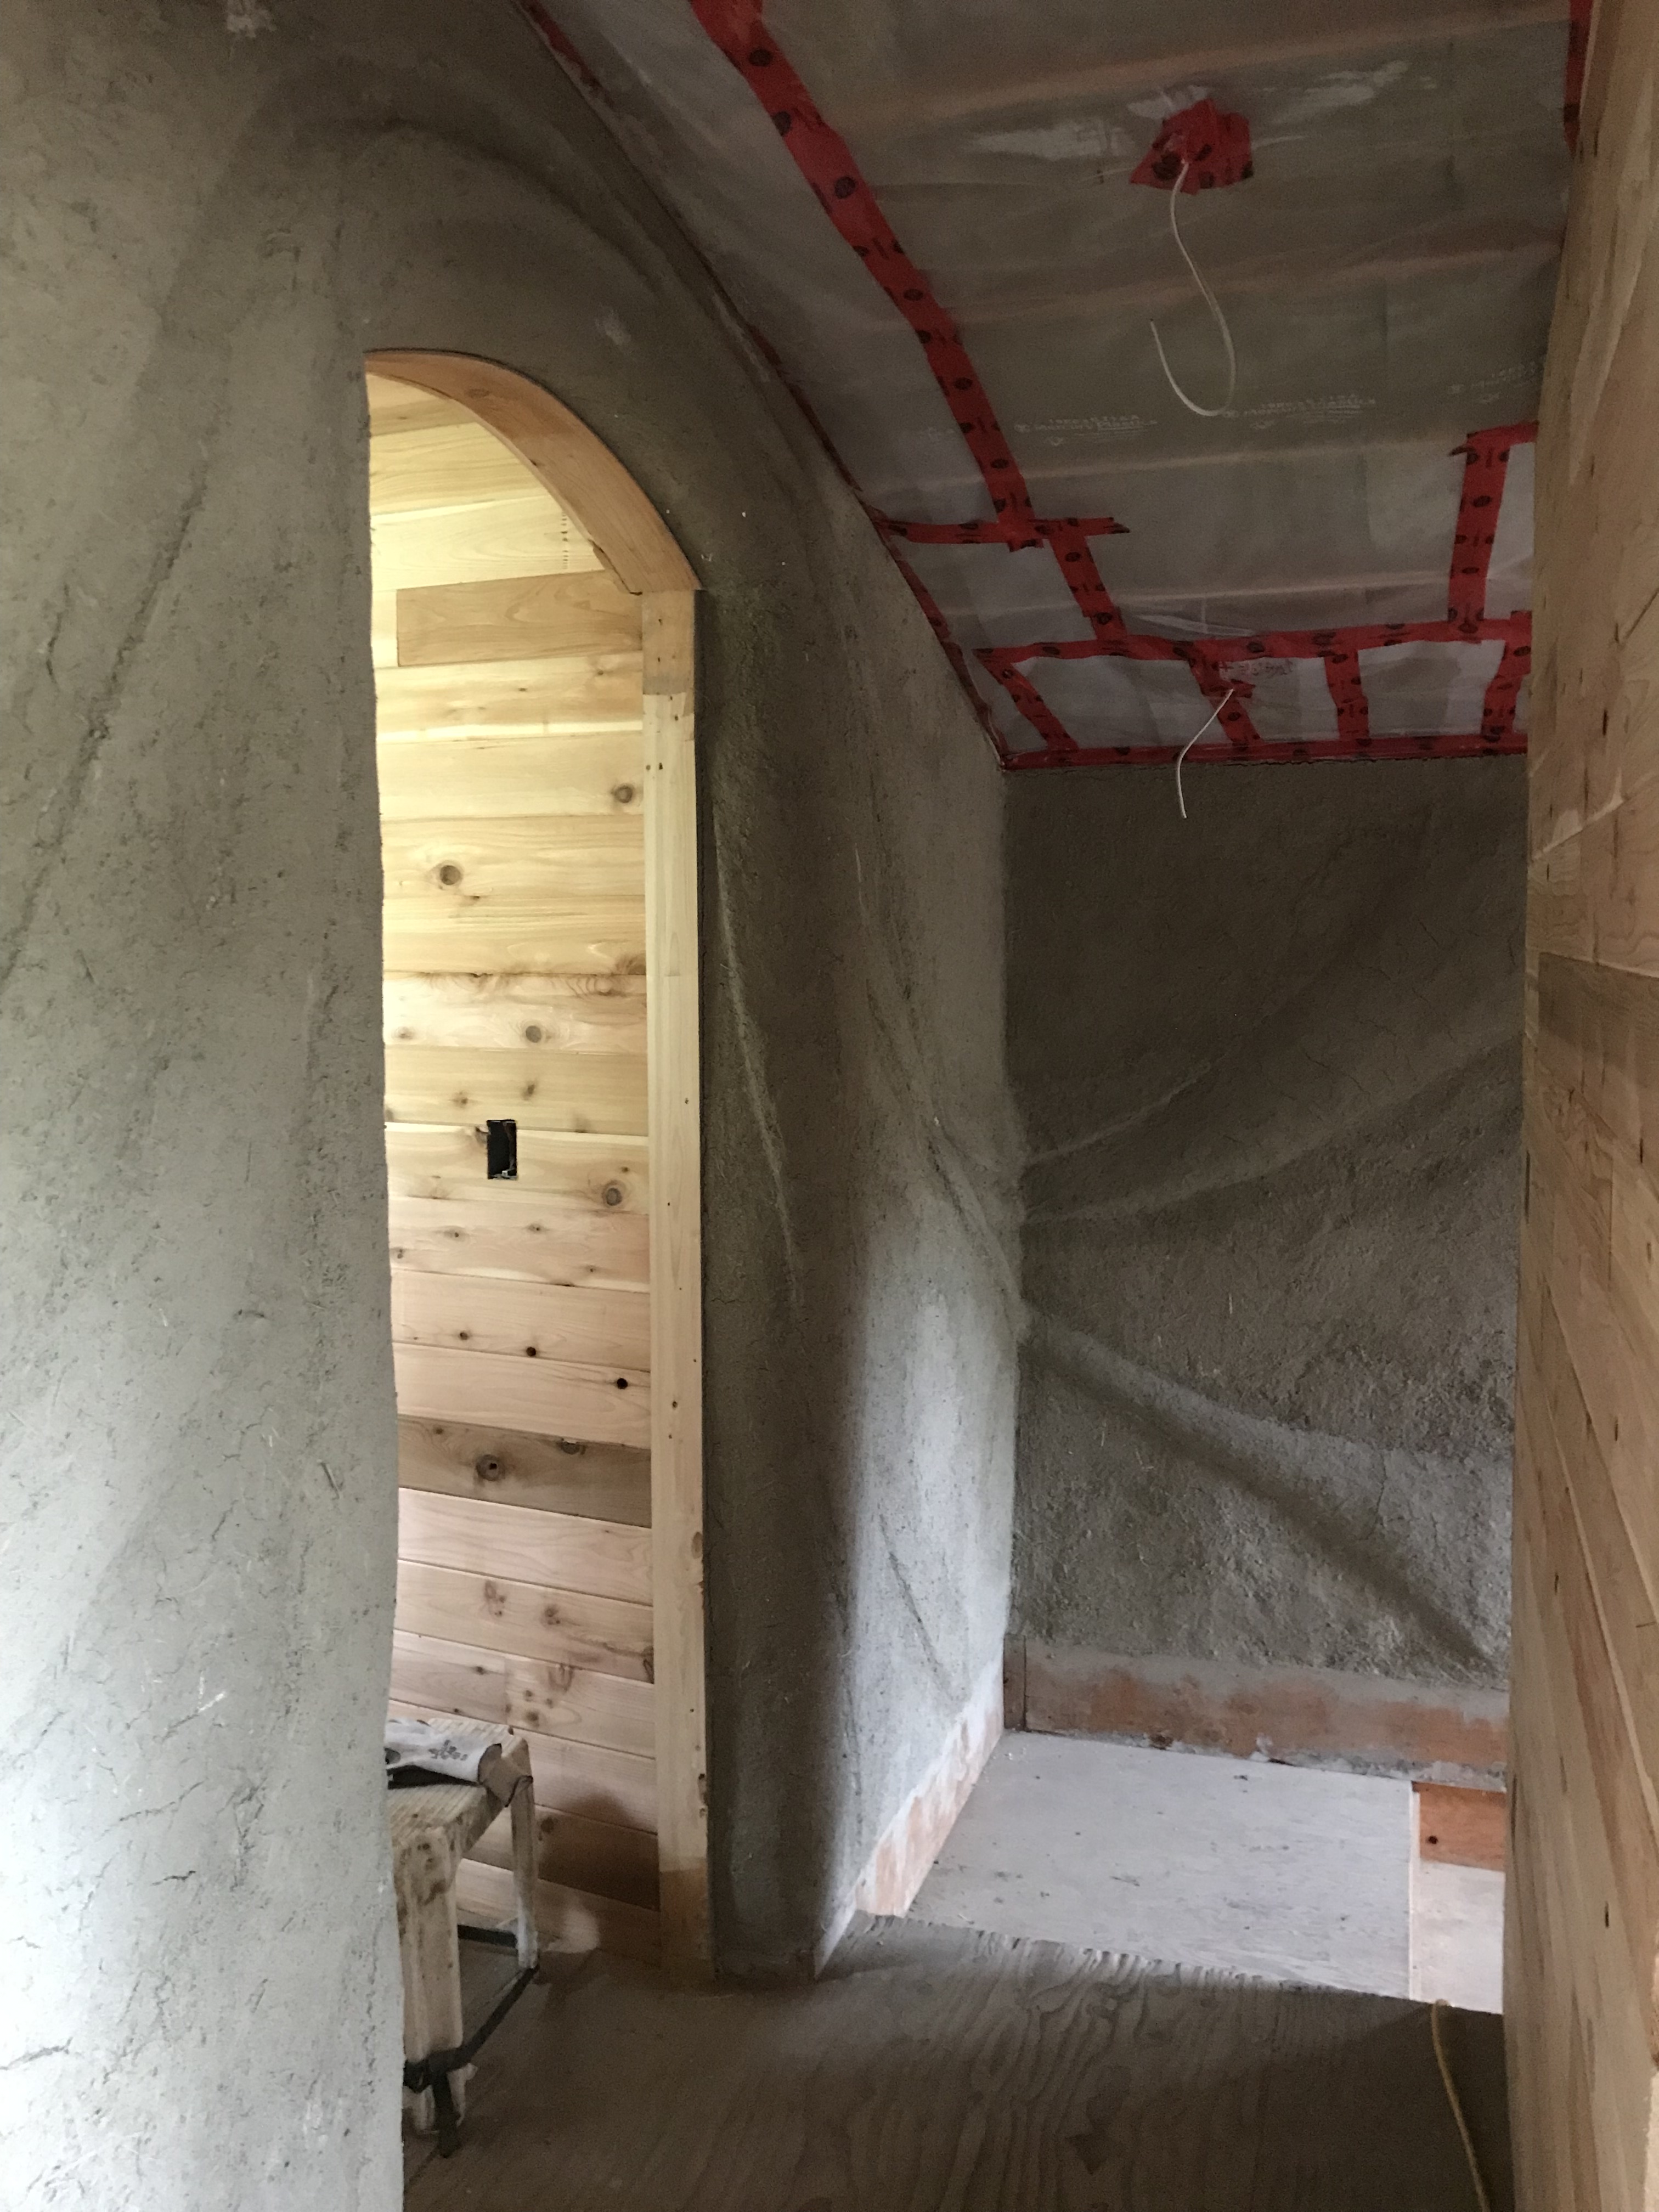
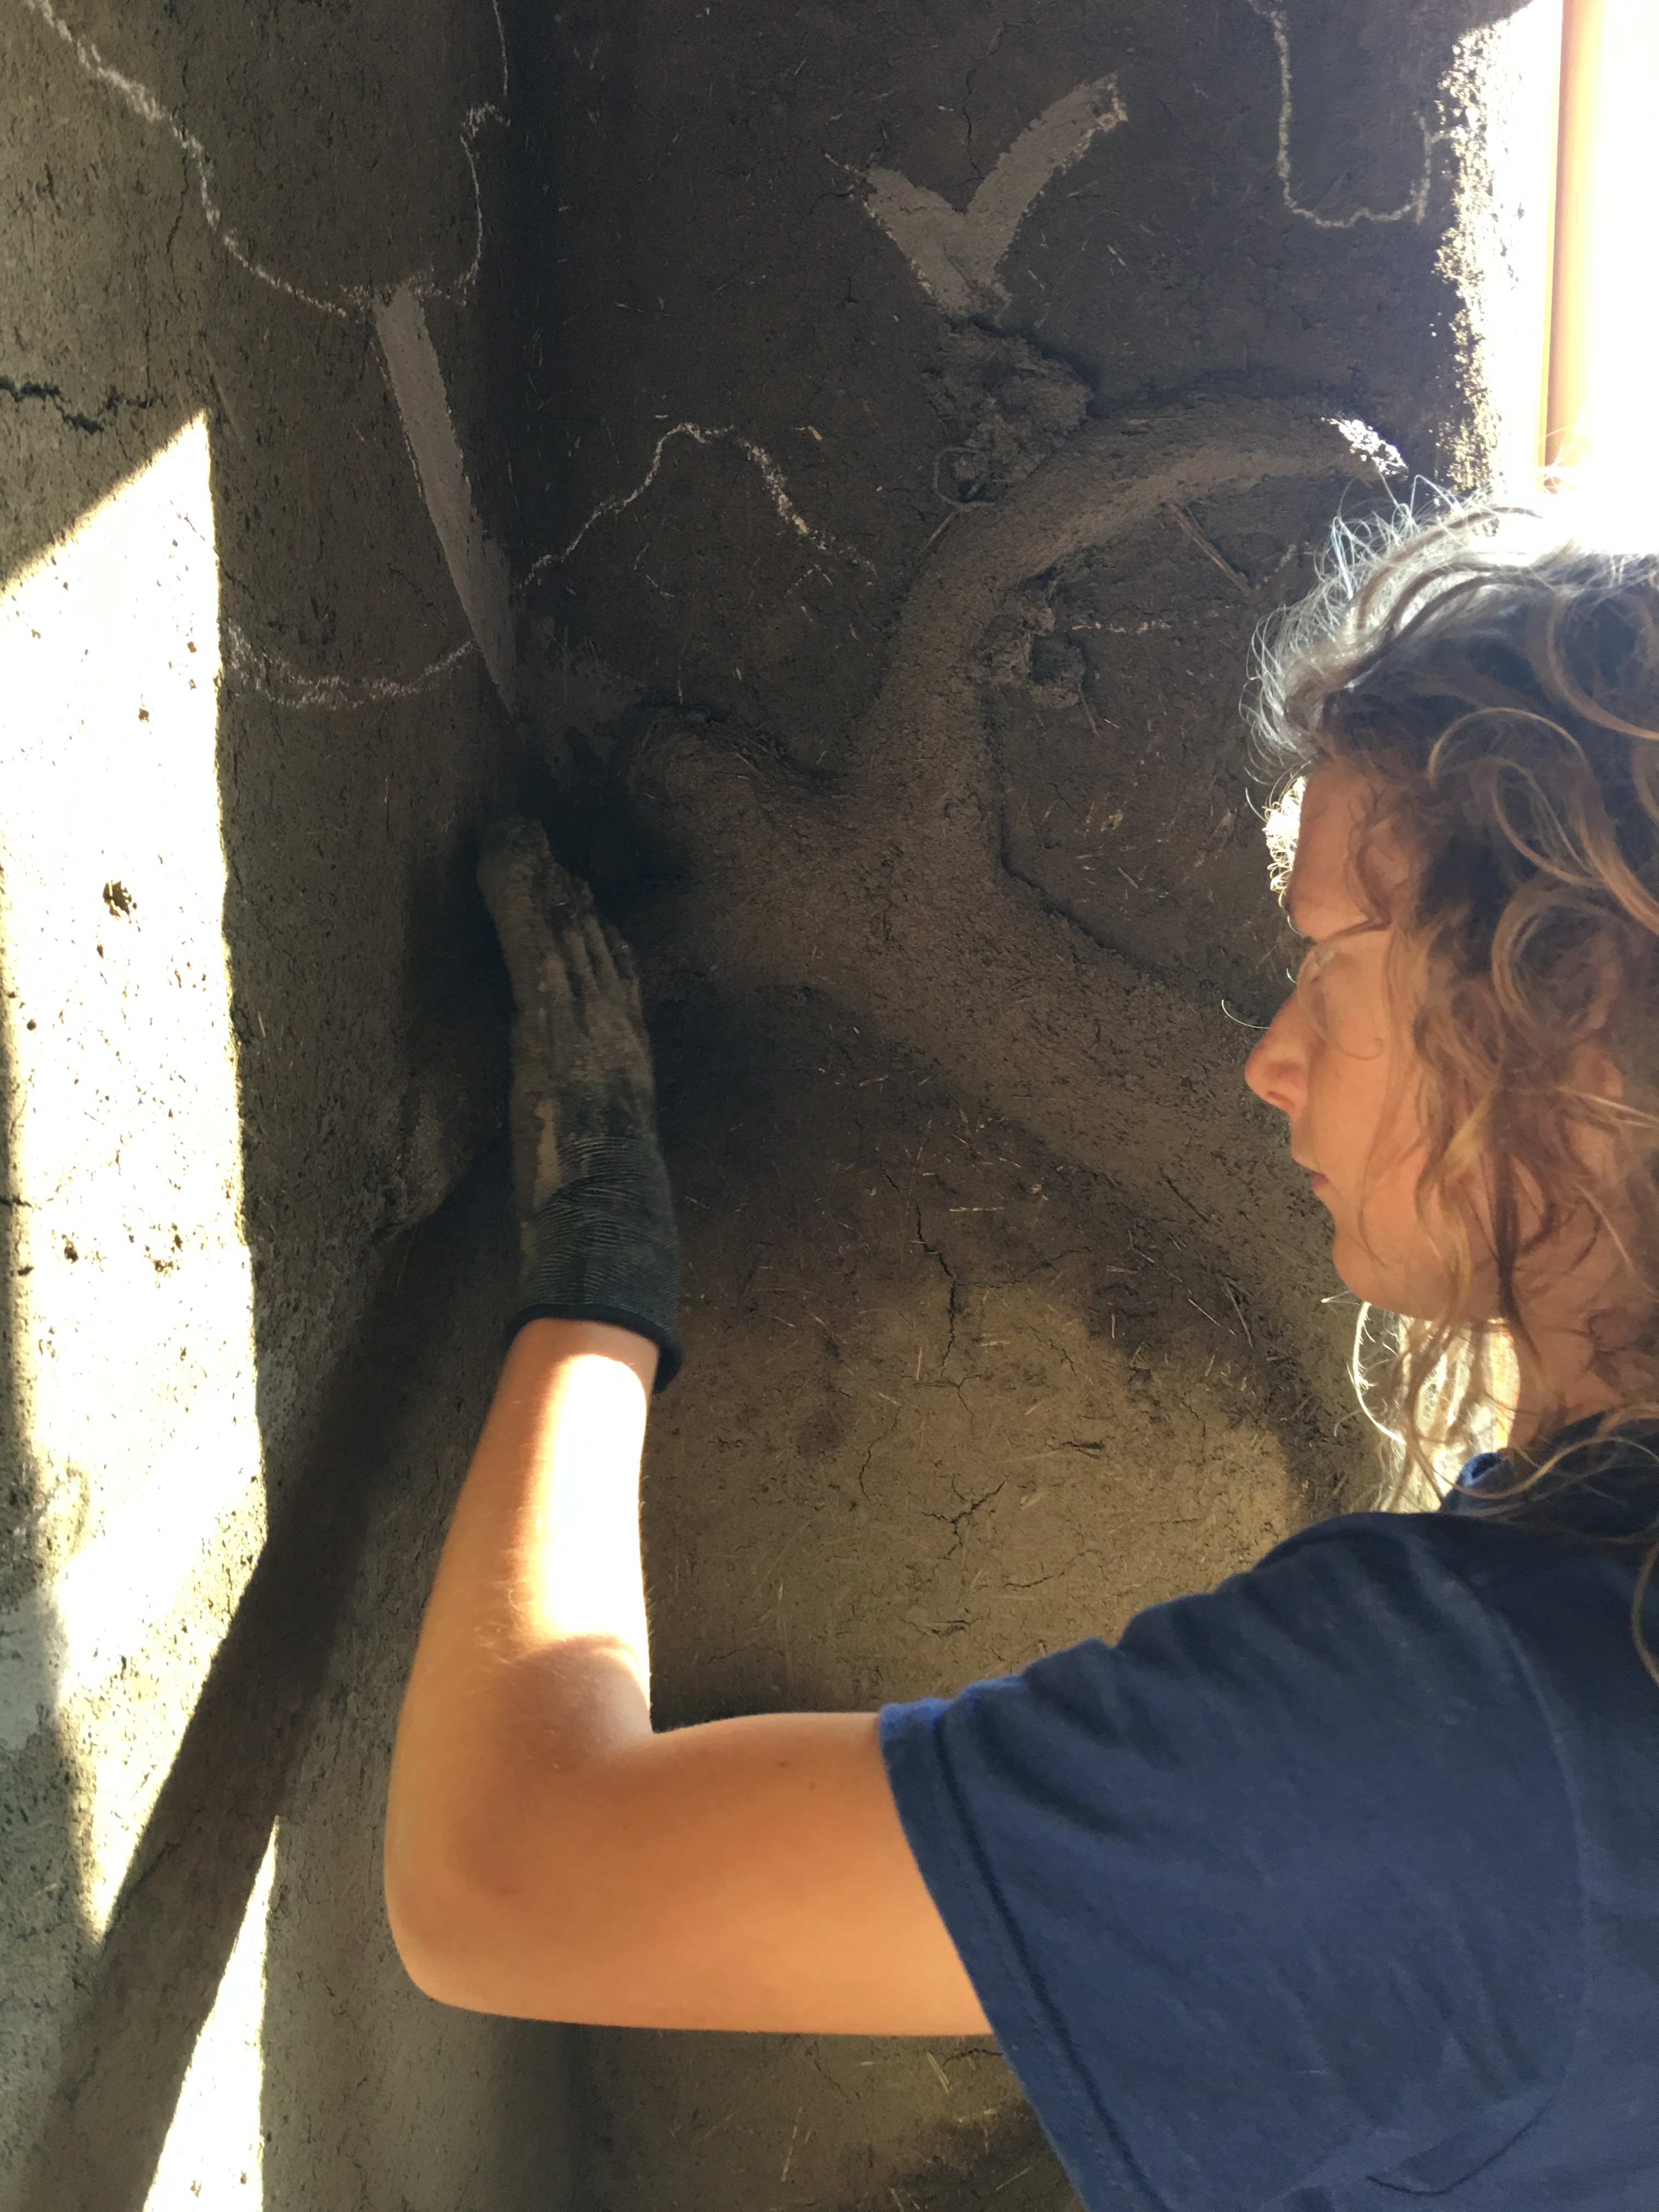
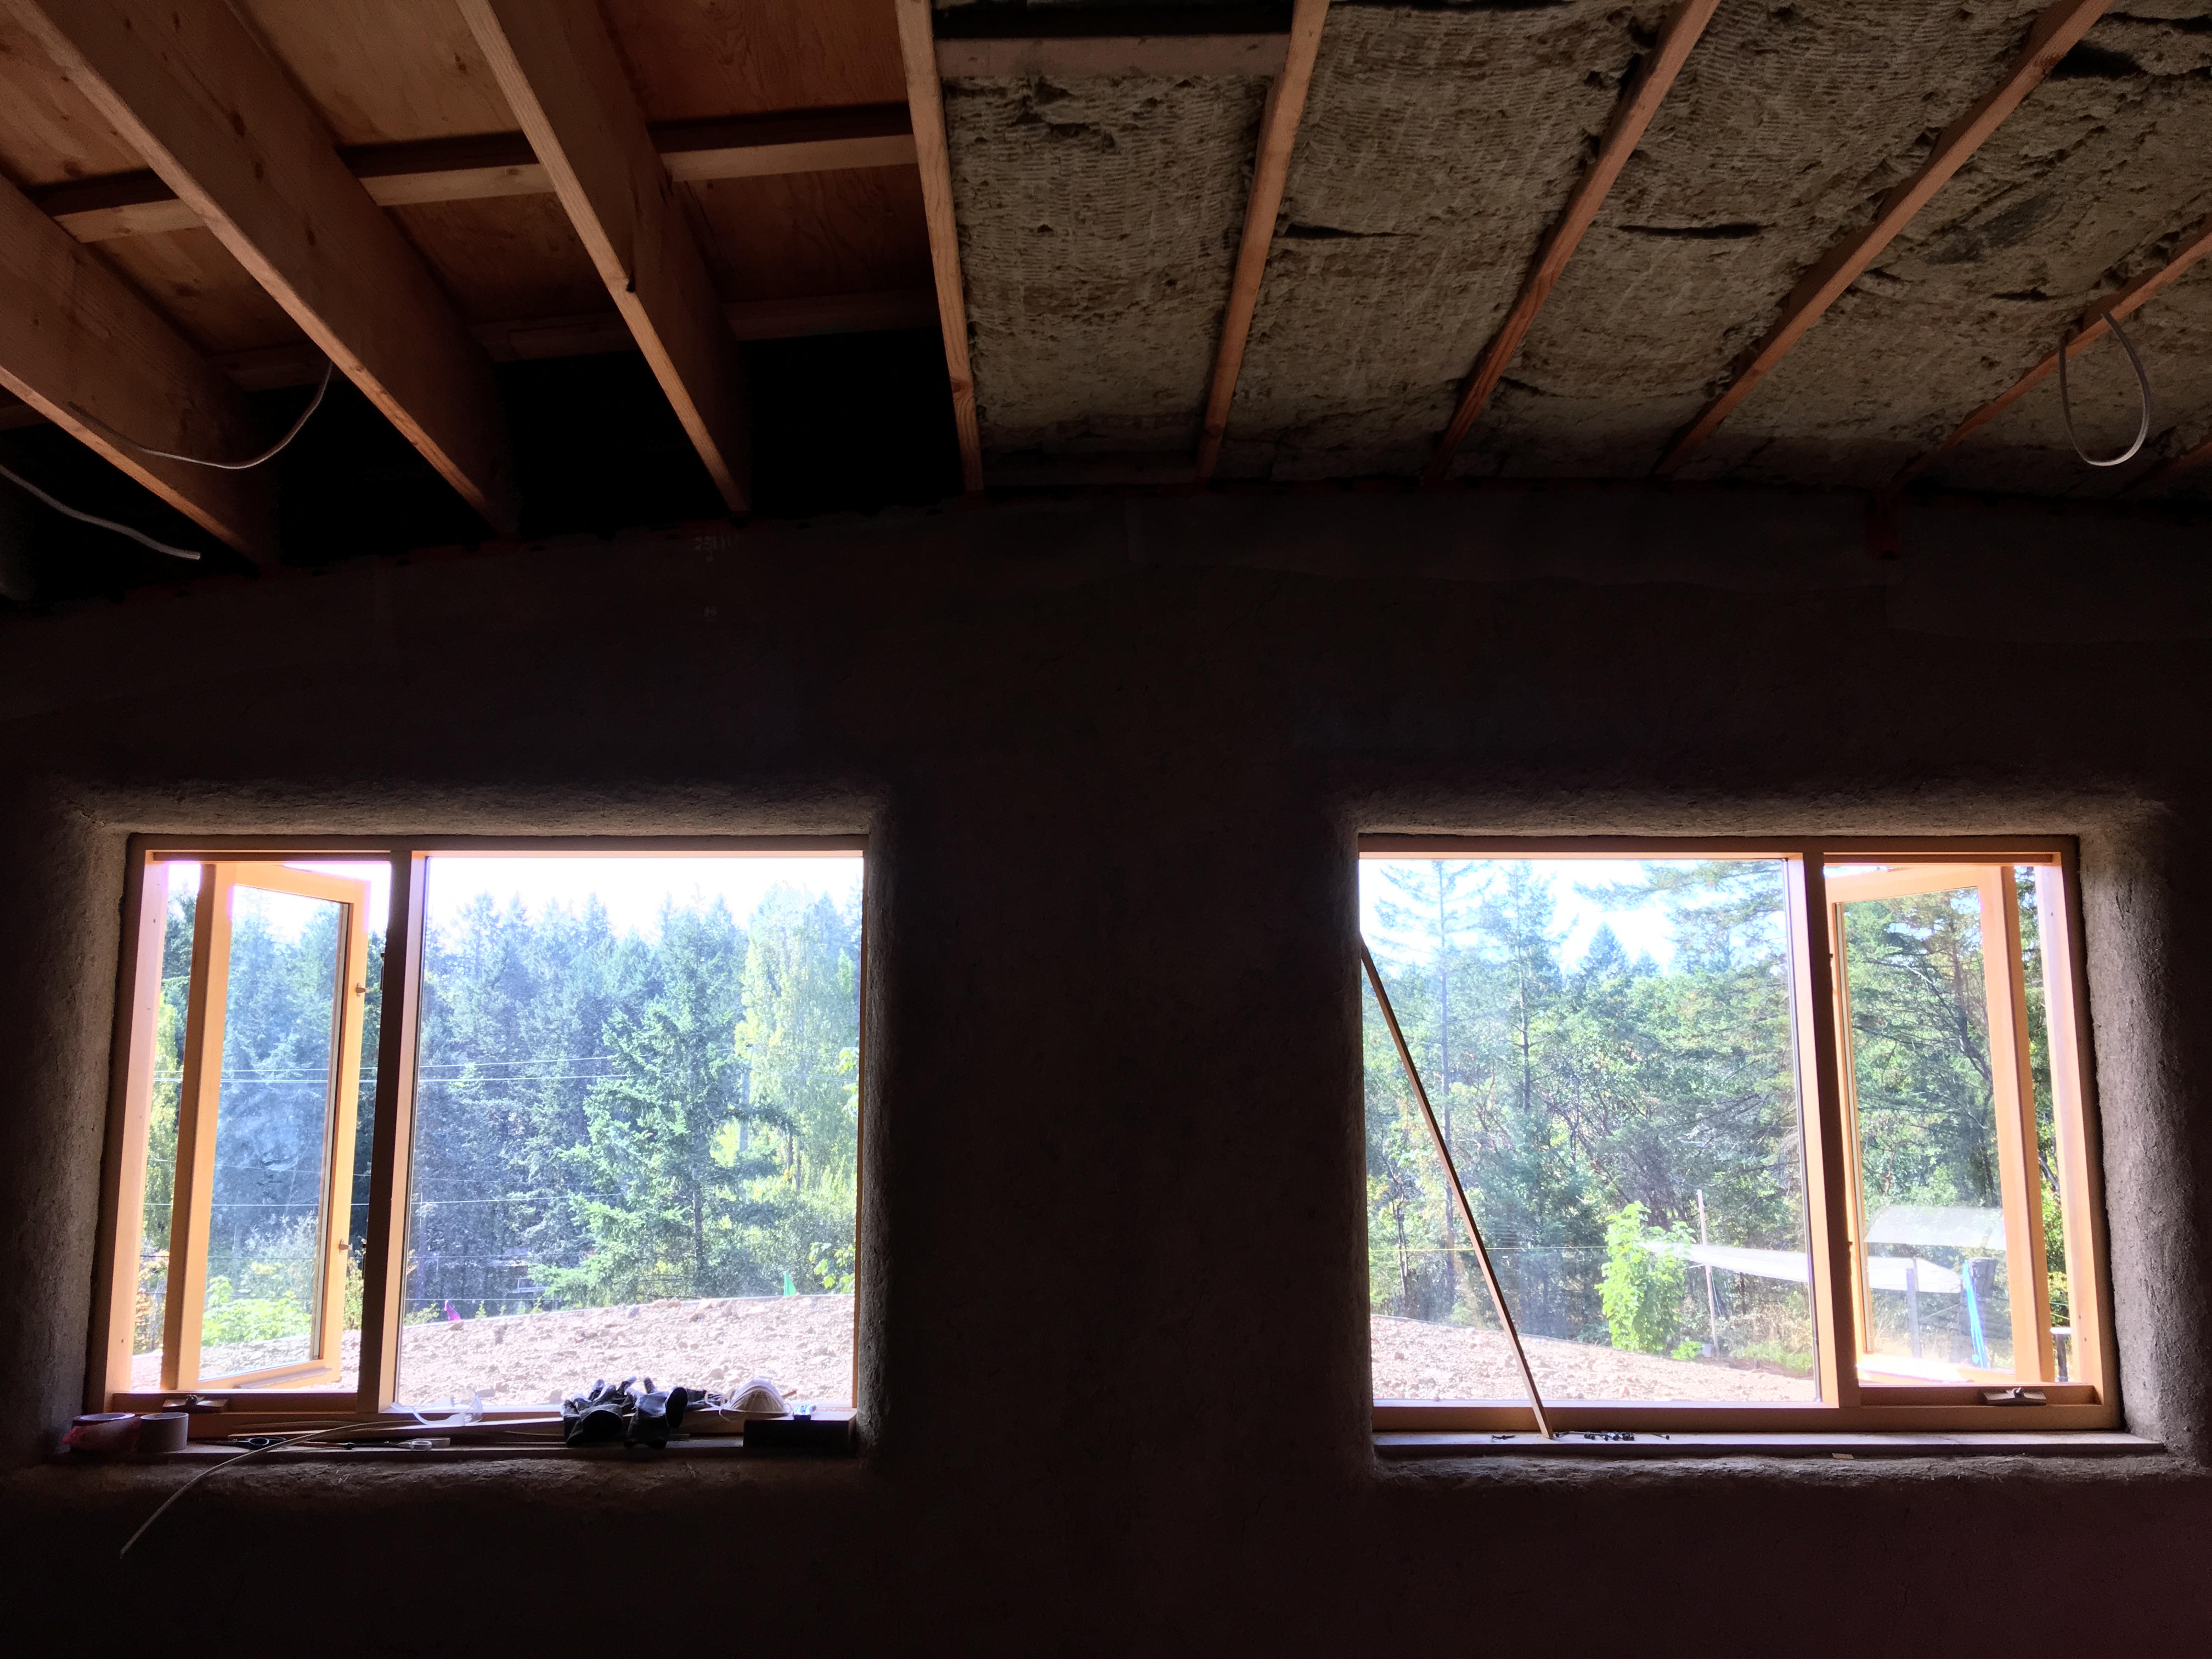
The whole process called for continual creative problem solving. The stud framing made for some very awkward spaces, especially around window bucks and in the corners. We sized the window bucks to glass that we already have, otherwise we may have changed the sizes to fit evenly between the studs. We ended up making a lot of 8″ or smaller bales and flipped them lengthwise in the spaces. The corners also had a lot of these small bales stacked up, and we placed extra 2×4’s to hold them in place on the outside, and also to secure expanded metal lath around the outside corners so we could hand stuff those areas with loose straw. We considered making forms and stuffing the corners with light clay, but the lateness of the season made us worried that the clay might not dry fast enough. We will apply the clay plaster right over the metal lath, which is secured to the wall using zip ties attached to the baling twine of the bales in place.

the awkward corners

4 small blaes

small bales in place

the rest of the corner space stuffed with straw and held with metal lath
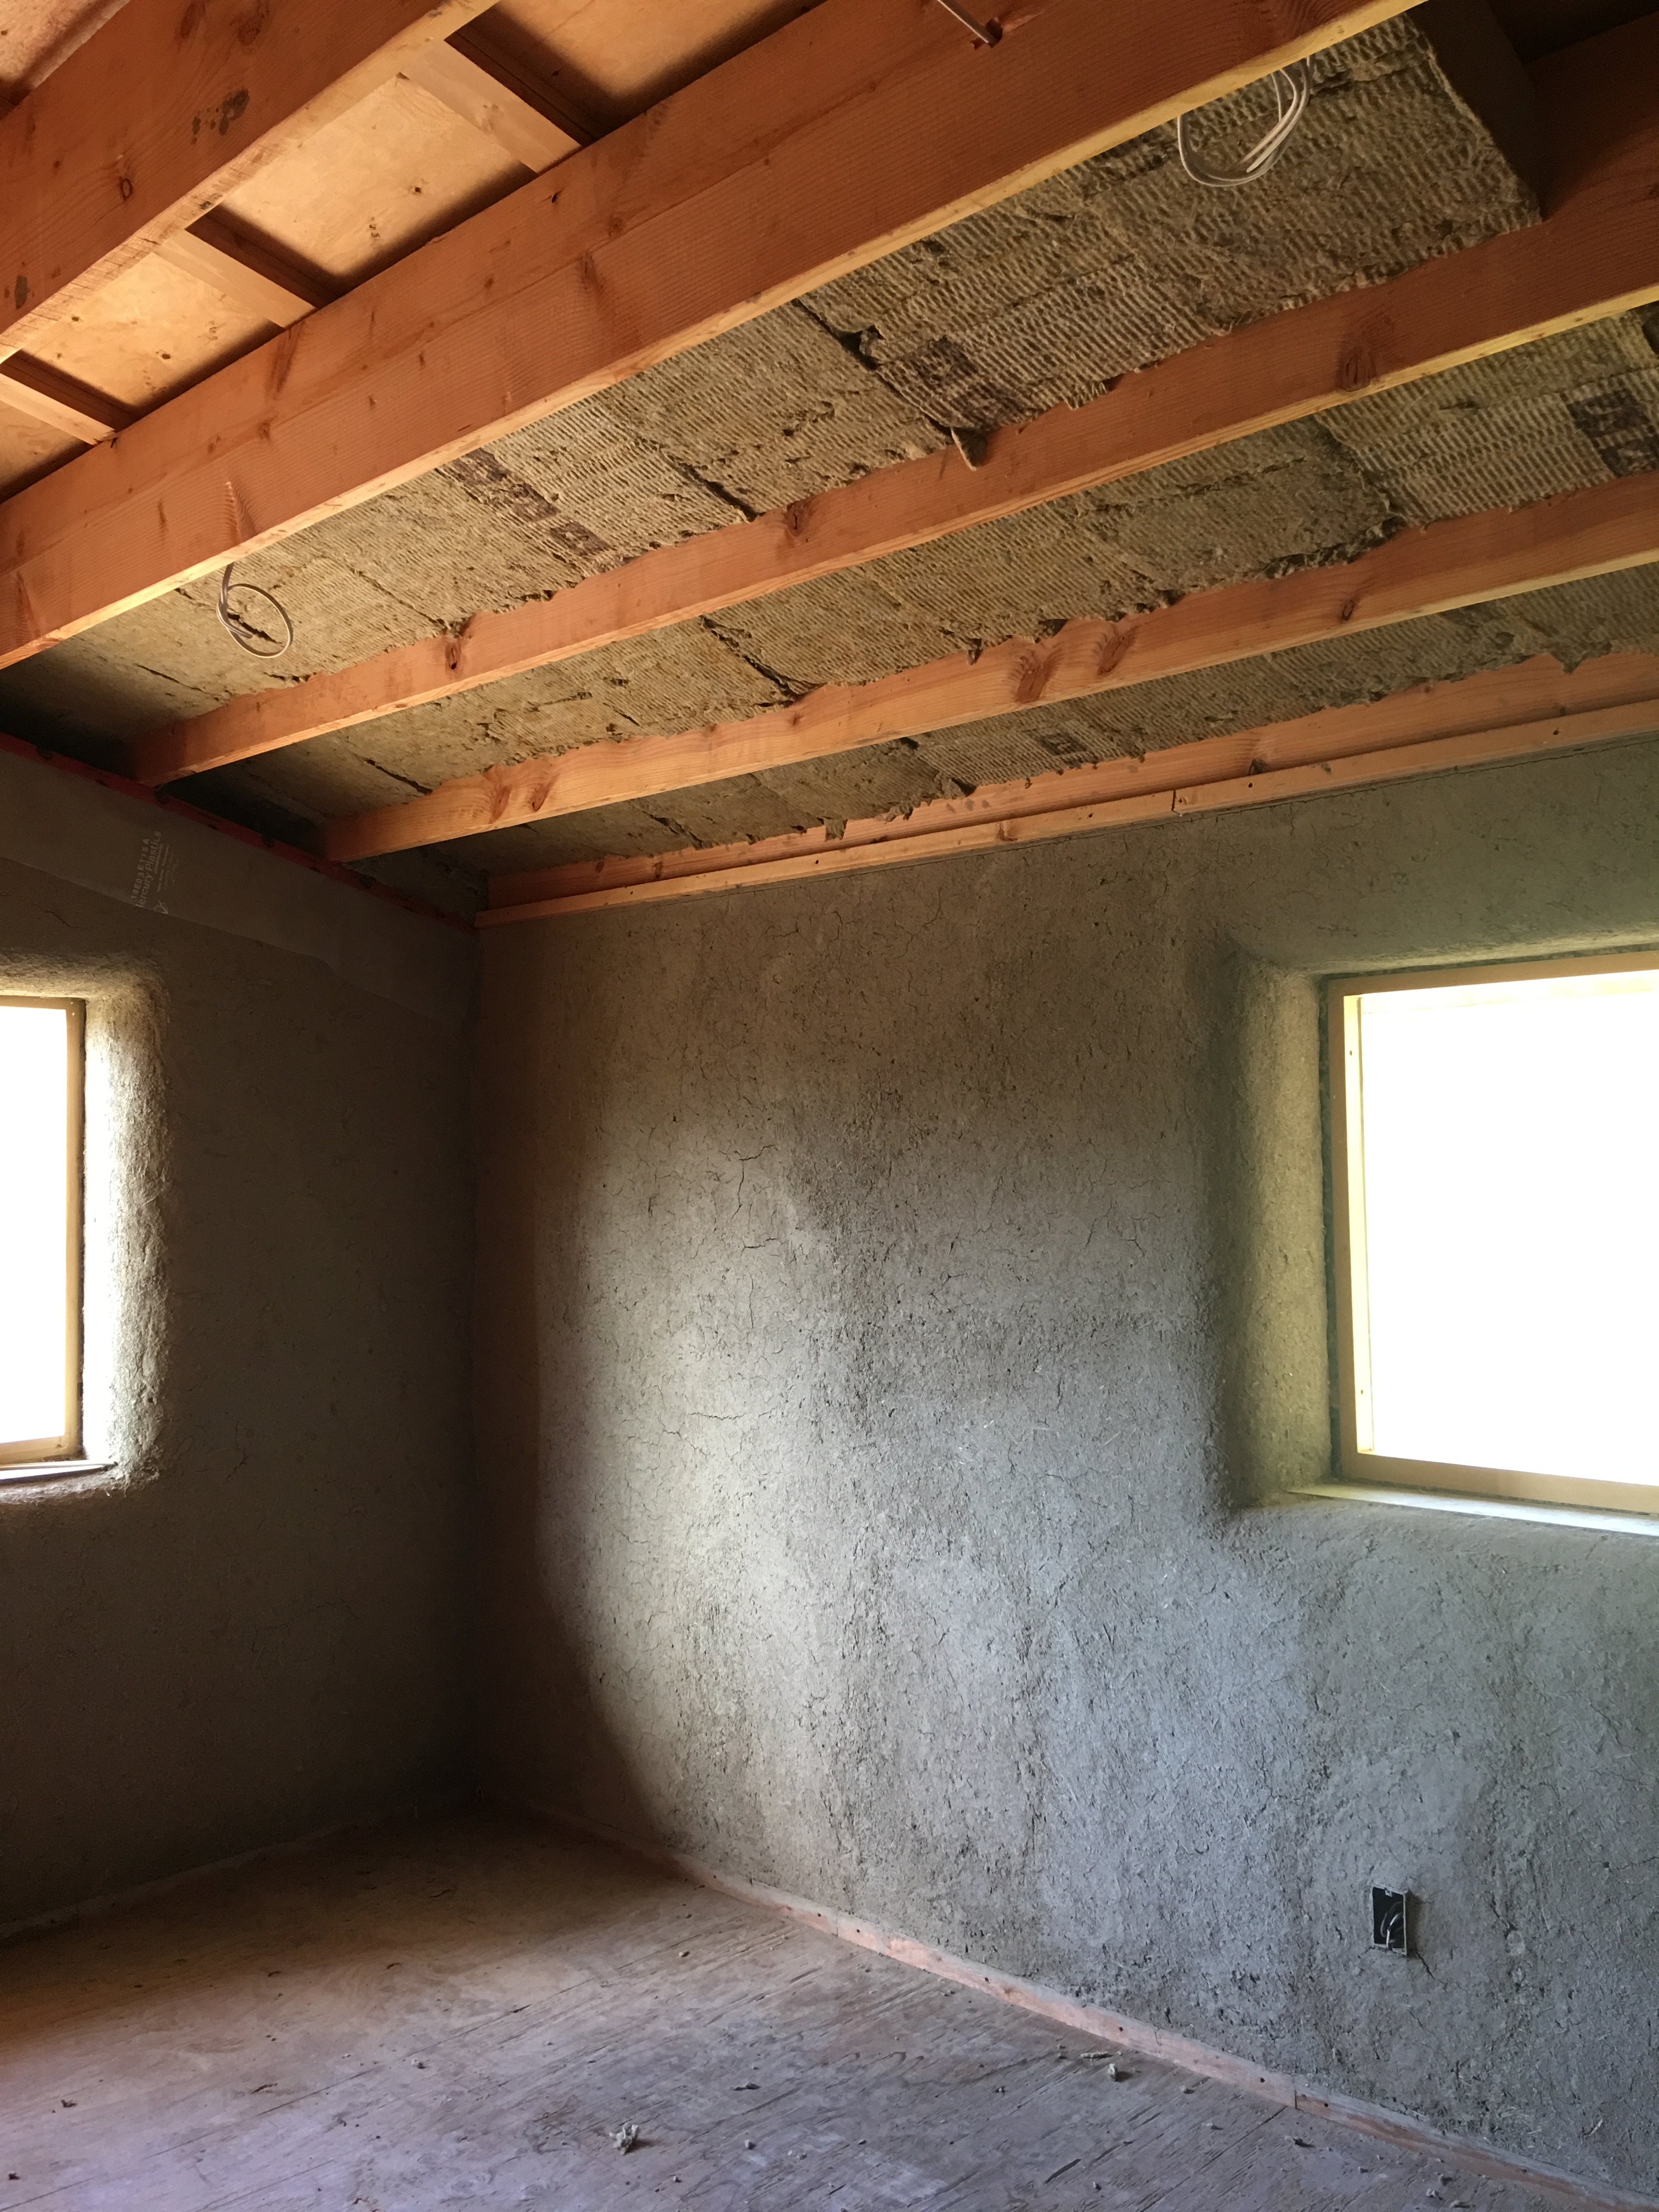
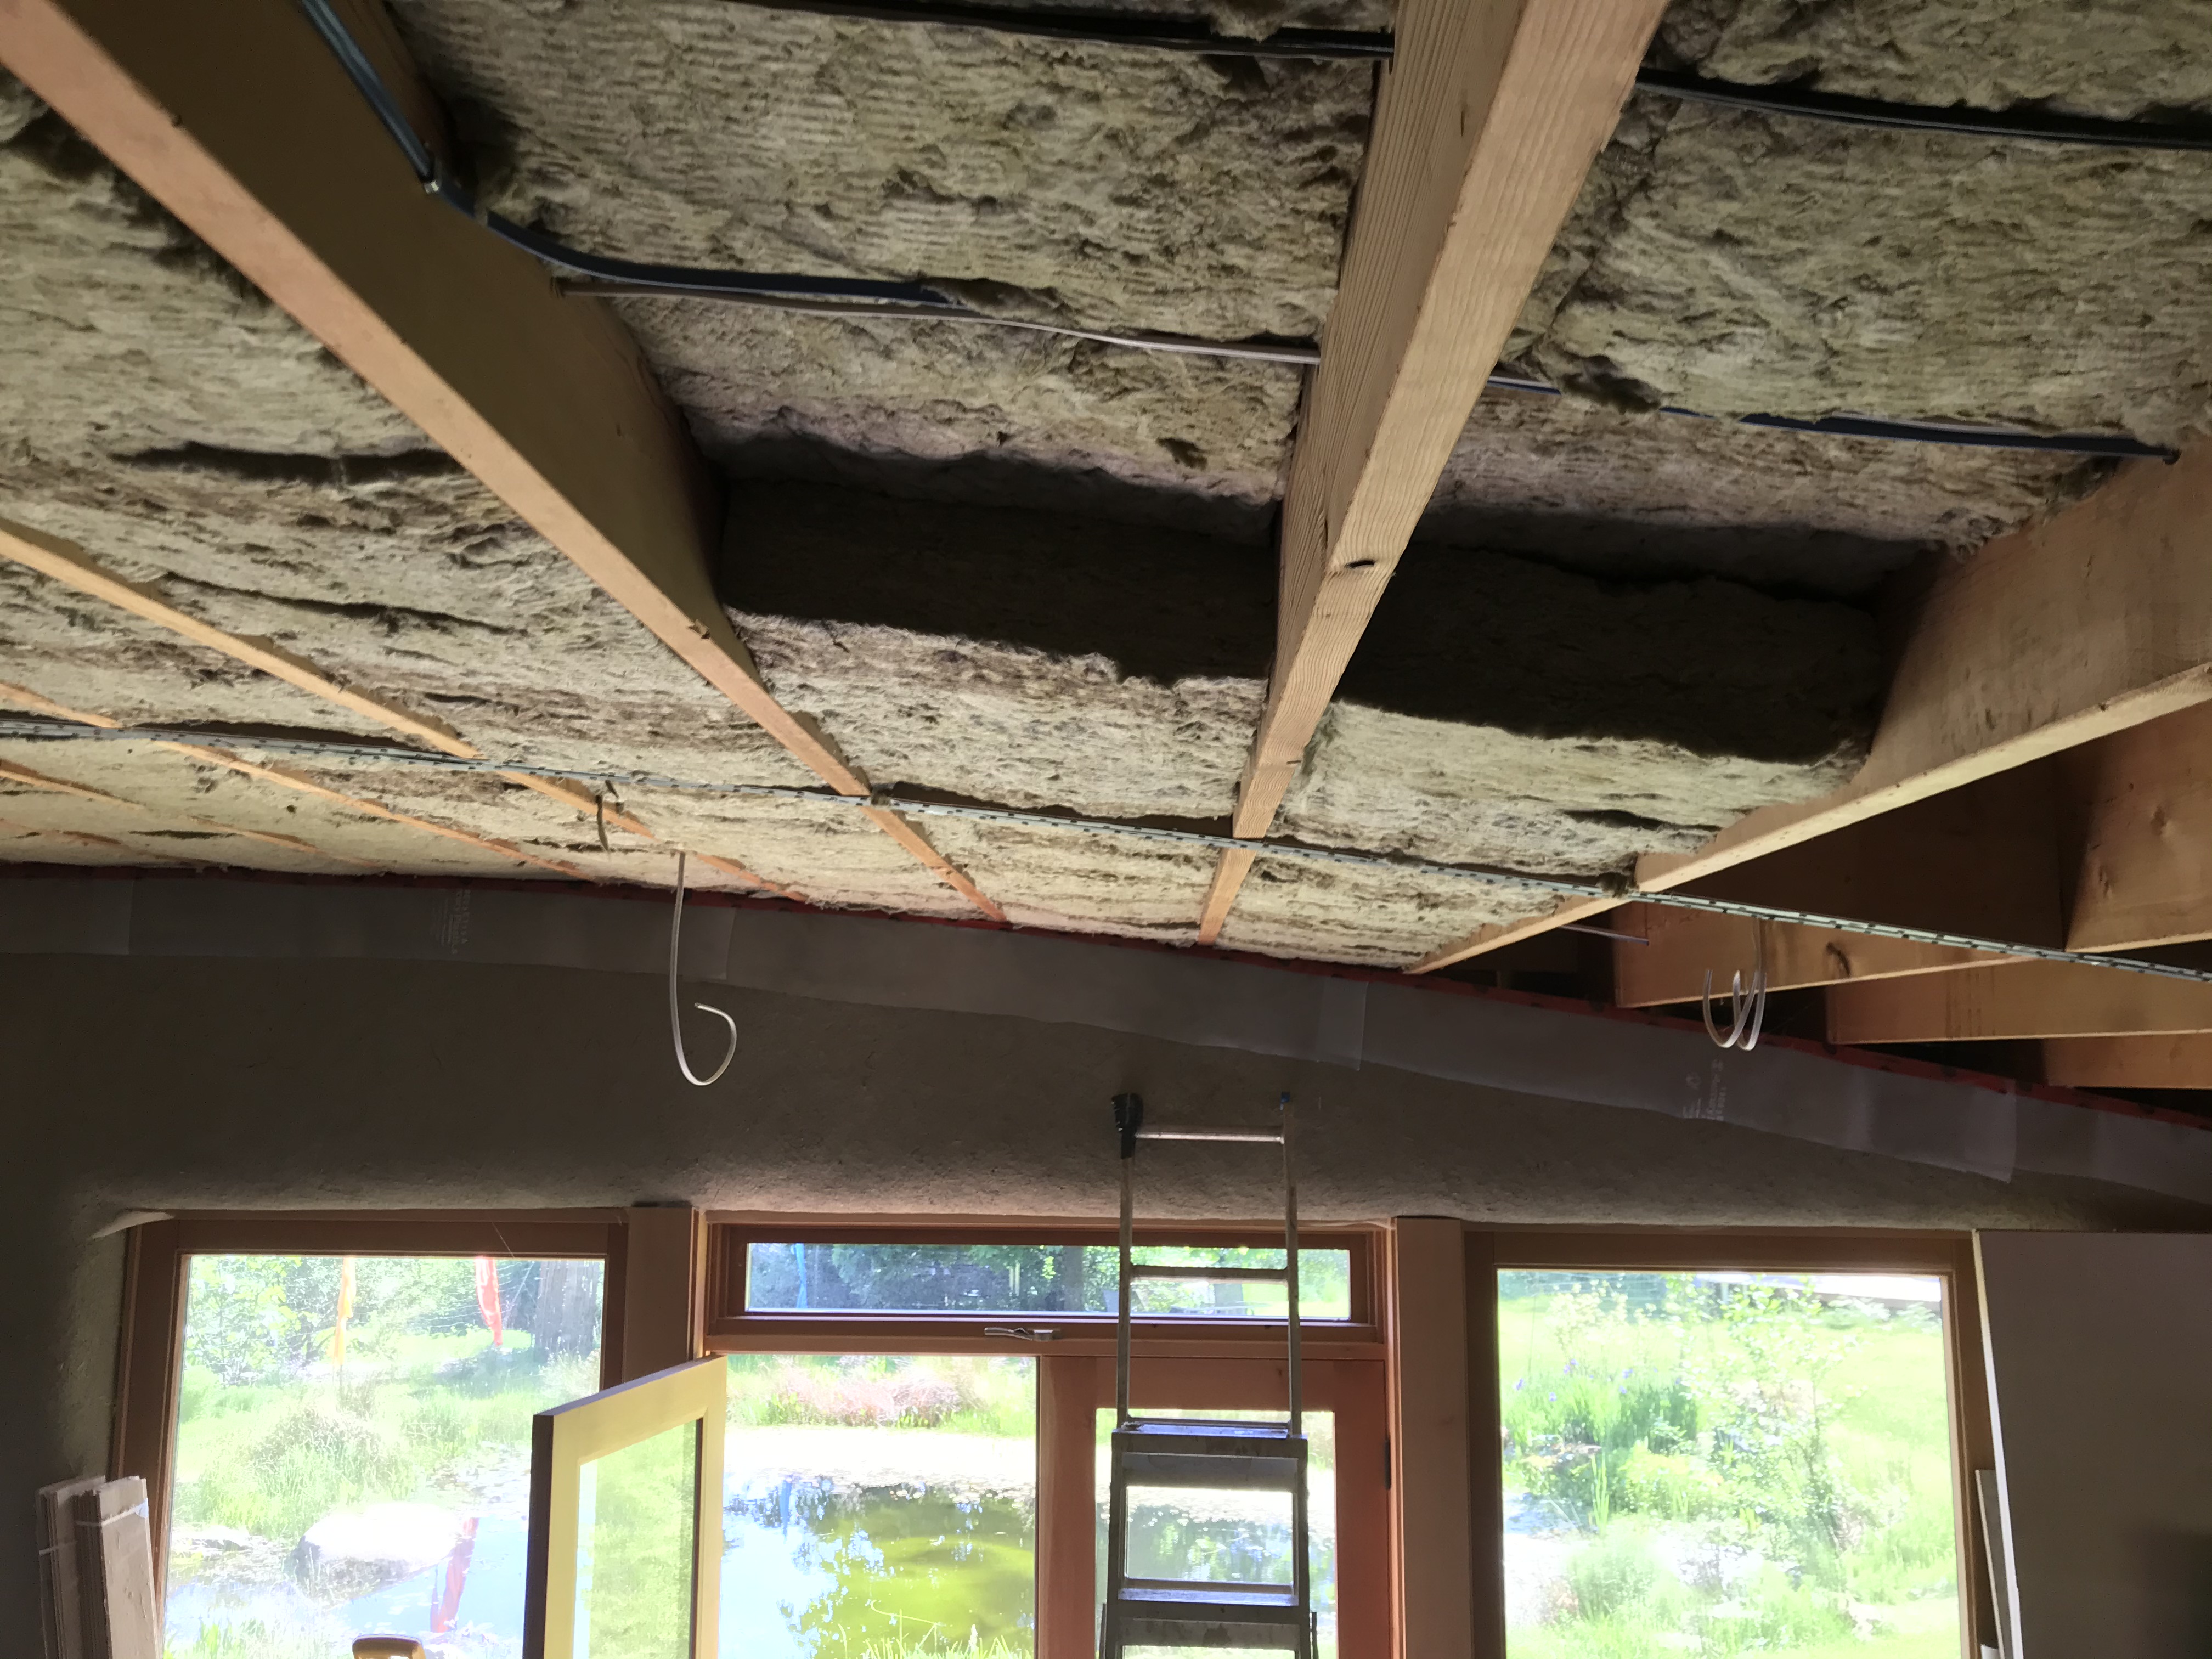
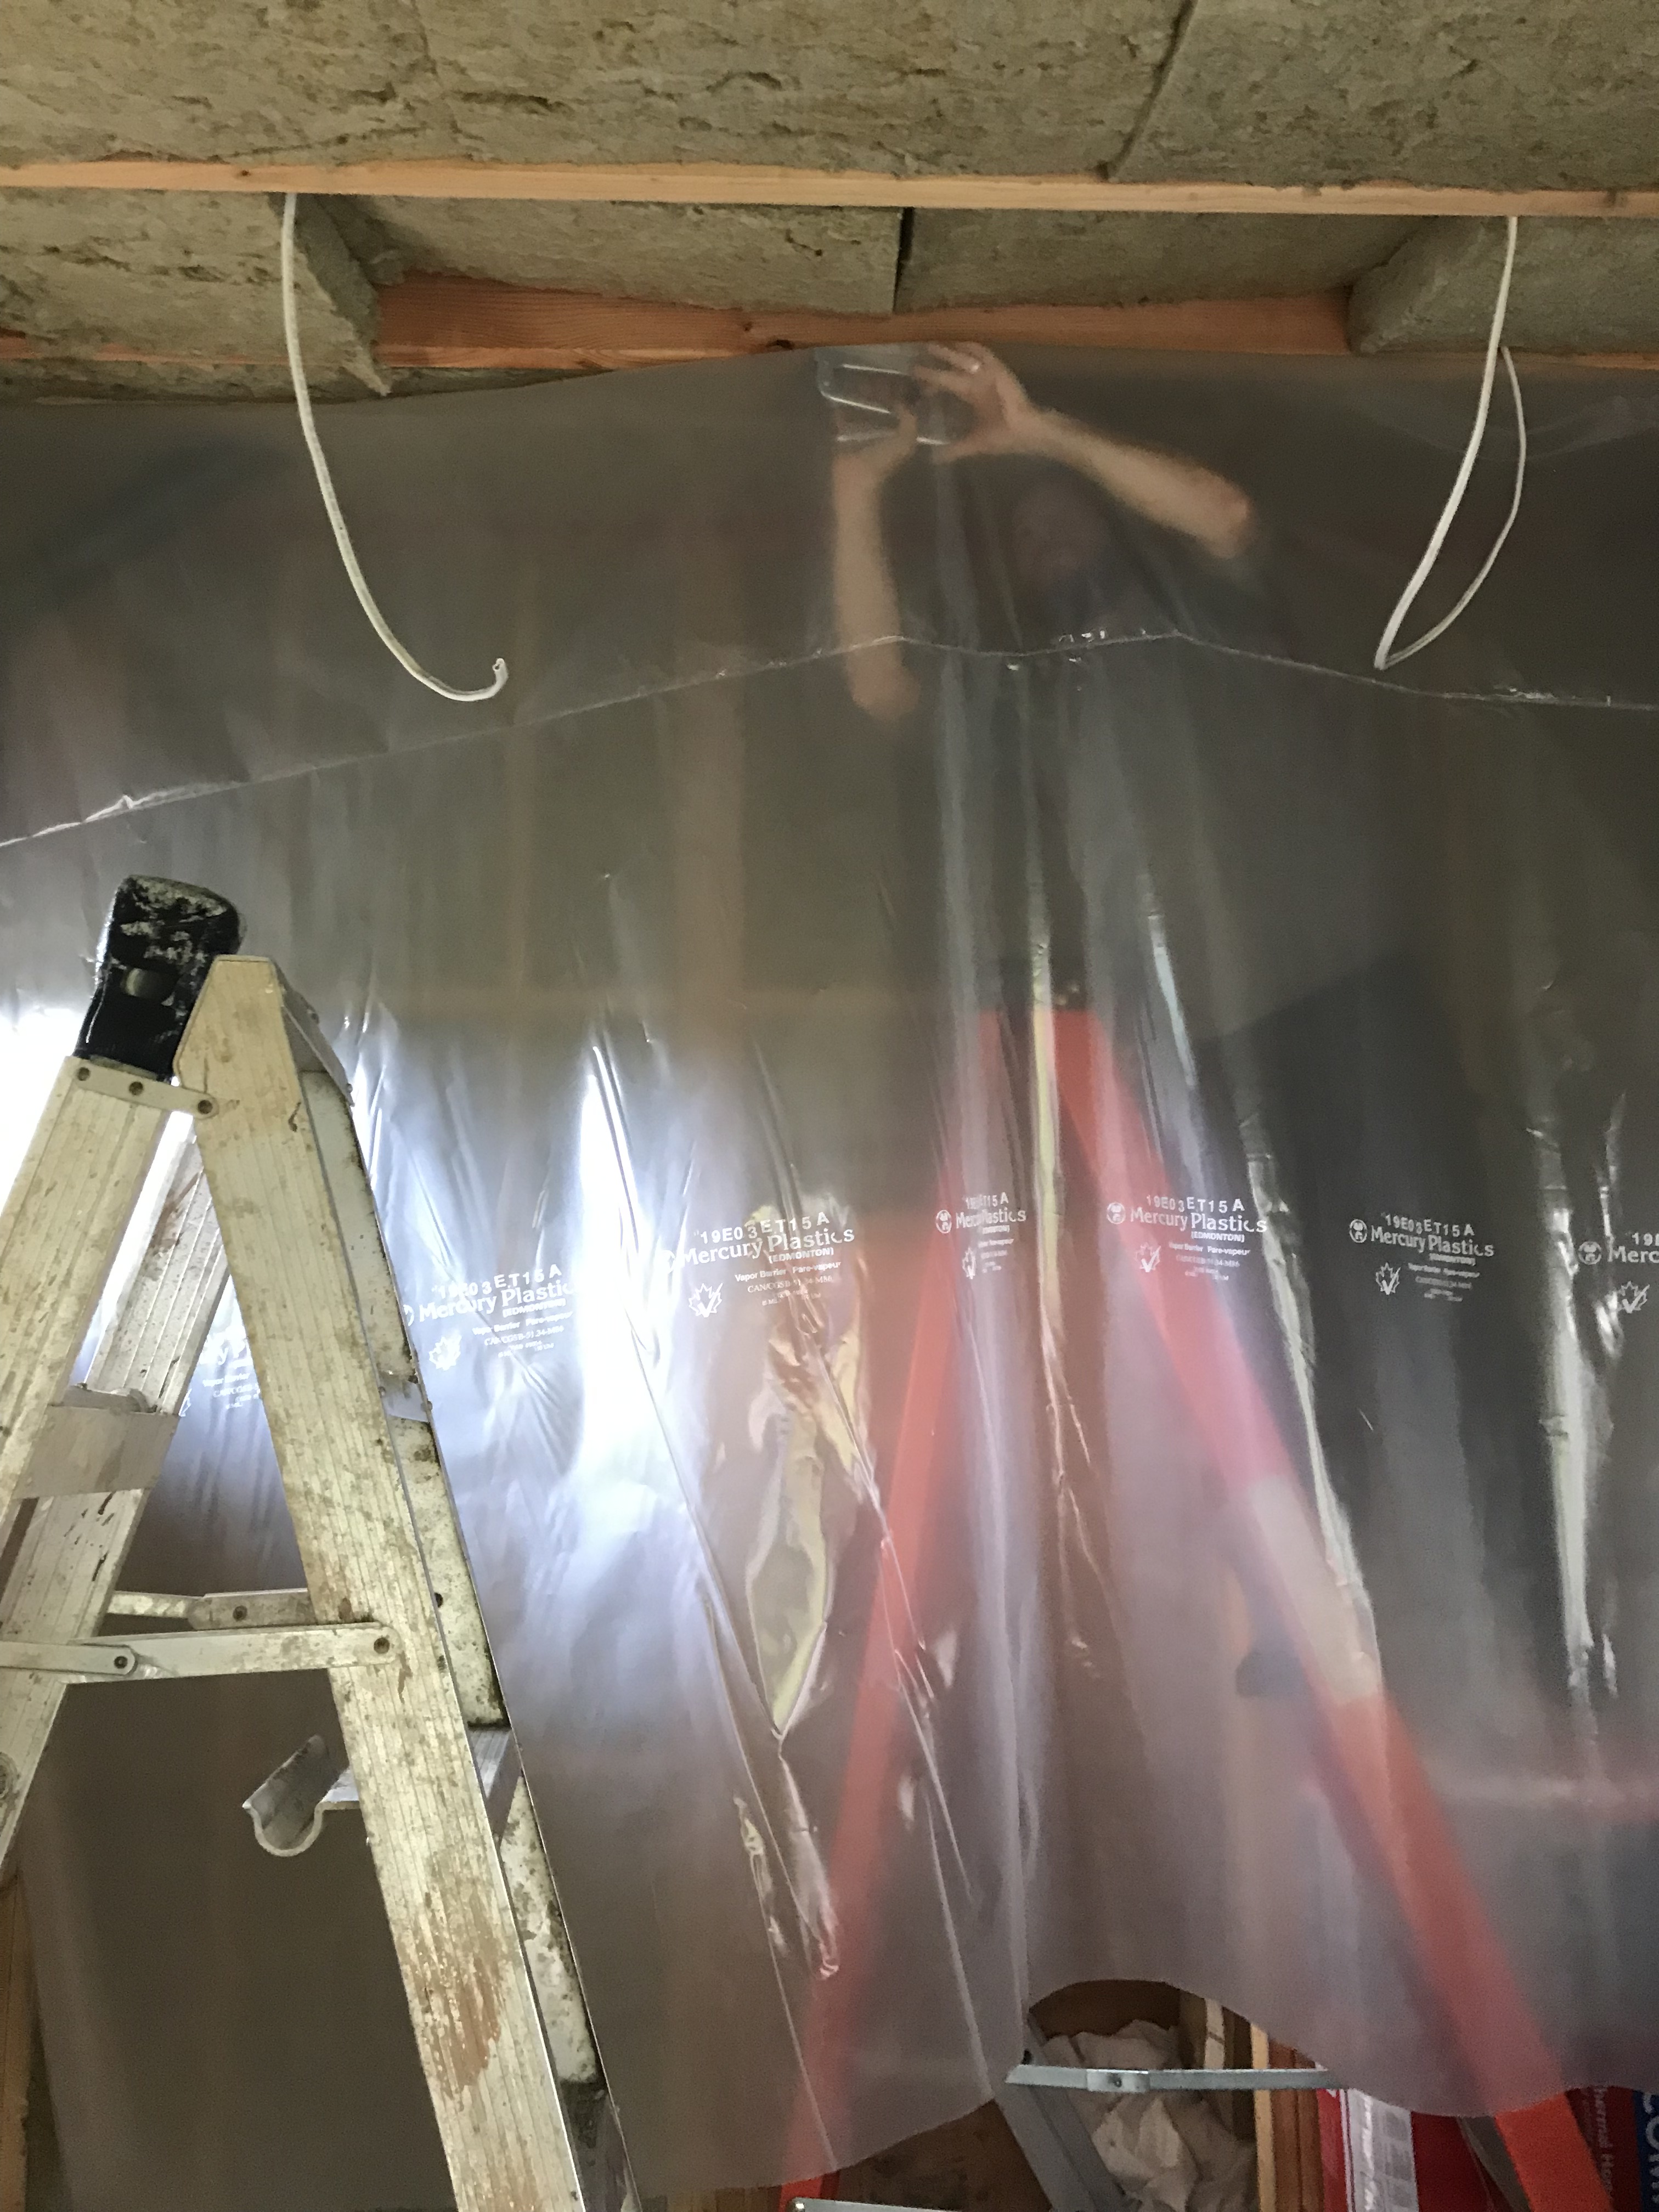
The other awkward area is where the bale walls meet the main rafter on the south and north walls. The rafter is made of two 2×10’s cut into a curve and joined together, and arches over the center of the bales, above the stud’s. The bales come in underneath this rafter, leaving a 10″ space before the soffits and interior ceiling. We cut strips of insulation and fit it on either side of the rafter, and used the metal lath to cover it and join in the with bales, so the plaster will extend up to the roof over the lath.

finished bedroom walls

bathroom vents inset into the bales

half baled. The wide rafter got covered with insulation inside and out

the space at the top of the curved wall gets filled with insulation and covered with metal lath
We ordered 350 straw bales from the Saanich Peninsula last August (2016) which is a mere 20km away. Optimistically, we hoped we could get them in that fall- however, as our time line stretched into the winter, we resorted to storing them under a large tarp until the spring, when we moved them into the house in June after we completed the concrete slab floor. There were many damaged bales, and after a huge sorting process of fully damaged, partially damaged, mildly damaged and good as gold, we ended up with about 250 in various piles. We estimated that we might have needed to purchase up to 25 more, but in the end, we used every last one that was deemed good enough right to the last space. Luckily, our enthusiastic gardening community purchased our damaged bales for their gardens.
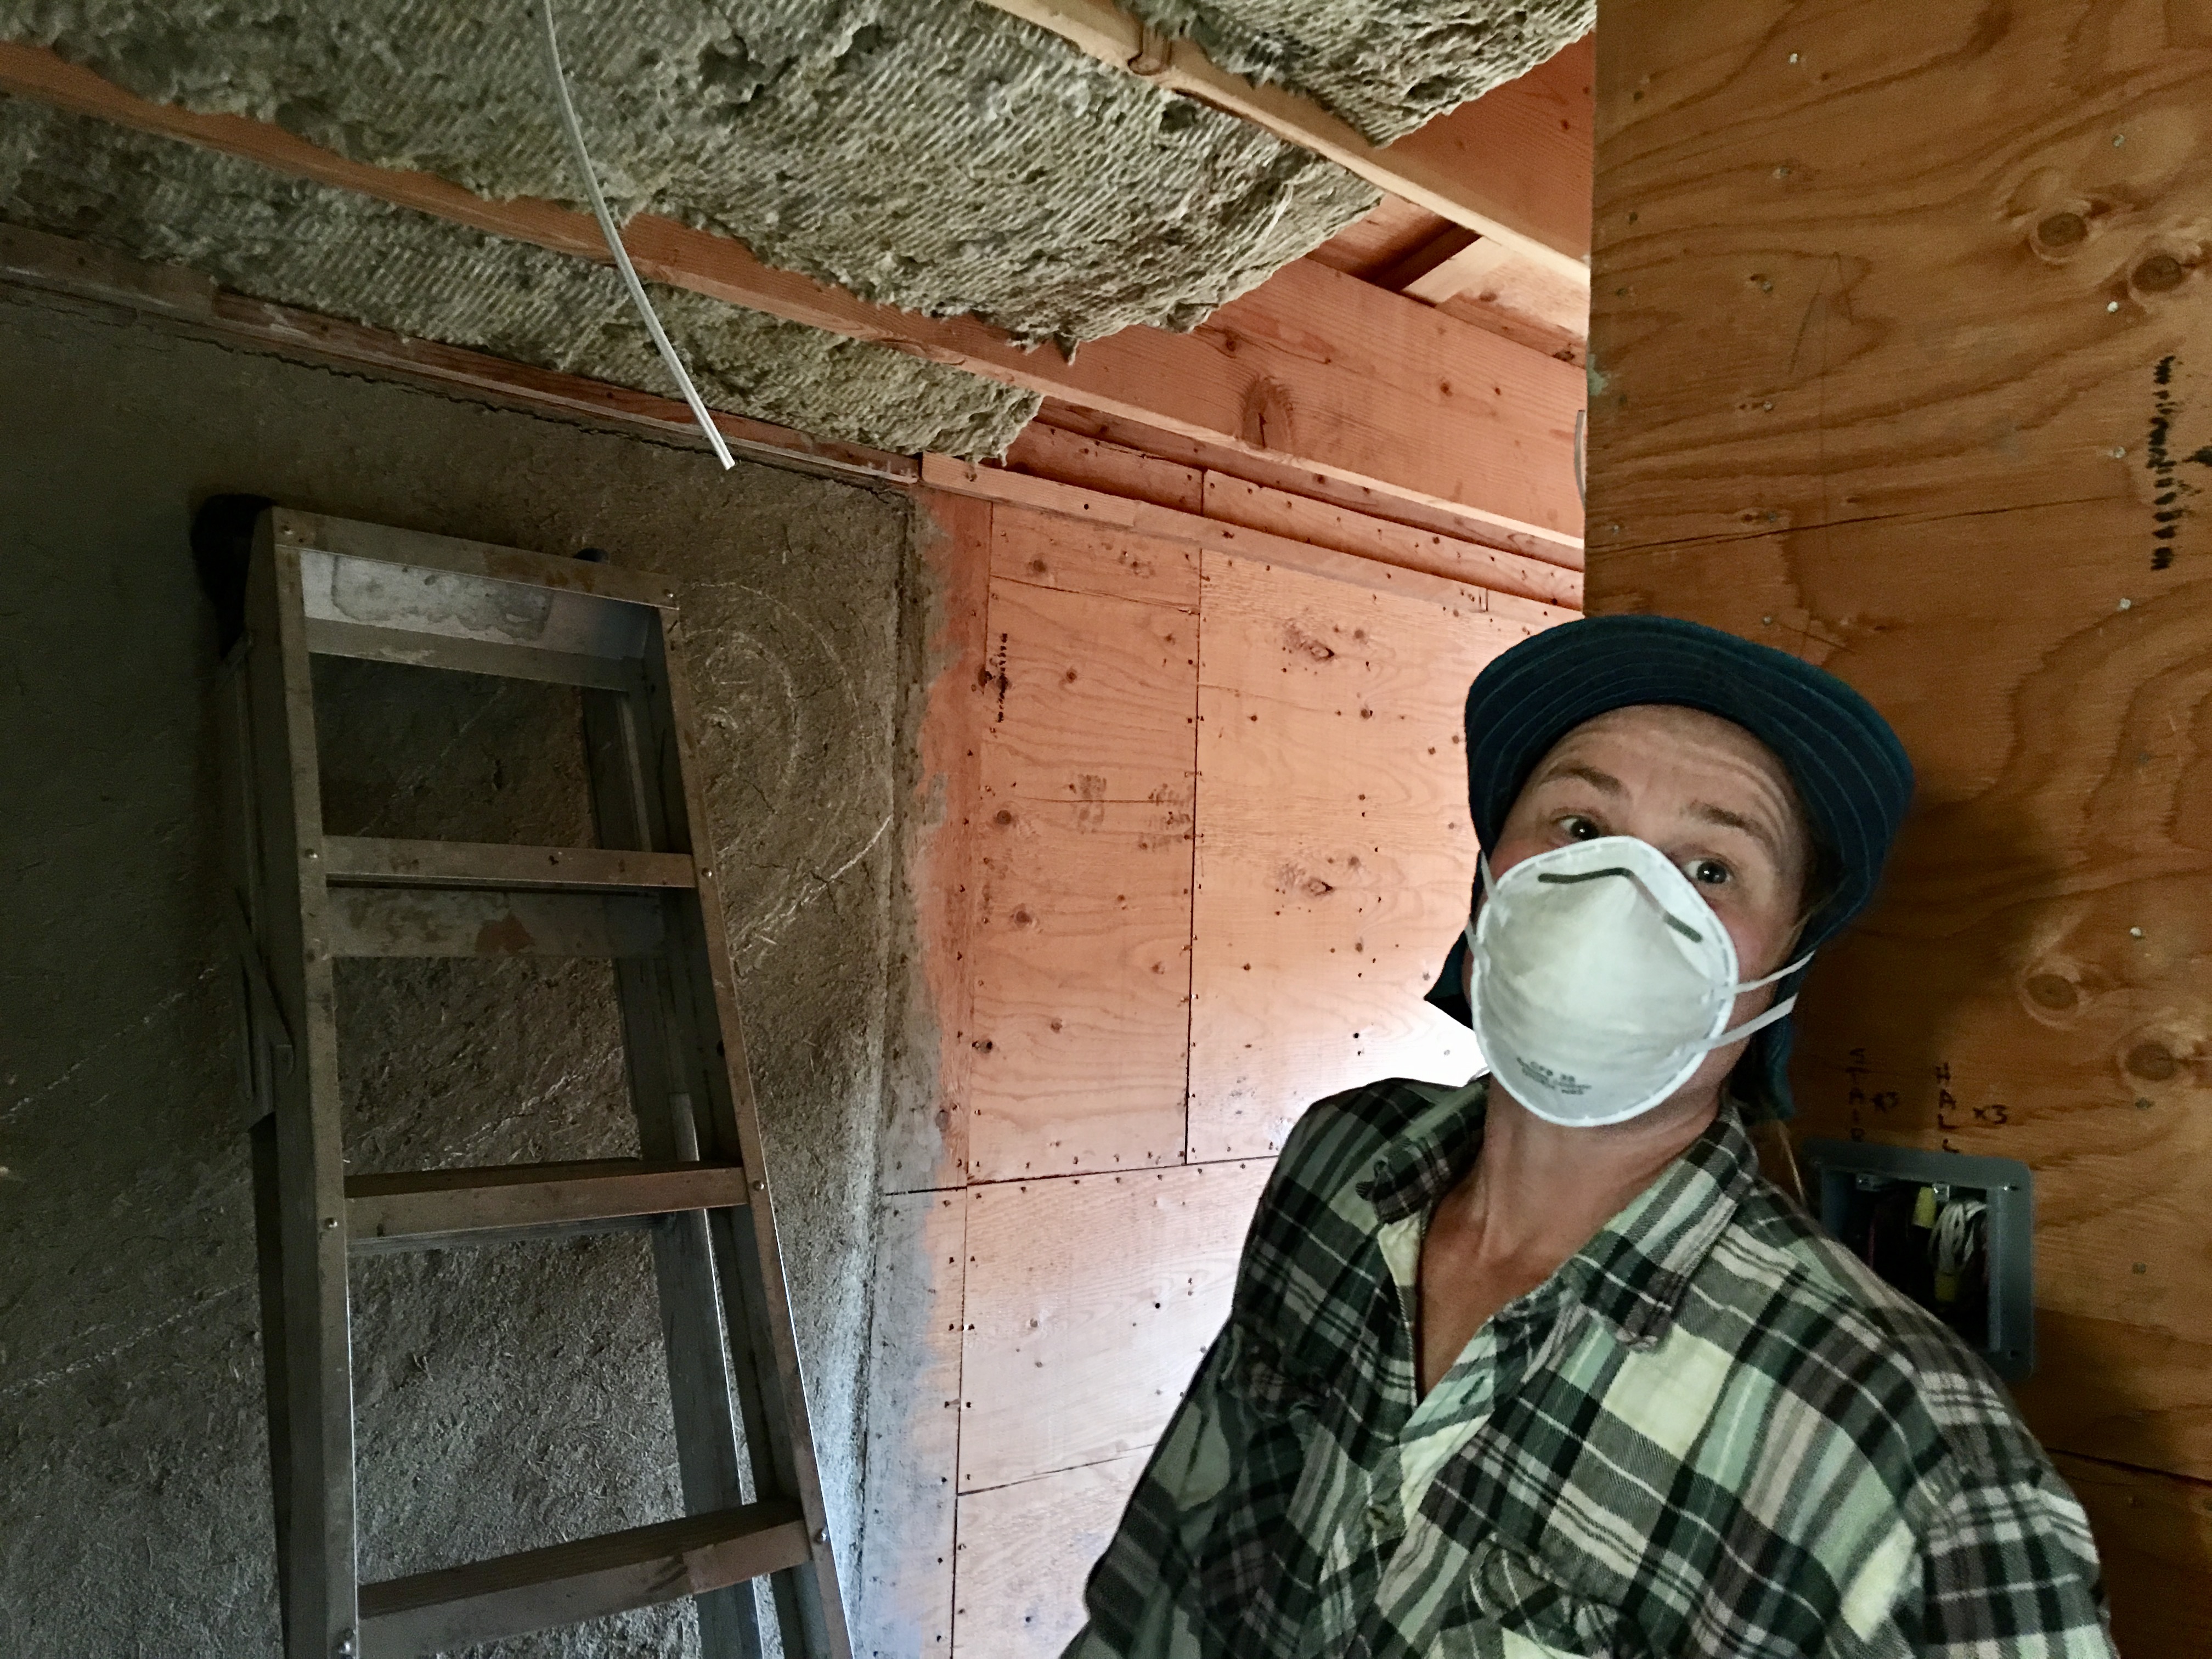
So many of our friends came out and helped with the process during the two weeks that it took to get all the bales in. It is always so humbling to have community members take time out of their own busy lives to volunteer for an afternoon or a day of slamming bales into our walls, or tying up smaller bales, or running the grinder or chainsaw. The swimming pond became the ultimate spot for breaks, and many great conversations and smiles and eating of fresh fruit filled up the moments between hard work. It truly made the daunting task of building our walls so incredibly enjoyable. Thank you again to everyone who helped out! We feel so supported and blessed.