With the baling done by September, our goal was to get the first layer of plaster on the bales before the winter rains began. Plastering has to be done while the weather is still suitable for quick drying, since it is not advisable to have wet clay against the straw for long enough to develop mould. The faster it dries, the better. Because it was September when we started, we decided to make this first layer no thicker than 1/2 inch. If it had been June, we would have taken the seasonal opportunity to fill the dips, which would mean much thicker plaster in some areas. However, we will probably go around in the spring and add plaster just to the places that are dippy, so the next layer will begin to smooth out the surface of the walls.
Once the baling was done, there commenced the job of stuffing. This entails going over each wall and looking for spaces that push through the bales, generally where one bale meets up against another bale. All along the tops of the bales needed stuffing, and sometimes where the framing separates the bales. Tucking in tight little twists of straw to fill these places becomes methodical but doesn’t take too much time.
After that, comes the messy job of applying clay slip to all exposed straw. We collected waste clay trimmings from a pottery studio, and soaked it in buckets so it becomes soft and scoopable. Then we mixed it with more water to dilute it to a thick chocolate milk consistency, using a paddle mixer. It was thick enough to not drip very much off a dip stick. I created a little wearable square bucket to hold the slip while I slapped it on the bales with a big brush and a gloved hand. The bucket, equipped with old belts that went over my shoulders, could catch any excessive dripping and free up both my hands to massage the slip onto the straw. It dries a much lighter colour of pink.
 Then came plastering! We used local clay from an excavation job on the island, pitt run sand, (also from the island) and all that straw we collected from the bale trimming. We built a soaker pit from damaged straw bales, lining it with tarps and then filling it with clay and water to make it soft. On tarps, we mixed 4 or 5 shovels of the soaked clay with 10 shovels of sand by rolling the tarps around and then foot mixing, adding water as we went to get a good consistency without allowing the mix to be sloppy. Adding a few handfuls of straw (equivalent to 2 or 3 shovels) soaked up a bit of water, so sometimes we would add a bit more if it became too stiff. The test is to make a ball, and not have it ooze or slop, but also not have it be too stiff and crumbly. The other test often comes from actually applying it, and becoming used to the ideal consistency while working with it. The hands on experience of plastering generally becomes the best way to really learn! We had to adjust things as we went- our ratios changed as we dug into our clay pile and found less high quality clay. We noticed that our mixes were more silty, difficult to apply, and orange in hue instead of blue/grey. It was a subtle change as we filled the soaker pit, but after a few mixes we realized we needed to amend our clay from a different pile we had saved. (After so many years of natural building, we have all sorts of little and big piles of resources hanging around!)
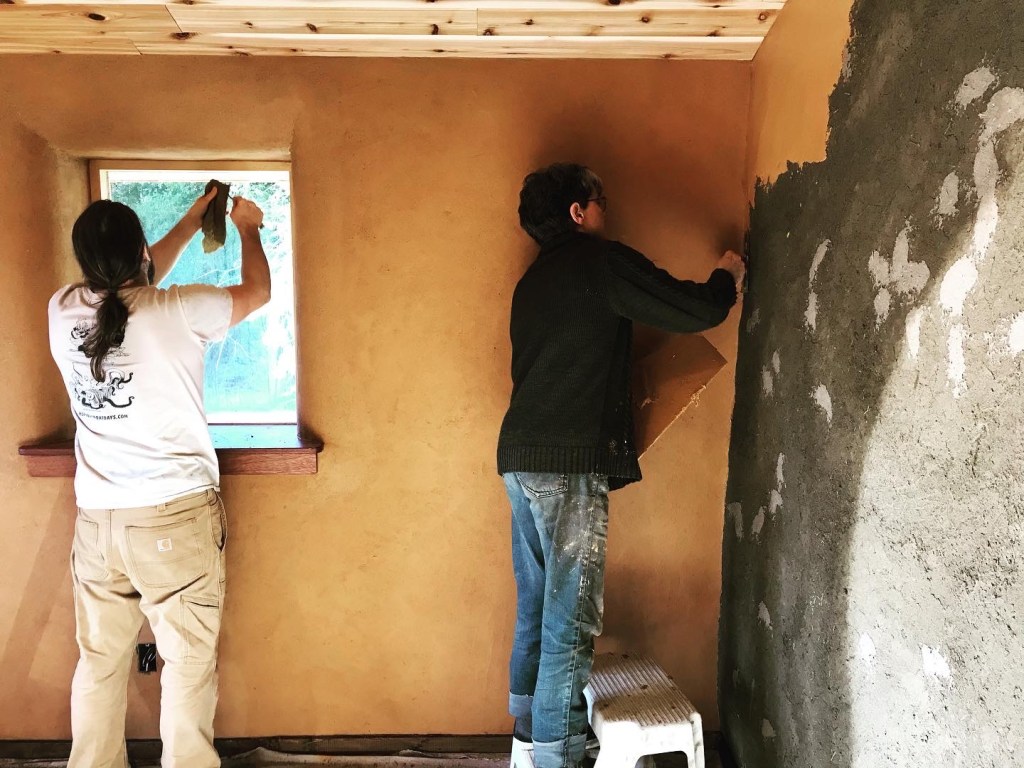
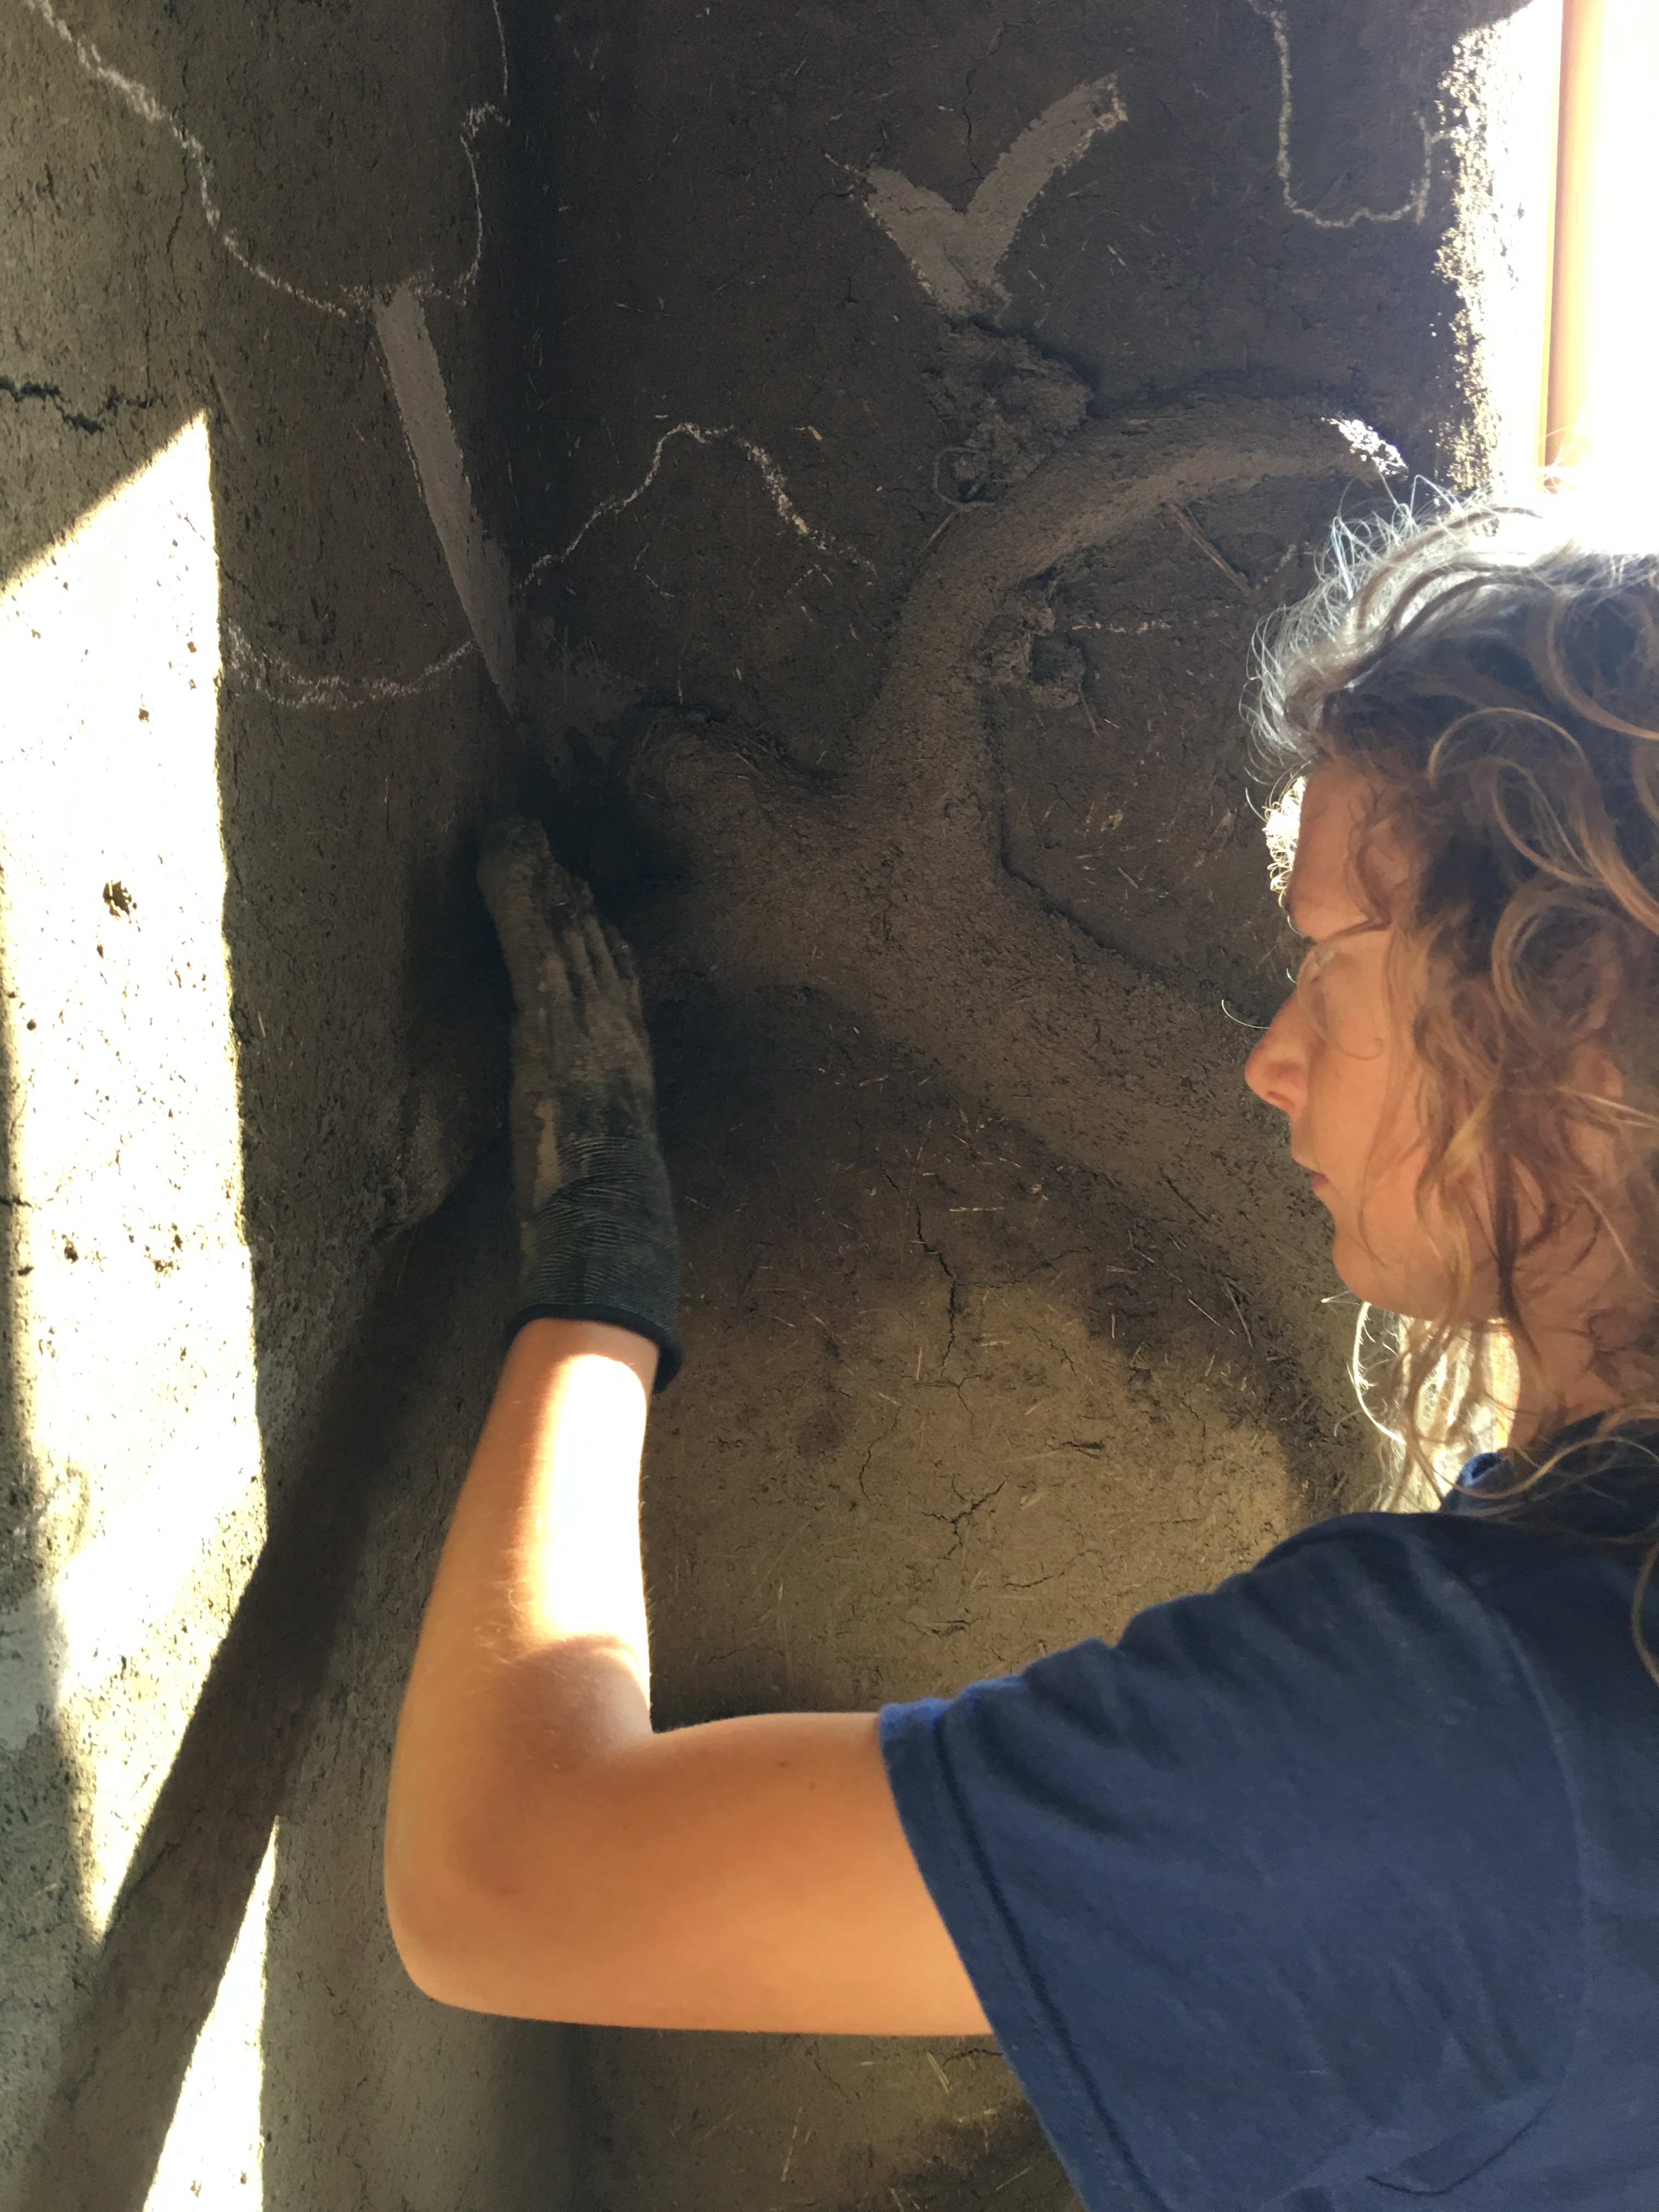
The clay slip gets sprayed with water before applying the plaster, just lightly, not so that water runs down the wall but the slip turns darker in colour. A handful of plaster is then smeared onto the wall with the heel of the hand, and massaged in so that it doesn’t peel back off. Everyone finds their own method, but the important thing is that it isn’t too thick, or too thin, ideally the same thickness, and it doesn’t peel off! Our first group of plasterers were my son’s school class, a group of 24 kids ages 10-14. They spent a whole day rotating in groups between mixing, plastering, and hiking around our part of the island while birding and geo-caching. They got so much done! We also had a visitor staying with us for two weeks, learning all the steps of plastering. For the next month, we had a variety of friends and community people coming by for a few hours or a day to get their hands muddy on our walls.

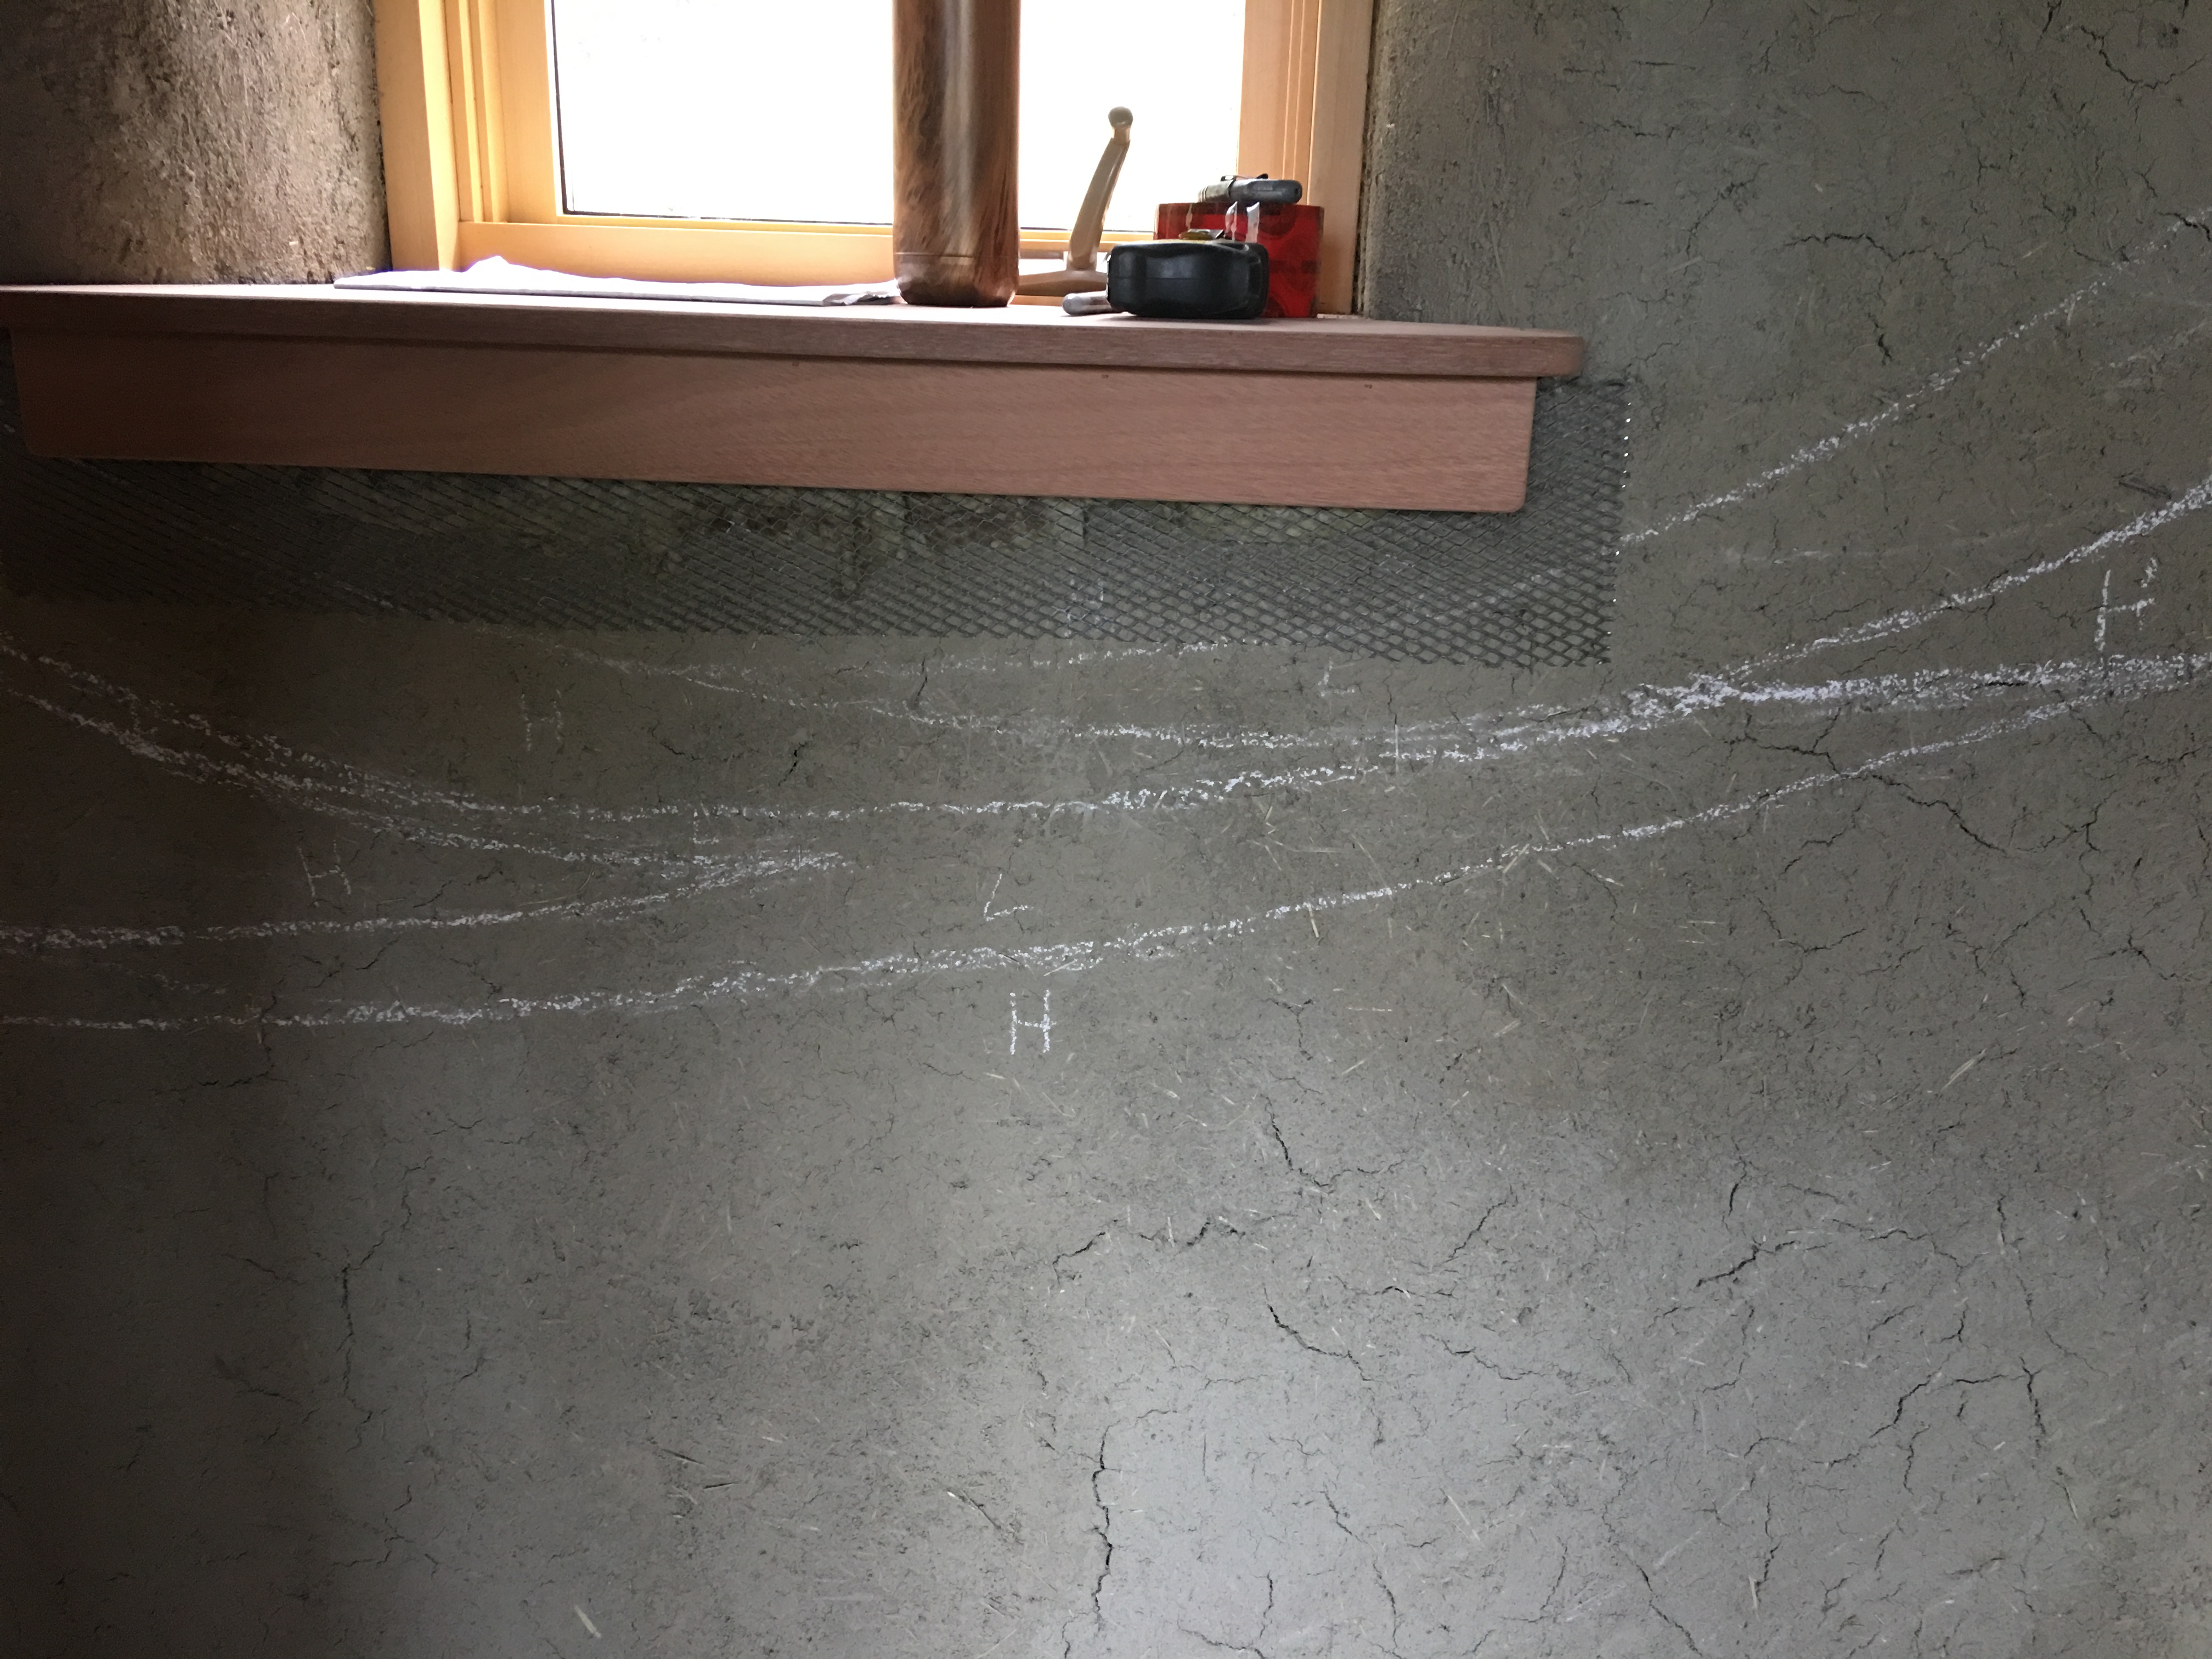
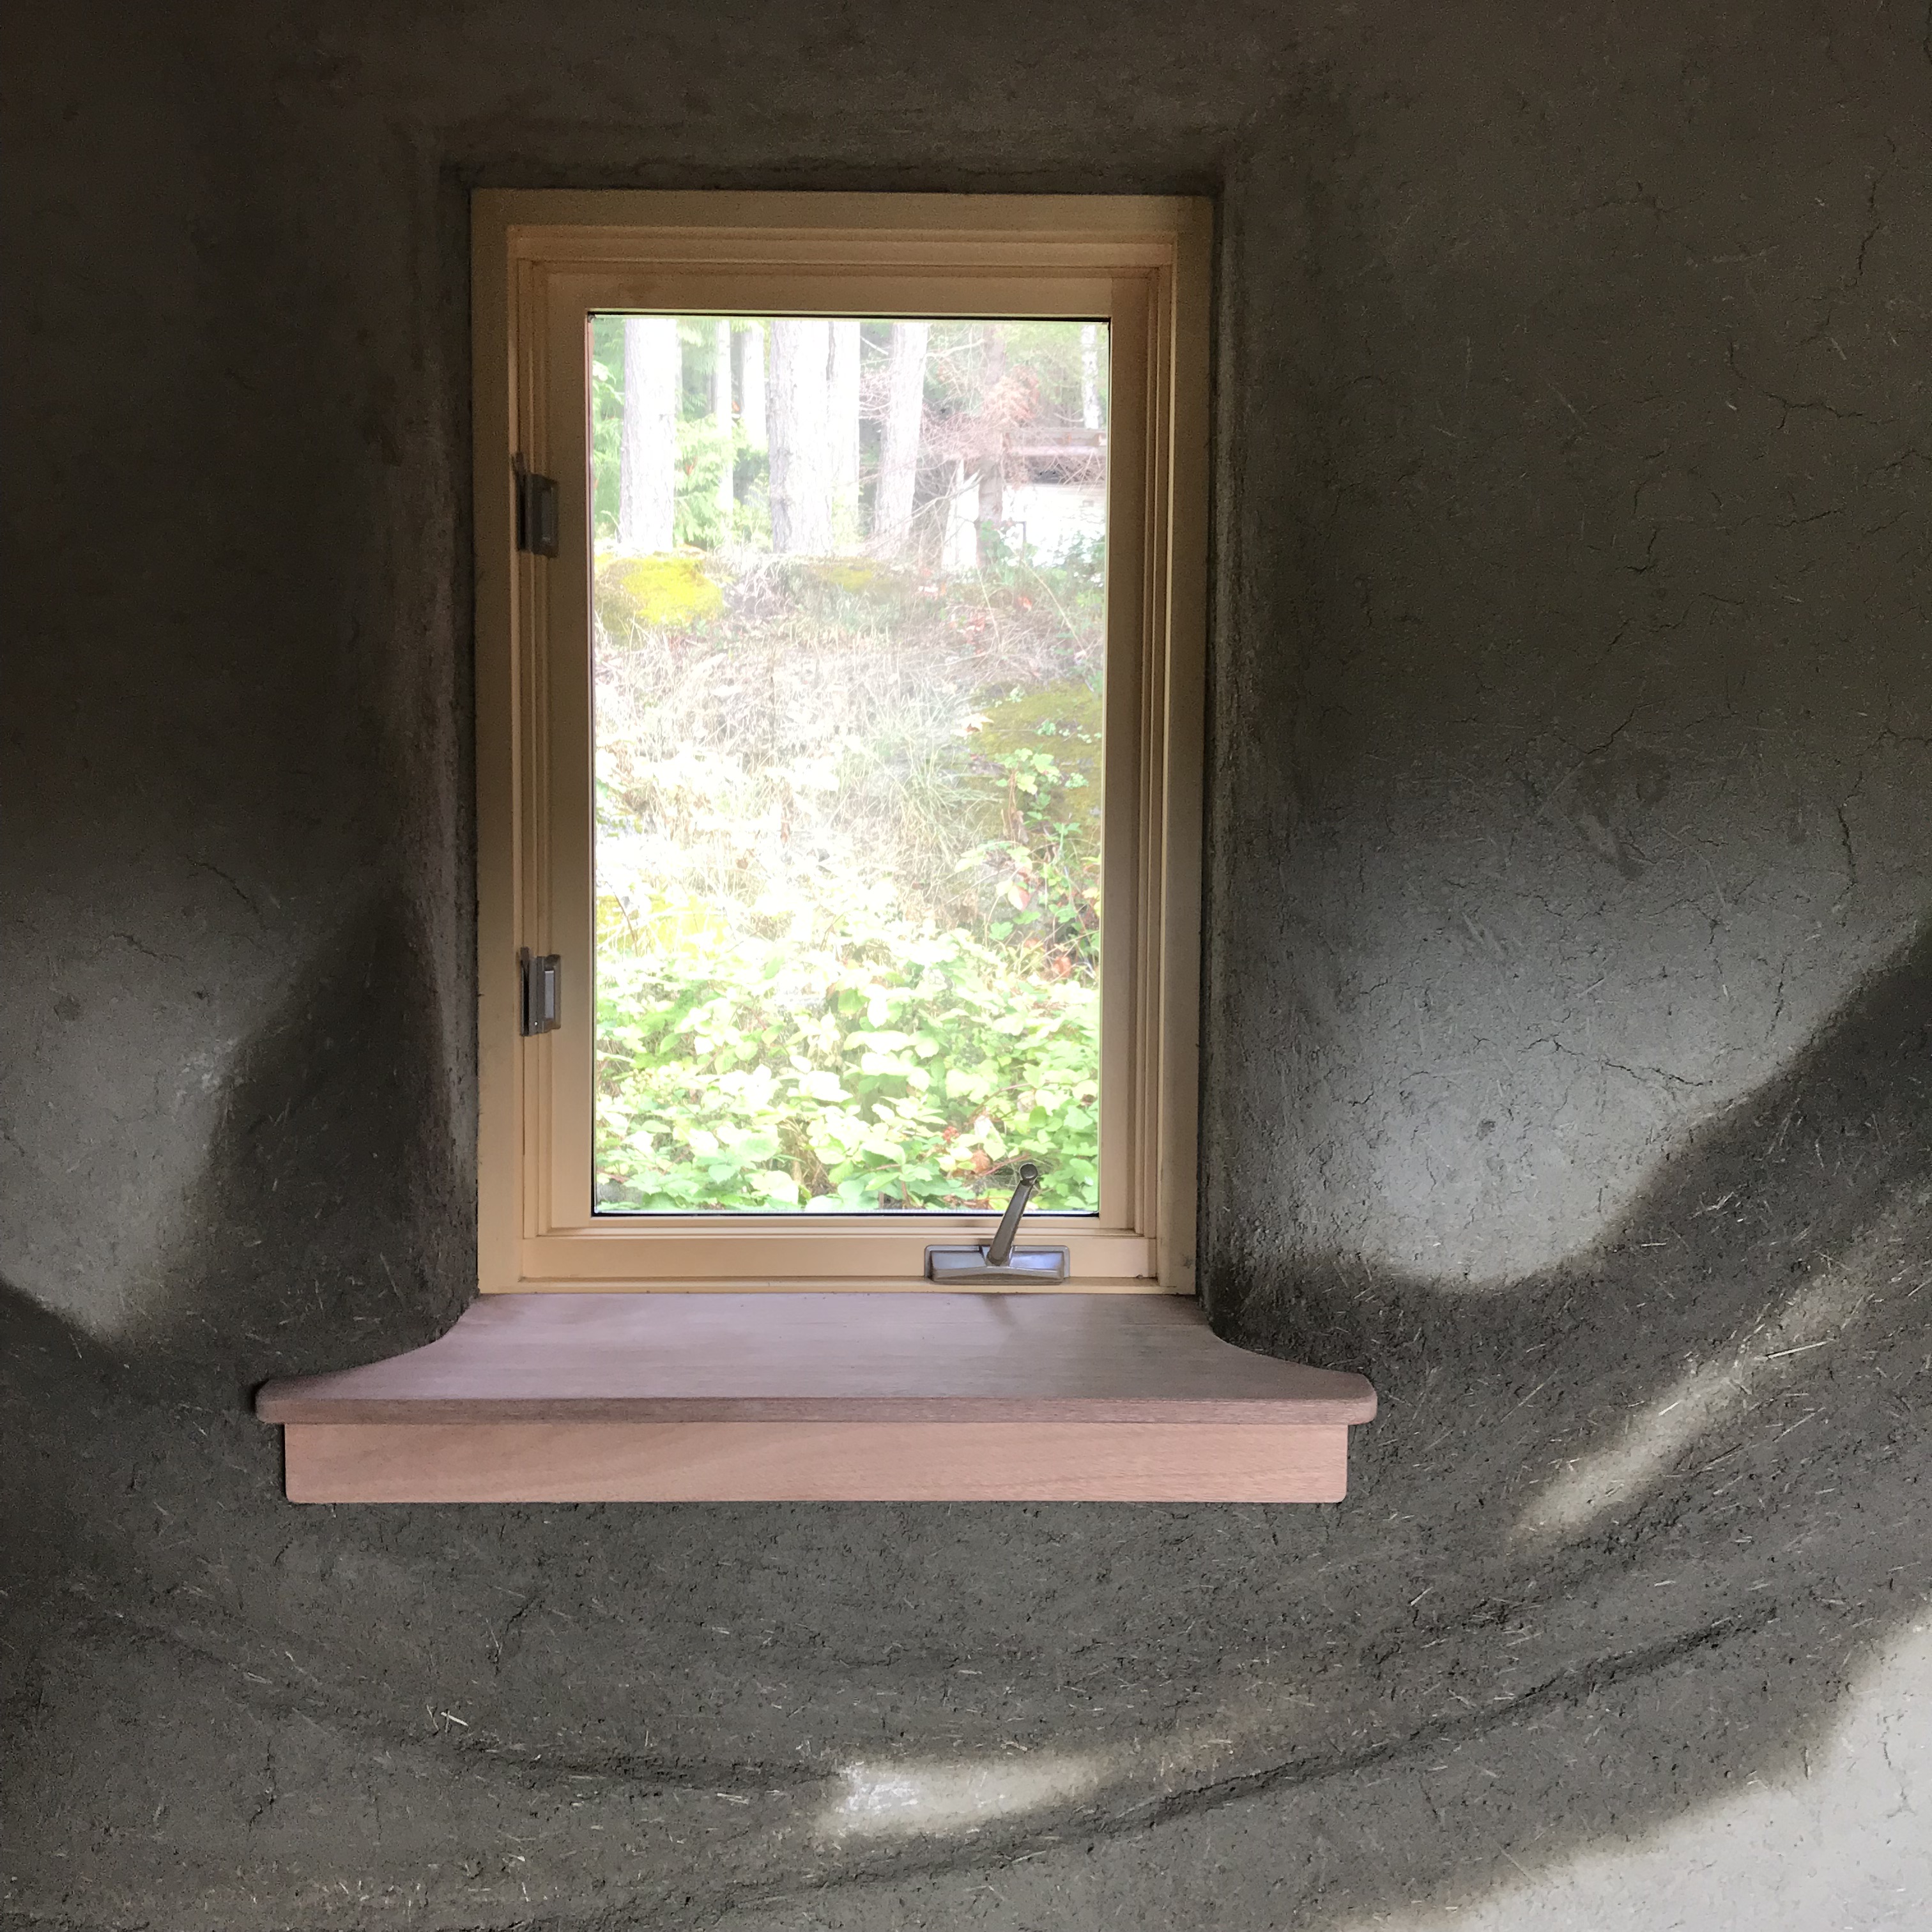
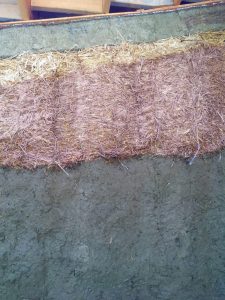
Partially dried wall
We focused first on the north walls, and the places where there is less sunlight and wind movement. Then we moved to the inside when the weather got rainier in October. Luckily, the fall was generally sunny late into November, so when we finally got to the south walls, the warm sun was still shining most days. We used a fan to help dry out some of the inside walls that weren’t getting much sun.
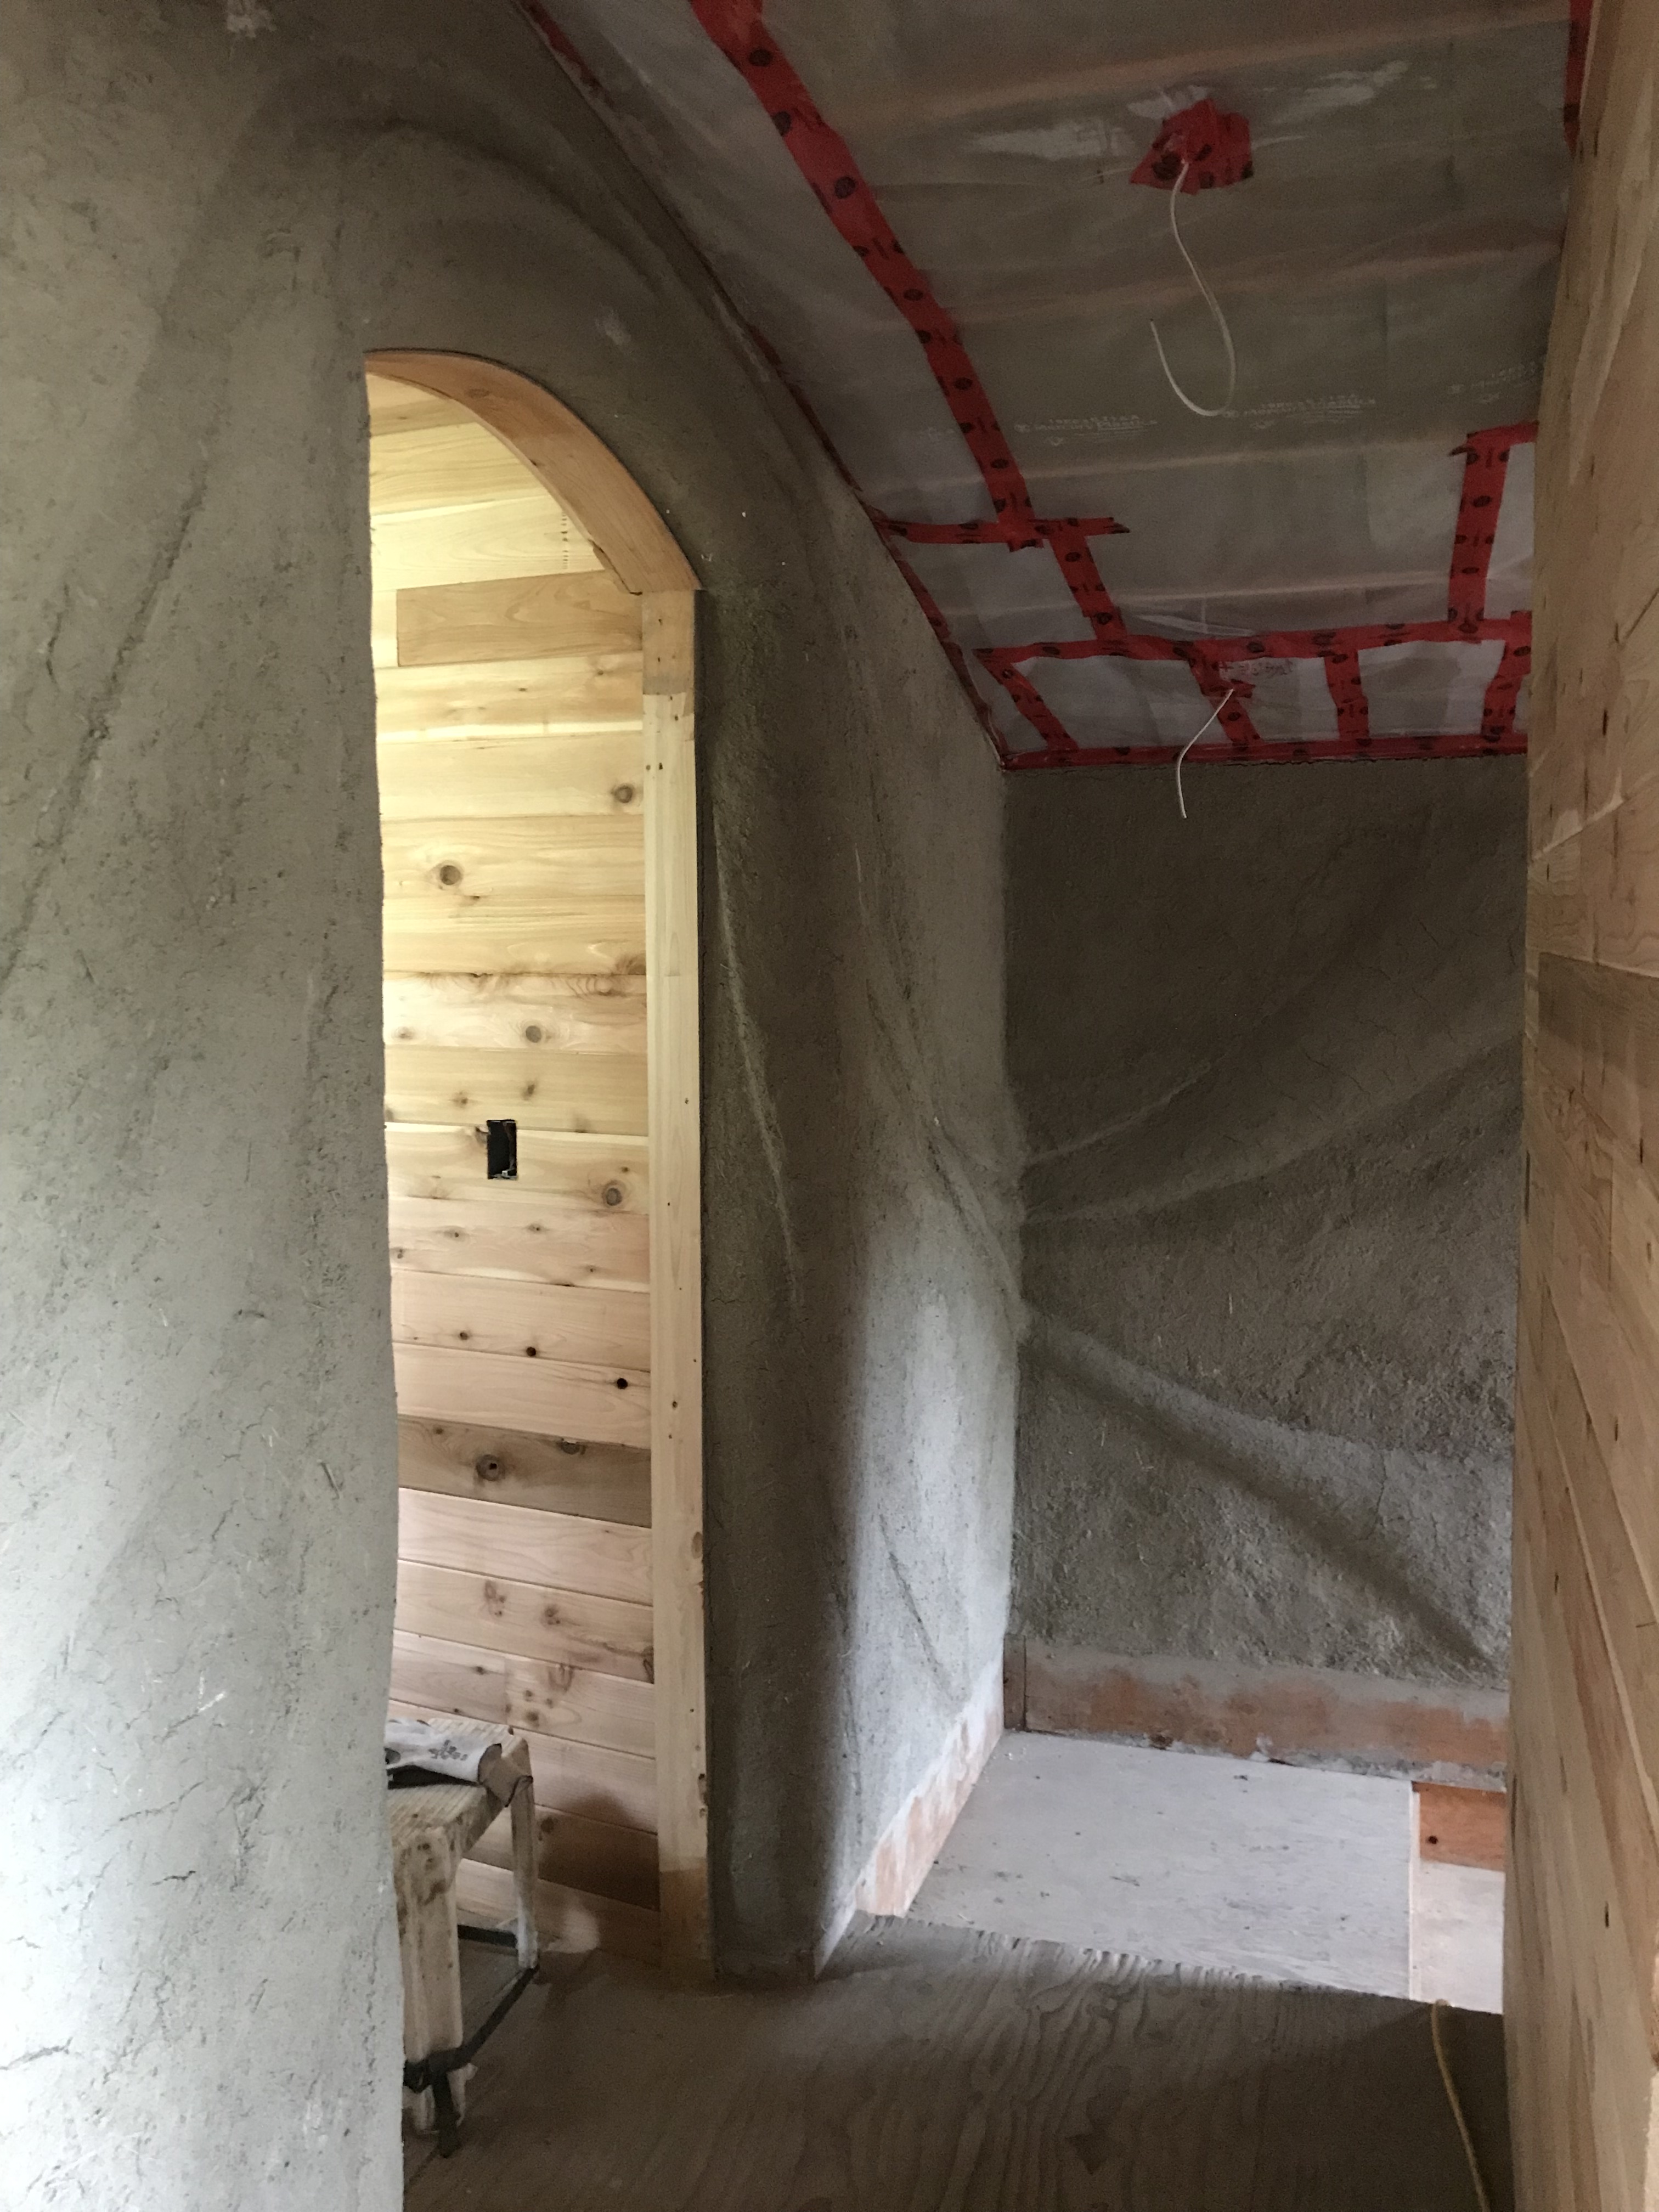
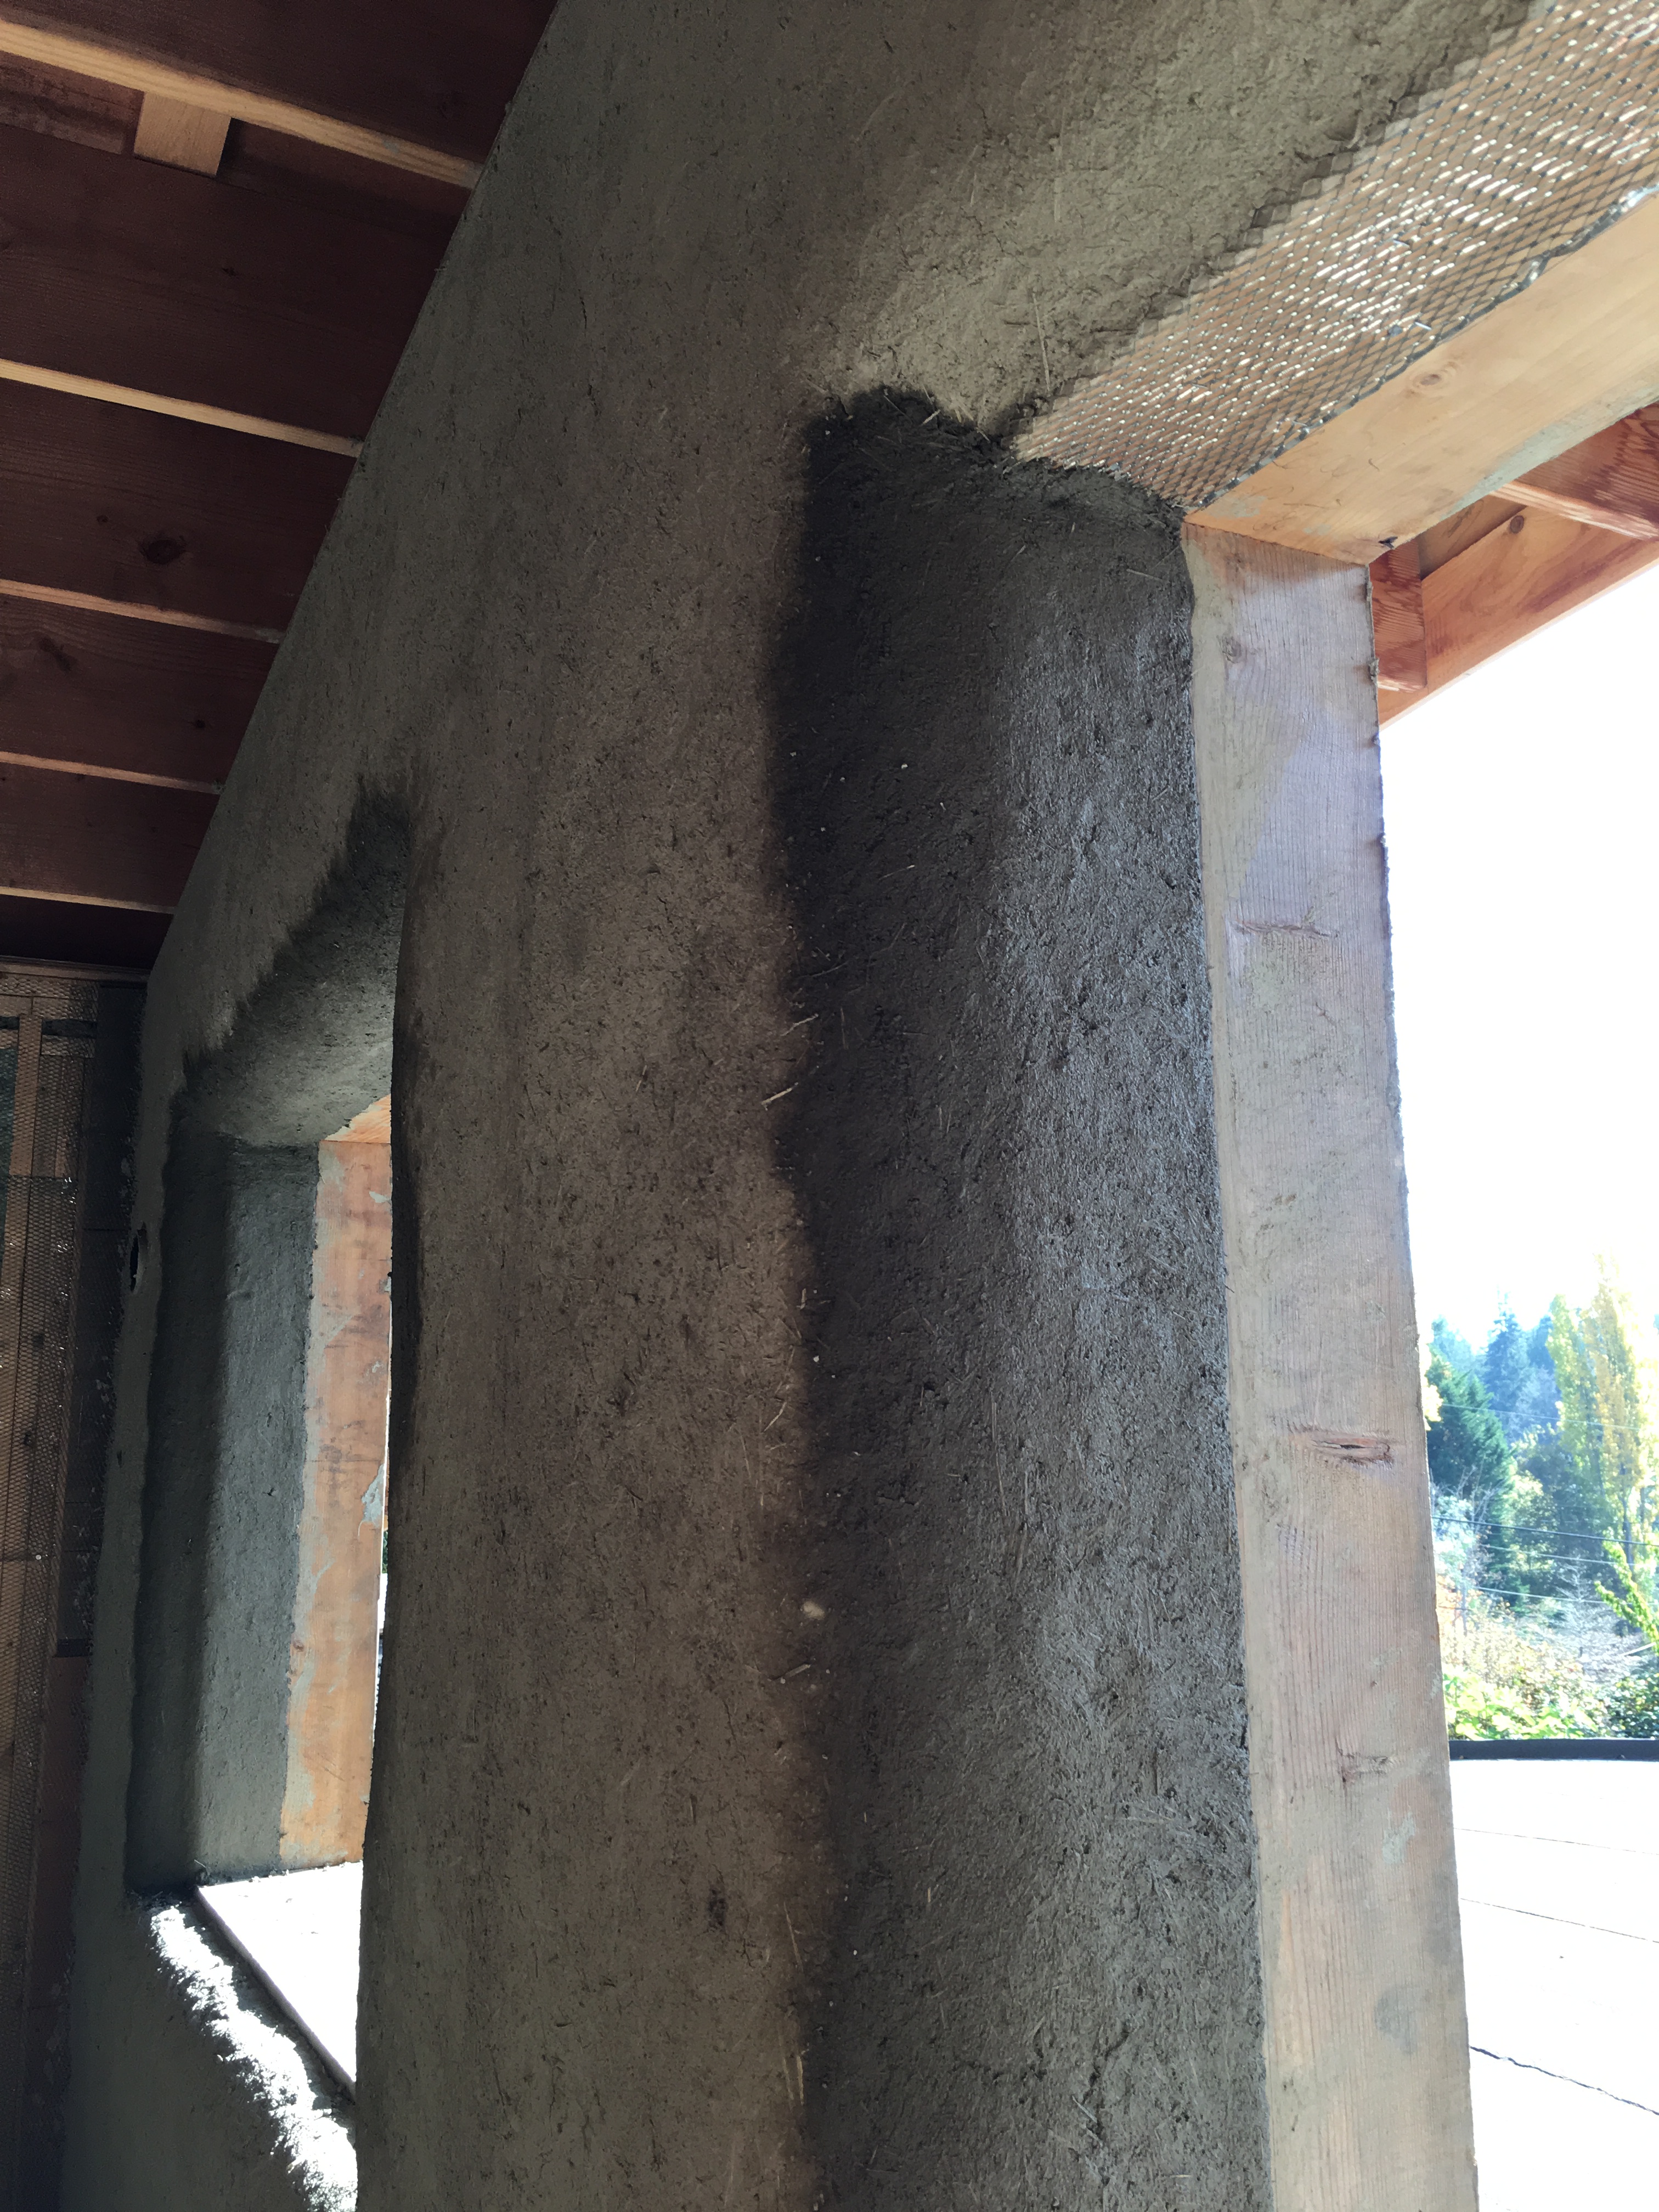
plaster over clay slip with insulation at the top covered with metal lath
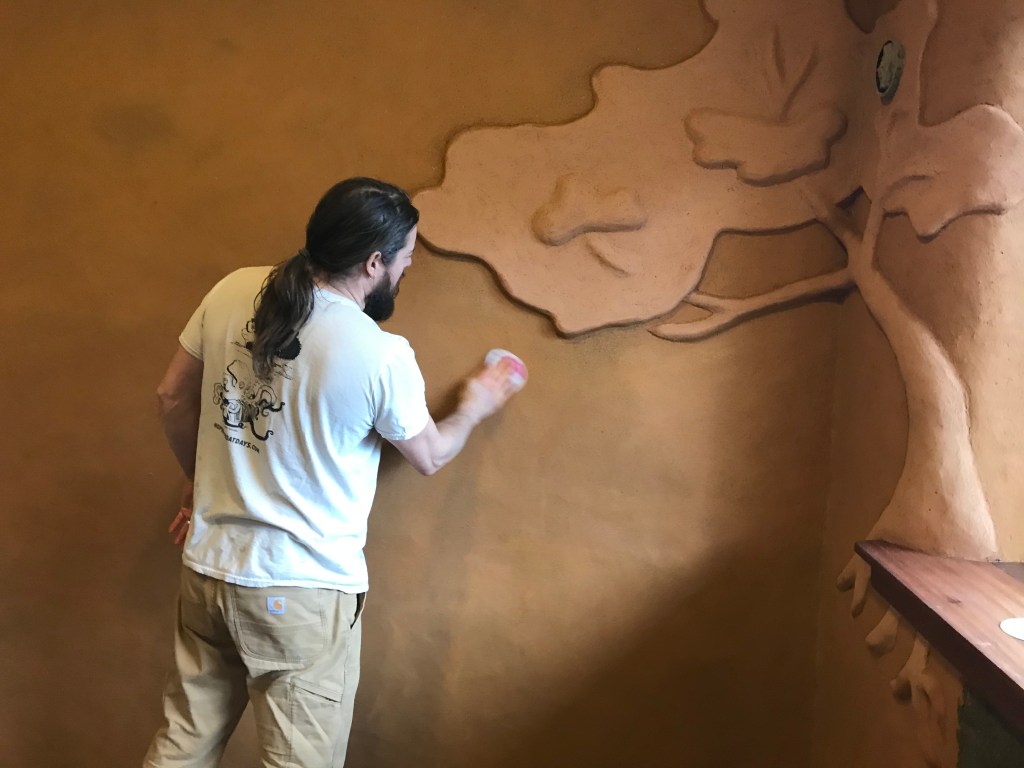
Plastering the bales in this build was different than the last house we did because the bales were oriented differently- instead of placed like bricks and plastering the sides of the bales we have stood the bales up and plastering the faces of the bales, where the strings are. In the last build, we trimmed the entire bale walls, shaping the curves of the windows and removing any shaggy straw, so the plaster went onto the evenly cut ends of the straw. This time, we couldn’t do any trimming because of the baling twine, and the plaster went onto the length of the straw. While we didn’t need to take the extra step of trimming, it was a little more challenging to apply the plaster. The walls are more lumpy and will need some extra work in the plastering to get a nice smooth wall. Smooth walls, of course, are a matter of aesthetic preference over function. Maybe in the end we will incorporate more creative sculptural elements into our walls.

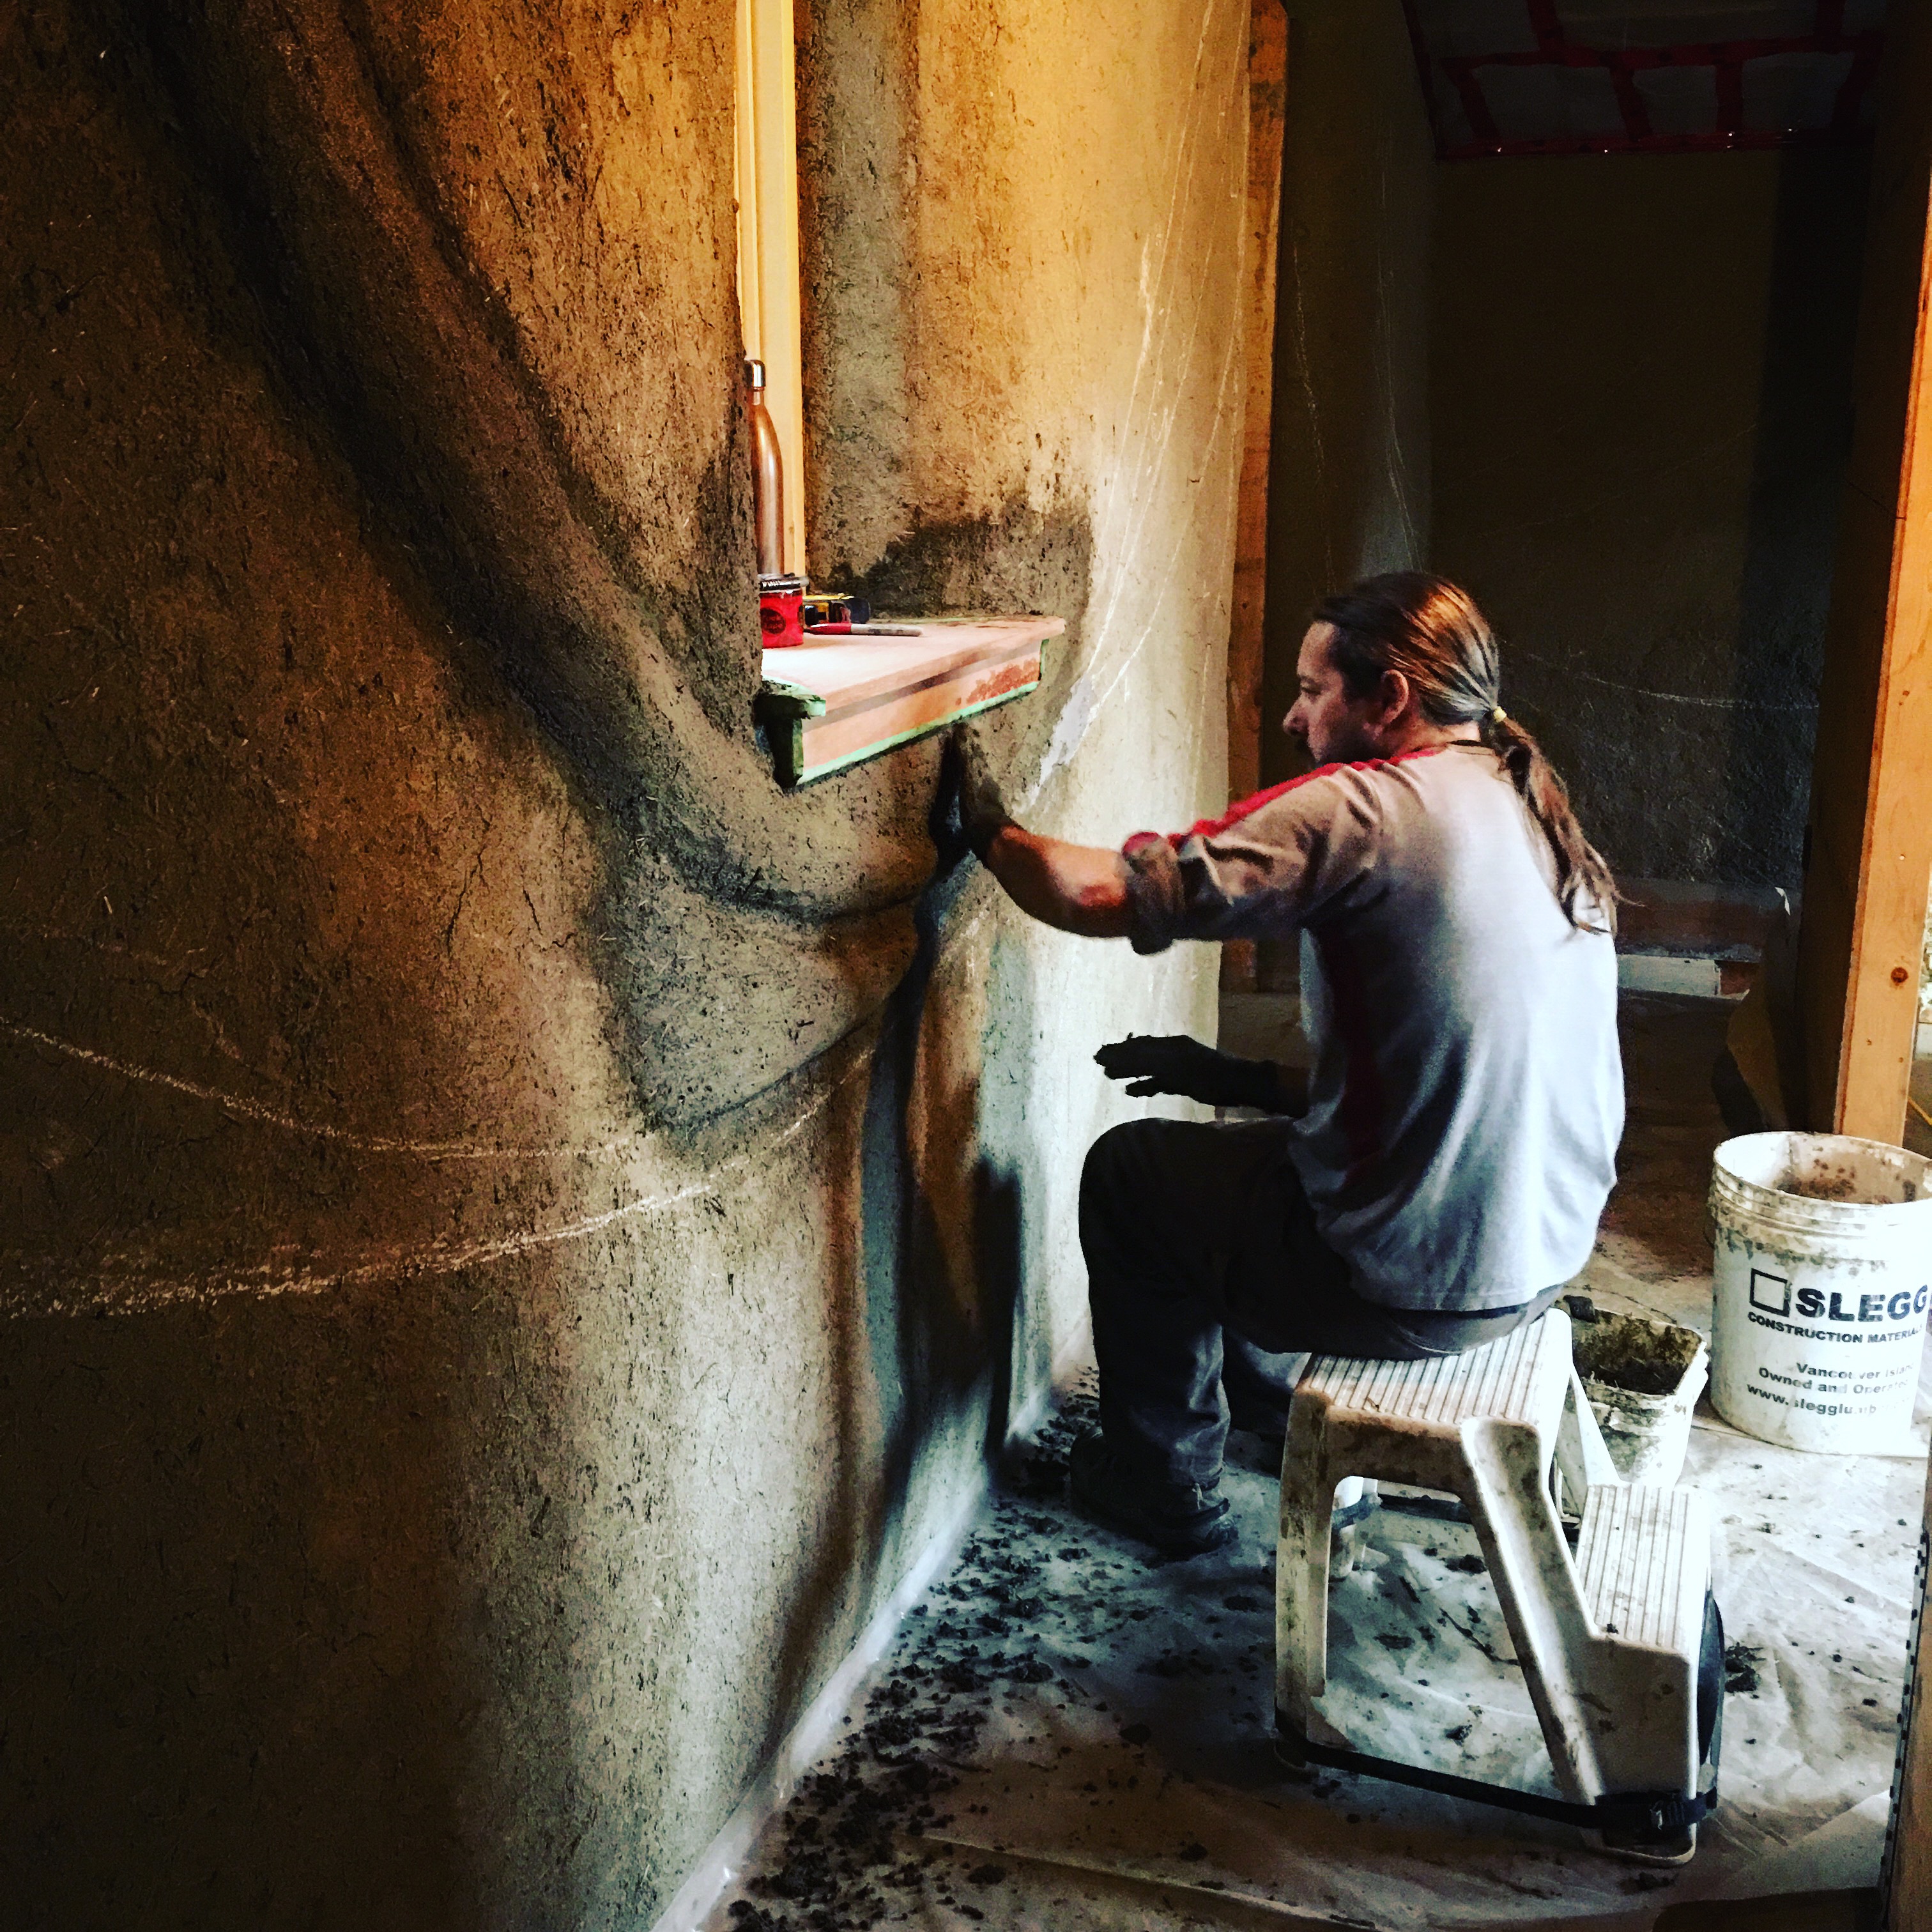
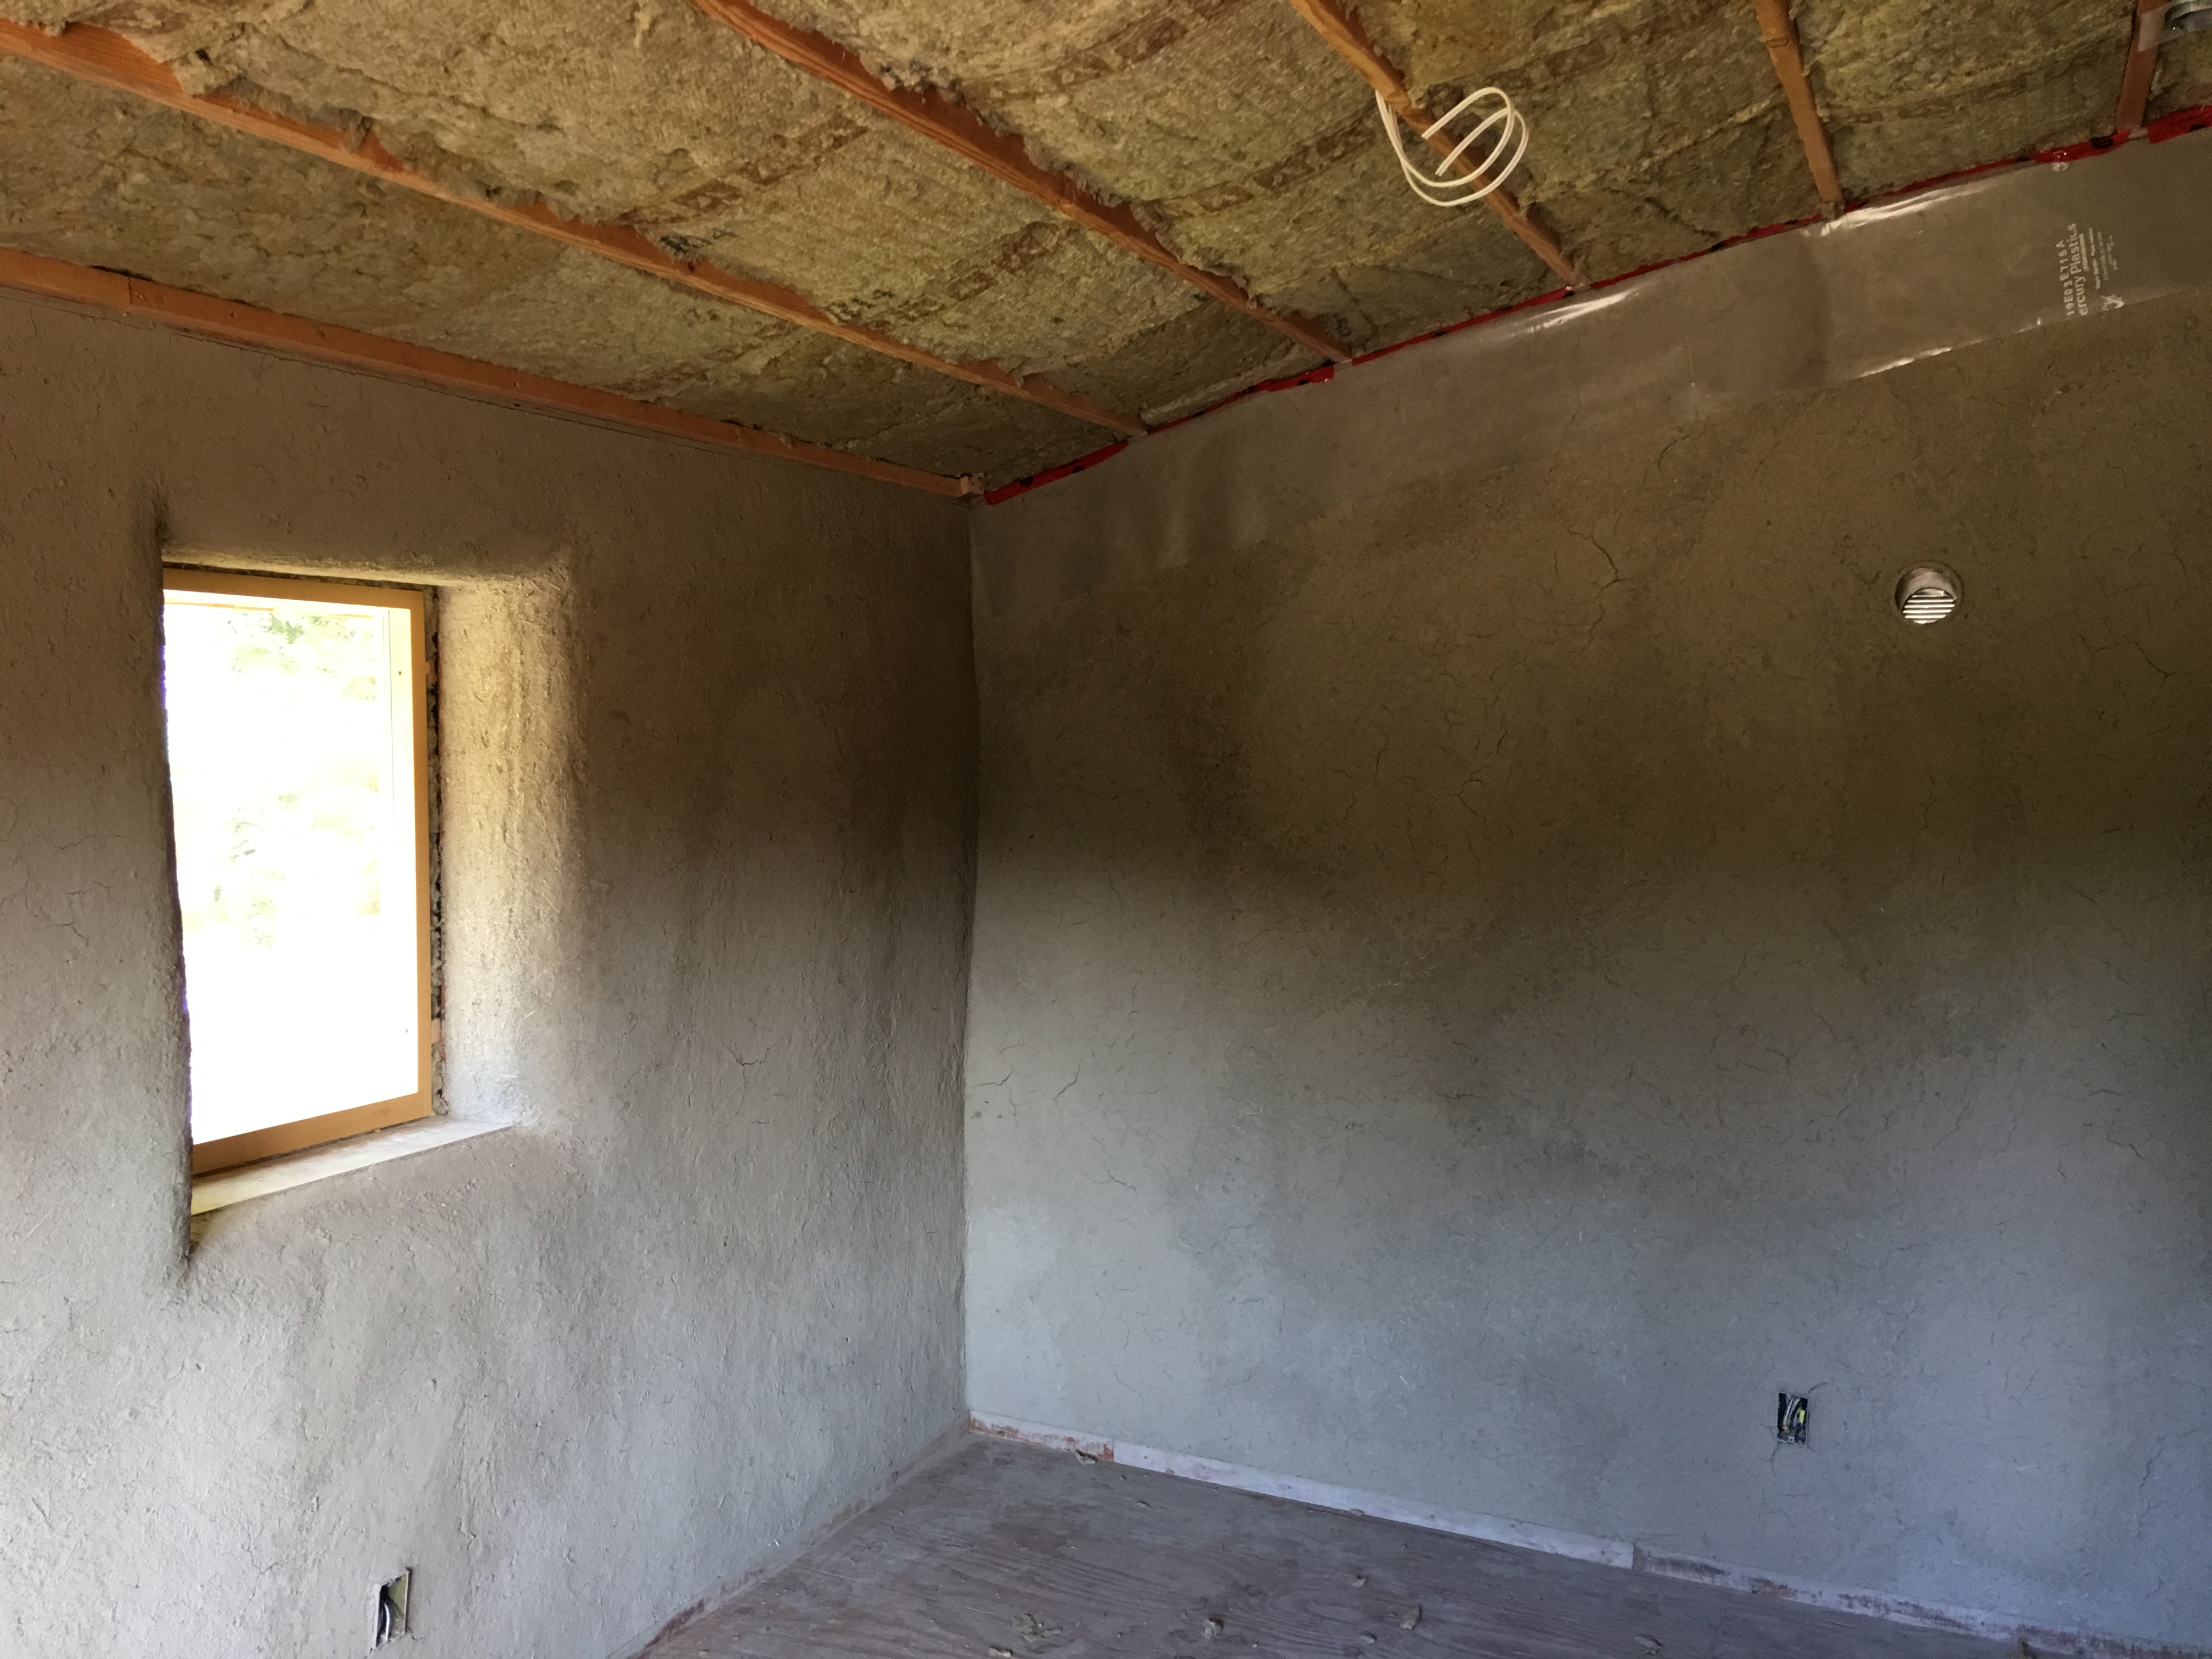
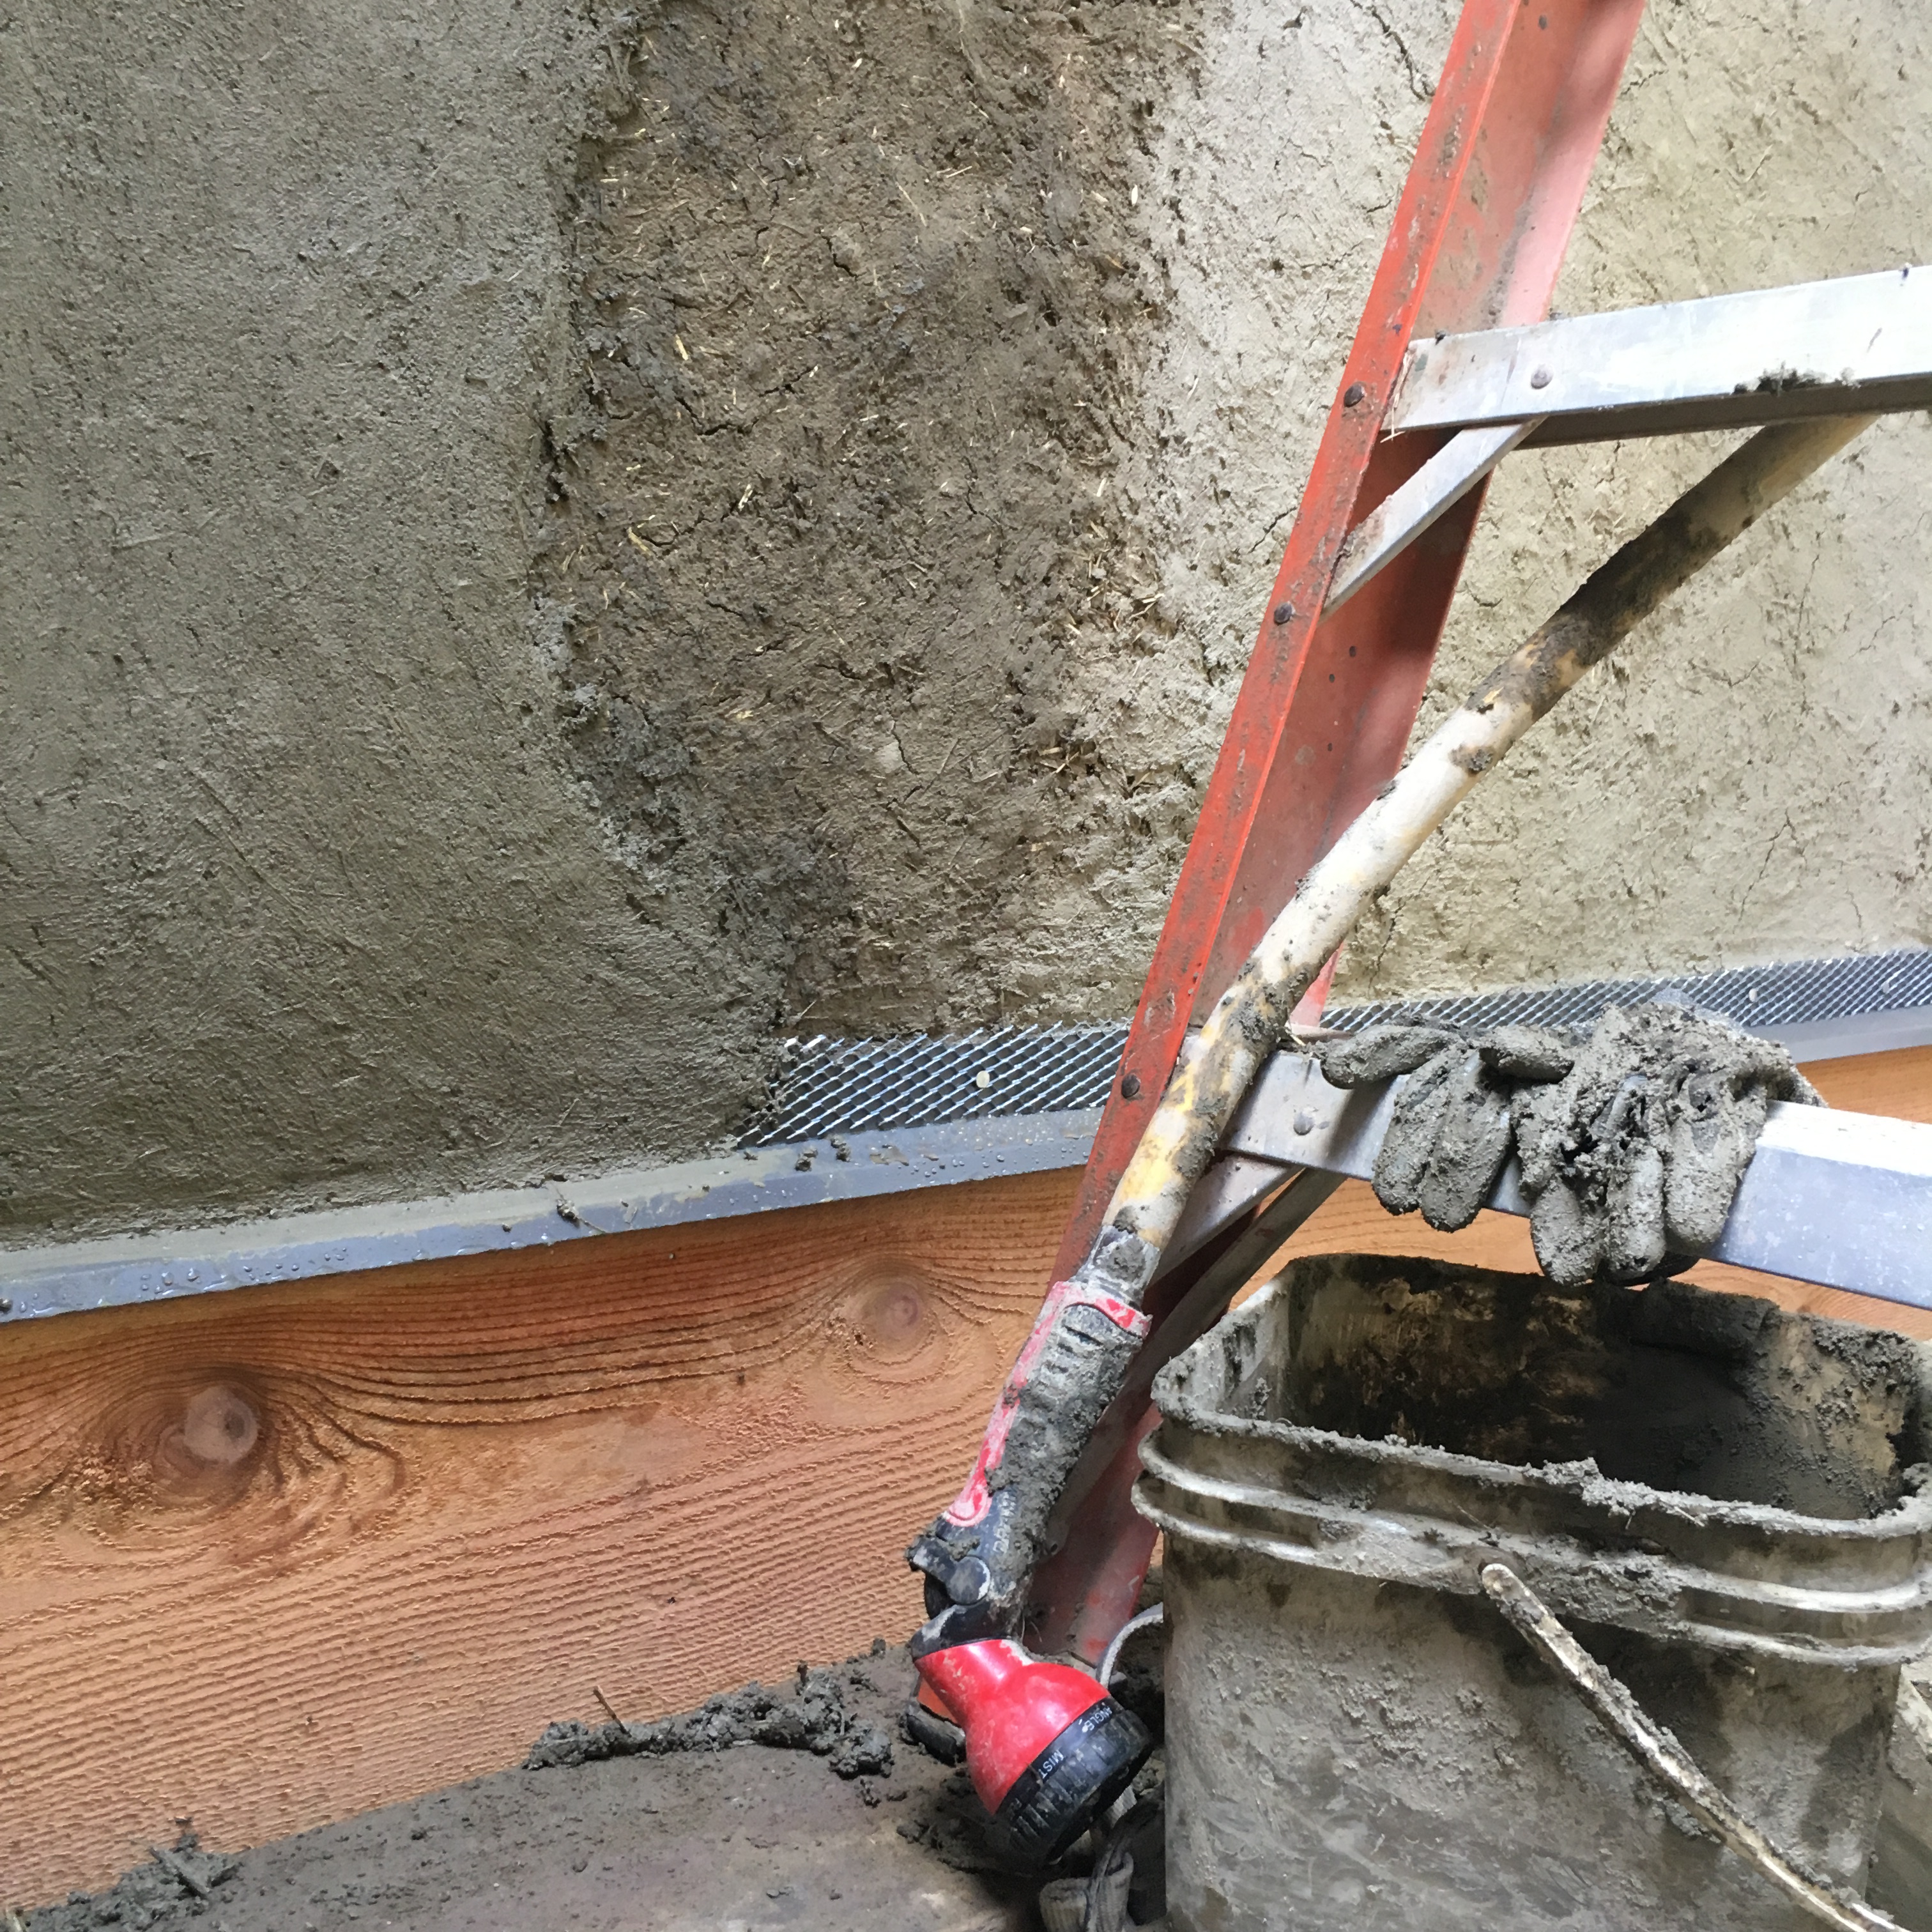
first coat plastered dried. Burlap will be plastered into the next layer of plaster.
This winter will be a time for these seed ideas to take root while the house building projects are on hold. We can take some time to sit in the house and imagine the different possibilities for the next phases. It can be frustrating at times to have to be patient, but often the results come with better decisions and a renewed sense of creativity following the flurry of building.
If you read all this and want to see more photos and more descriptions of plastering, please refer to my previous post on the last house we did~ Natural Plaster