 Things have been progressing slowly but steadily in the workshop since we finally got the roof finished in the winter.
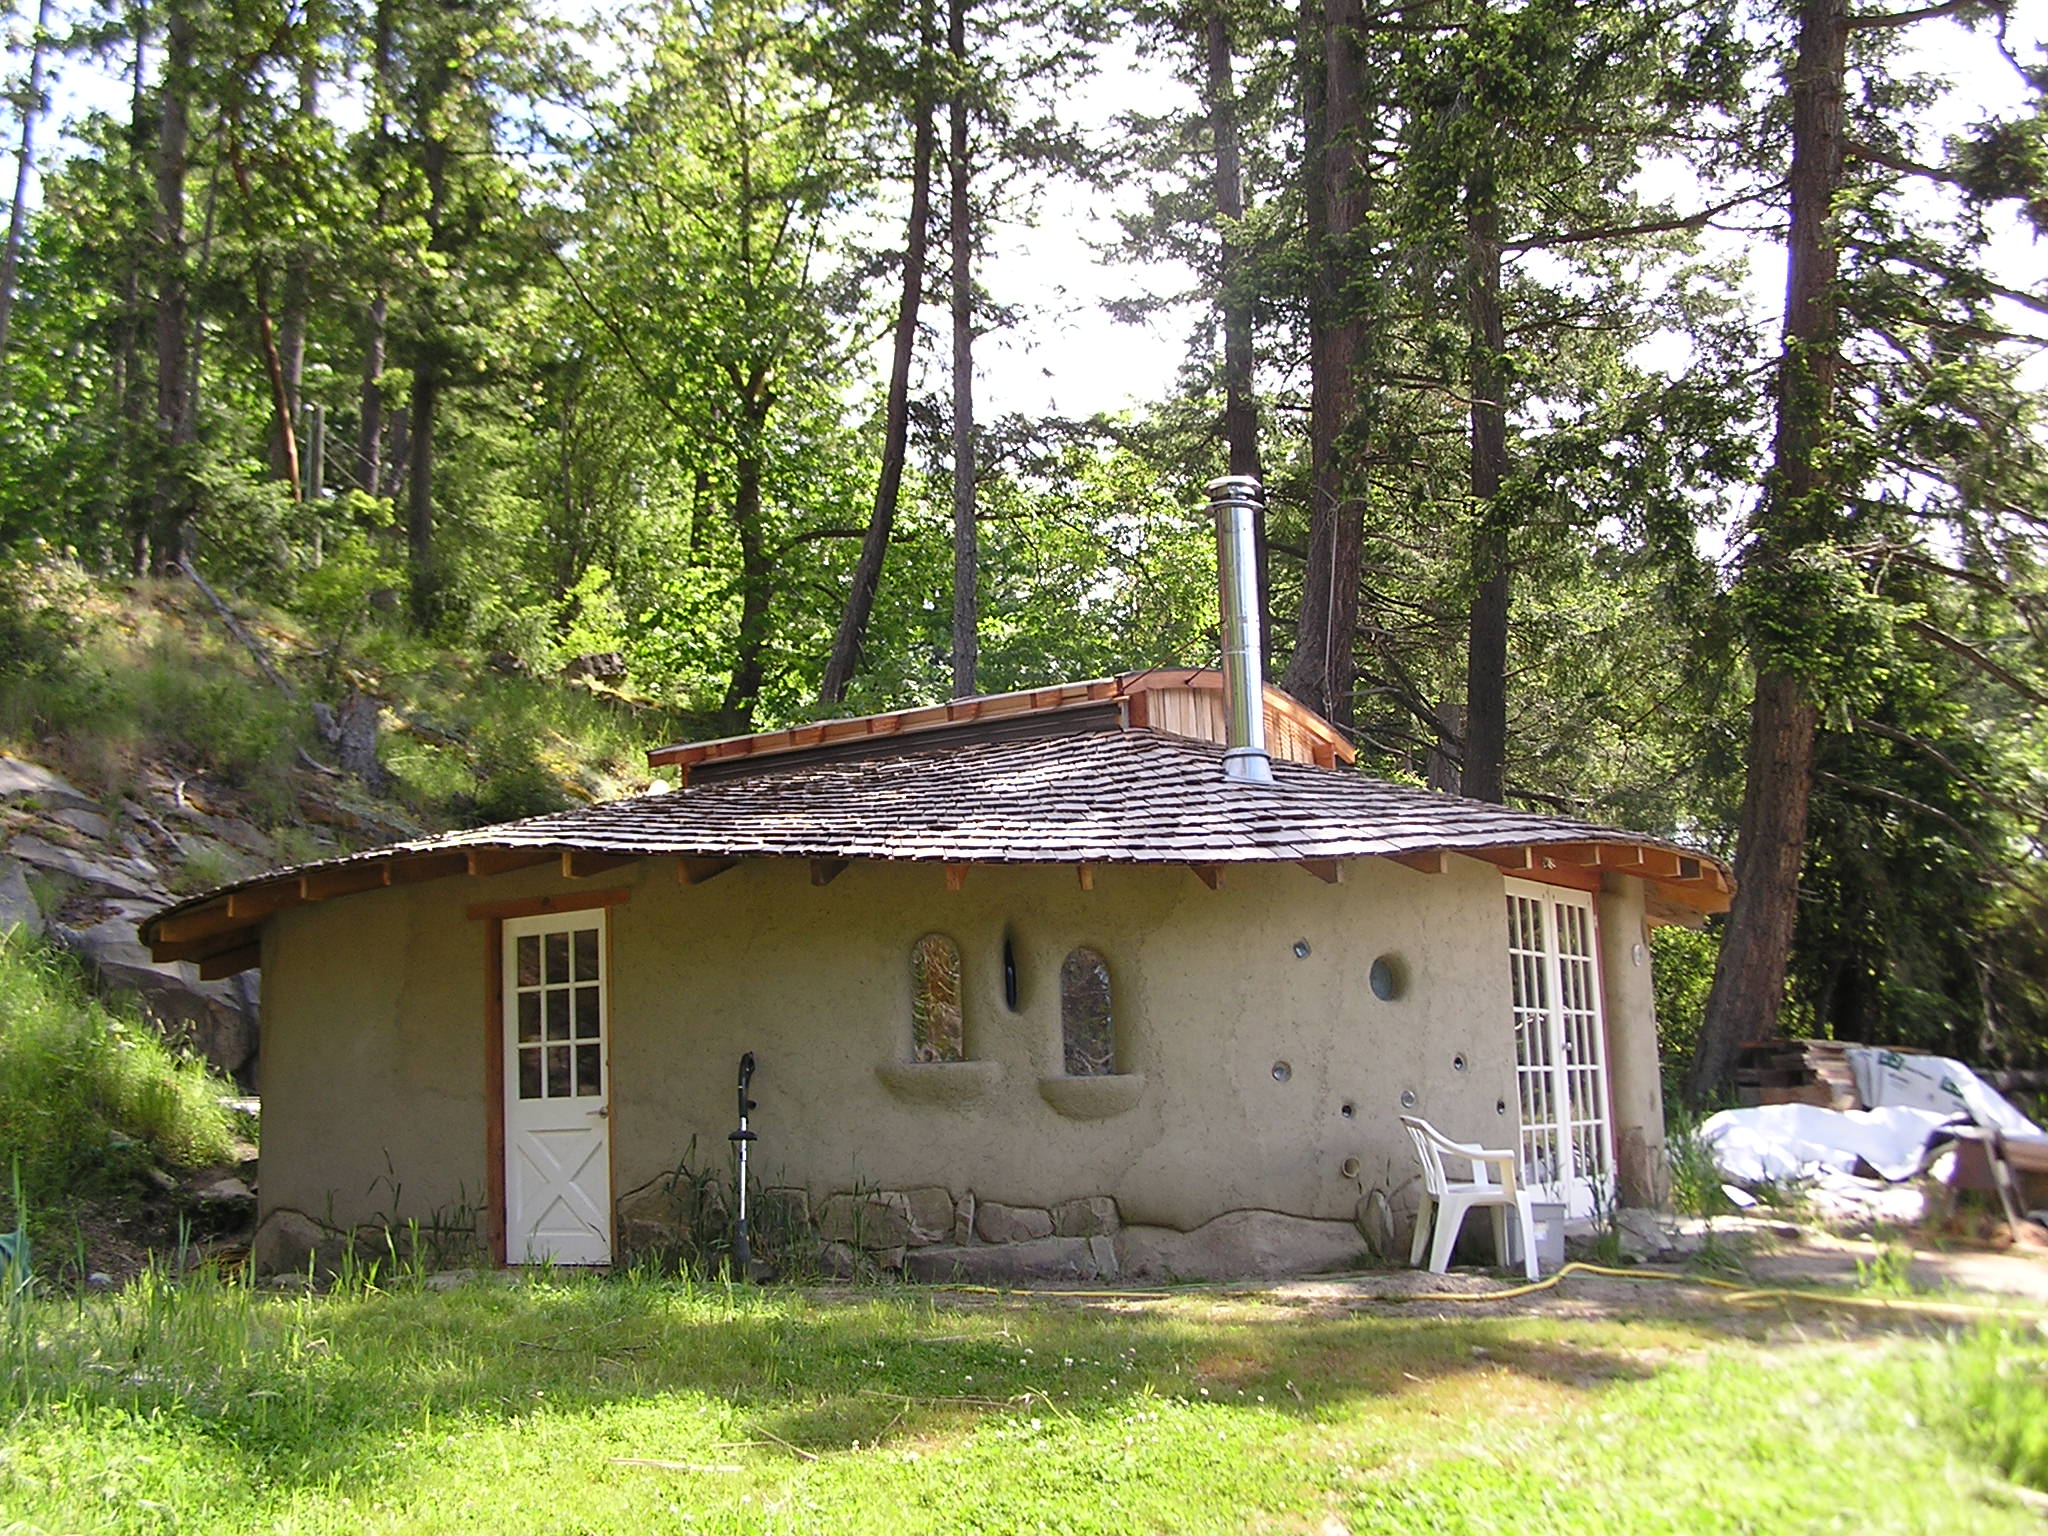
Colin focused on getting the doors in right away, refining two old doors that came from his Dad’s work of deconstructing old houses on the island, and refitting a pair of salvaged french doors. He also built a raised stone hearth from the pile of stones we have on the property, put in the stove pipe, and wired in the rough electrical circuits. We got the insulation in the ceiling and the plastic vapour barrier secured over that and ready for the finished ceiling layer, which we think will be some kind of bamboo or sea grass mat.
 I spent a couple of weeks on and off getting the rough coat of plaster on the inside and outside of the building. This layer of clay plaster is the only rough coat needed on a cob wall, and is the same layer as the third layer that we put on the strawbale house. (See my previous post called Natural Plaster for full details). A mix of 4 parts sand, 2 parts clay, and 1 part straw with water to mix it to a troweling consistency kept me busy in the warmer days of late winter.
 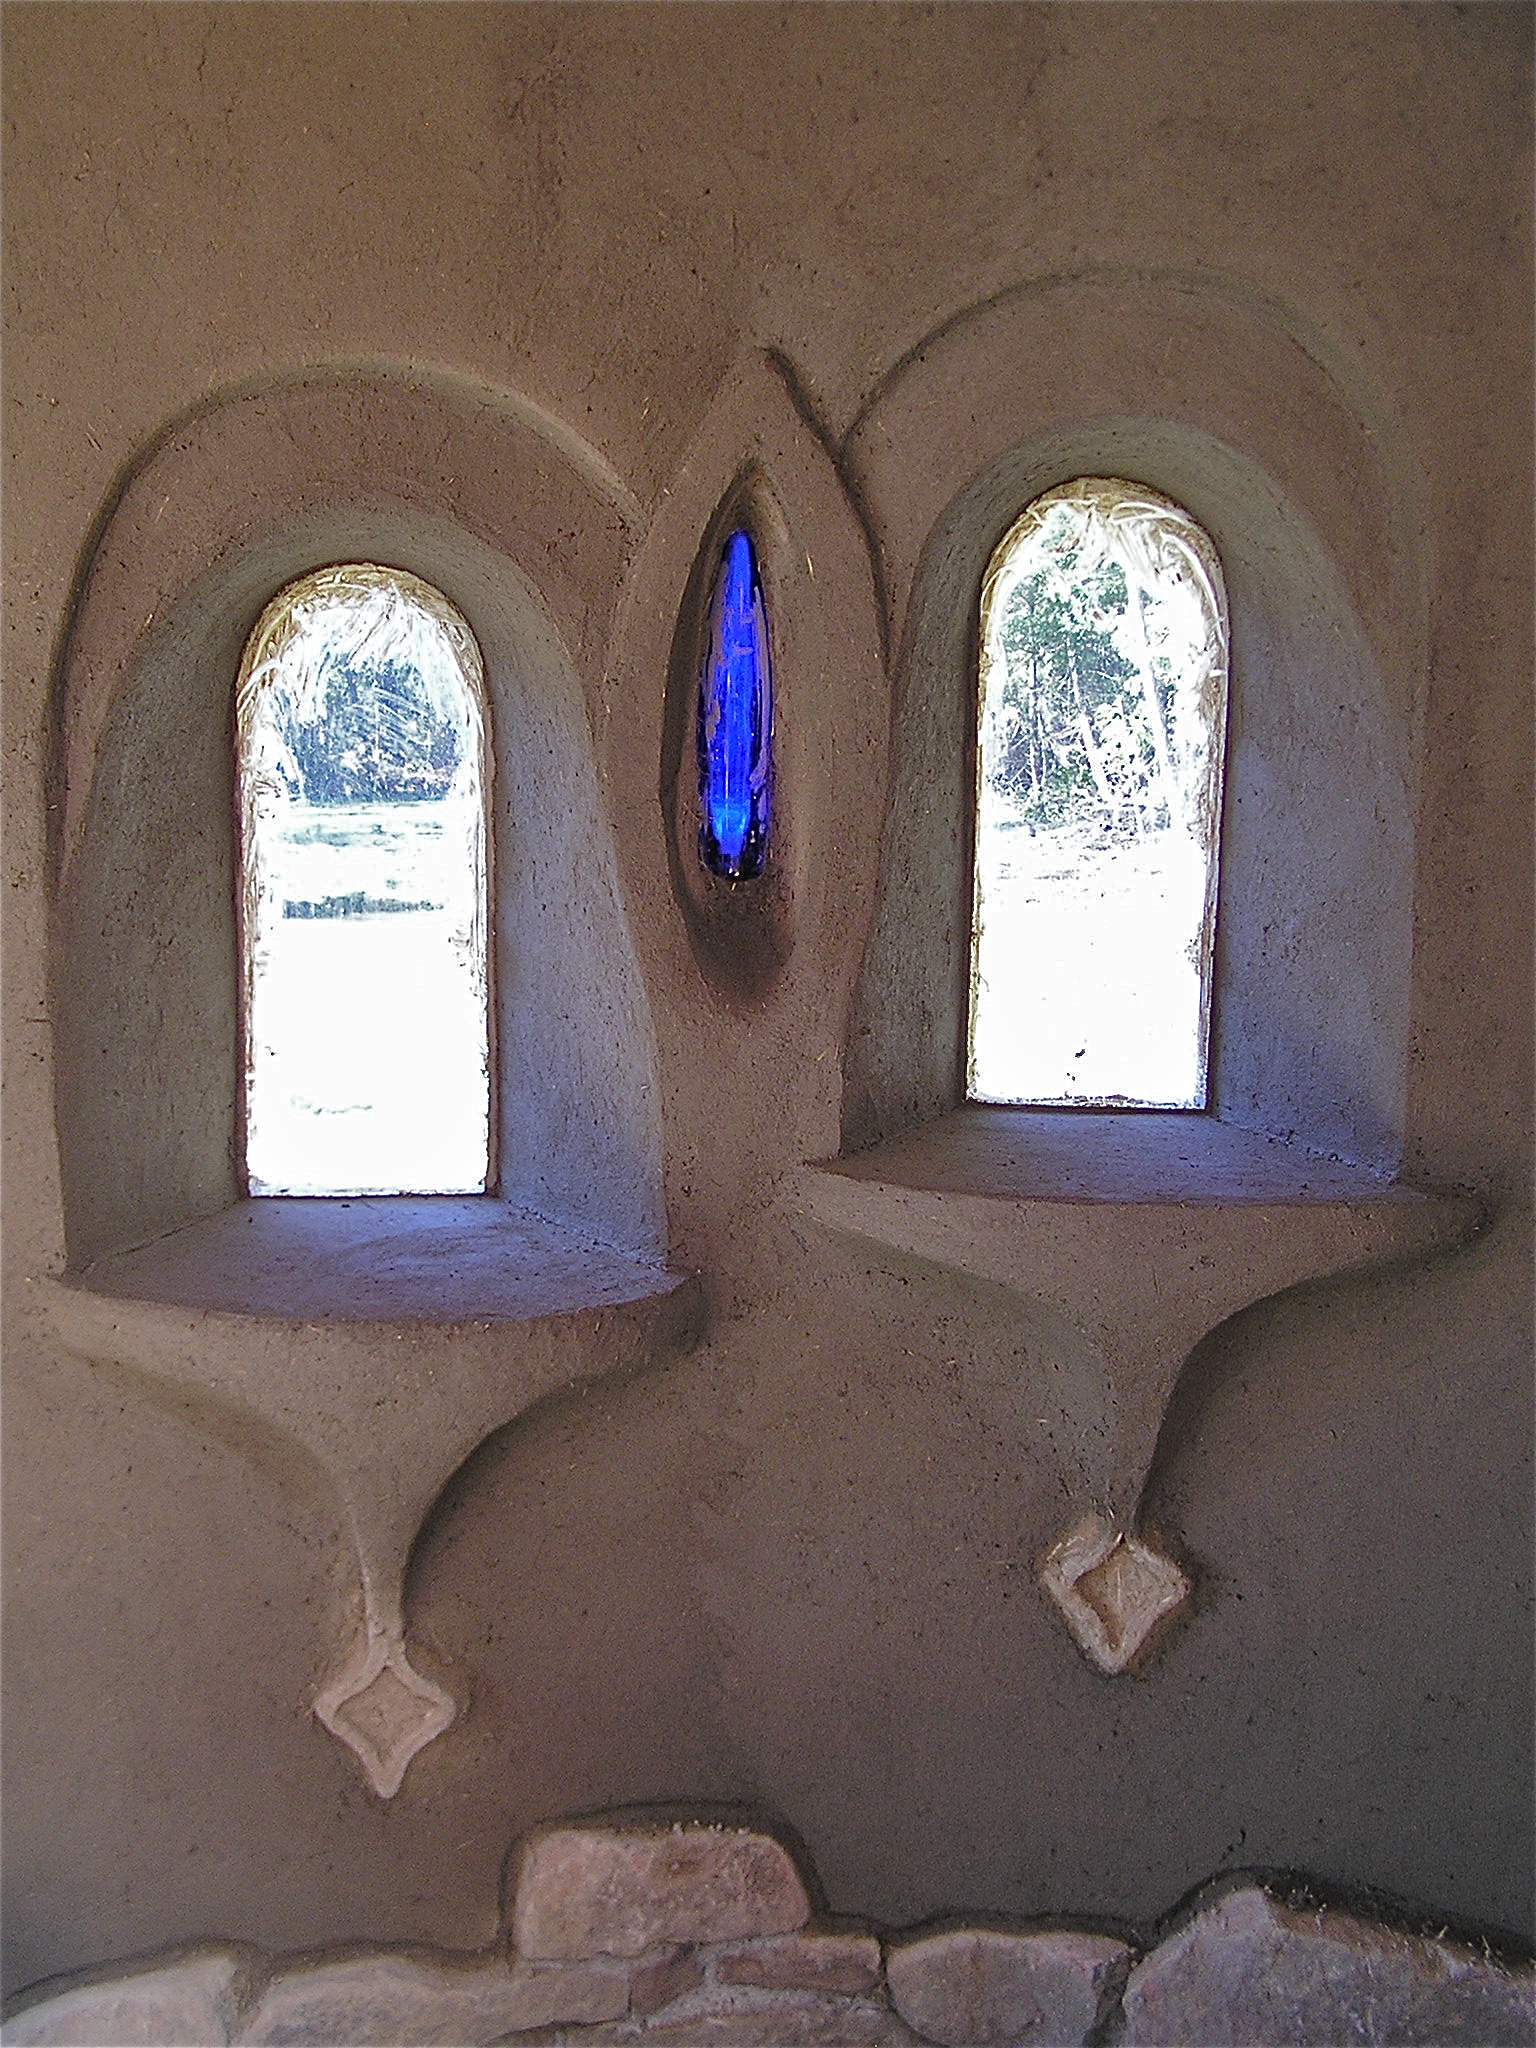 I cleaned up and shaped the sculptural aspects of the walls so they were ready for the final layer of plaster, which Tracy and I completed earlier in May, while the temperatures were still cool enough to give the plaster time to dry. The final clay plaster took us 2 days to put on, a seemingly record pace for any one job to be completed in. We mixed up the kaolin clay, sand, straw, paper pulp and whiting in the buckets the day before, and then added the rice flour paste, and borax and mixed multiple buckets together the morning we started plastering. (See my older post Final Plastering for more exact details). We got much of the simple walls done on the first day, then completed the wall with the windows and arched shelf the next day, cleaning up our tools by the afternoon. I am always so amazed at how quickly the finishing layer goes, compared to the time it takes to get all the other layers beneath it built.
Last weekend, Colin and I built the one interior wall that separates the workshop from a small storage room. It will also be the wall against which will be built Colin’s work bench. It holds the majority of the electrical outlets and is a standard 2×4 construction filled with rock wool (Roxul) insulation and covered in plywood. 
There is not too much left to do in this simple building for Colin to finally move in and use the space for his wood working. Right now he is coming to the end of a giant stone facing job and is looking forwards to working with the more forgiving medium of cedar wood. I can turn my attention to finishing the outside of the building later this summer, playing with some creative designs for sculpture as well as getting the last coat of lime plaster done when the weather begins to cool off once again. 


Jun 16, 2013 @ 03:39:38
This is one of the most beautiful cob buildings I have seen – congratulations on your creation!
Jun 16, 2013 @ 04:20:04
Thank you! We are very happy with the way it has turned out… it is sometimes hard to know in the beginning.
Aug 04, 2013 @ 01:09:45
I love your house and your blog! Thank you for sharing your story(and some good music). As I consider natural building in the future, it’s helpful to hear your inspiration, as well as the challenges, that you have had building your home.
Oct 28, 2013 @ 22:08:42
Thanks Colin and Wendy. This is a great resource. Thanks for creating it and directing me to it.