We are heading into our third season of winter in our straw bale house. Hard to believe really – I so clearly remember the feeling that the house would just never be done – but there you have it, two years later we are really beginning to see the way the design and materials of the house perform through the seasons. Last winter was a relatively mild winter in an already mild climate zone, and the winter before we didn’t really move in fully until January, so getting a sense of how much wood we might burn and how much our heating/electrical costs would be throughout the winter months has only just begun to be obvious.

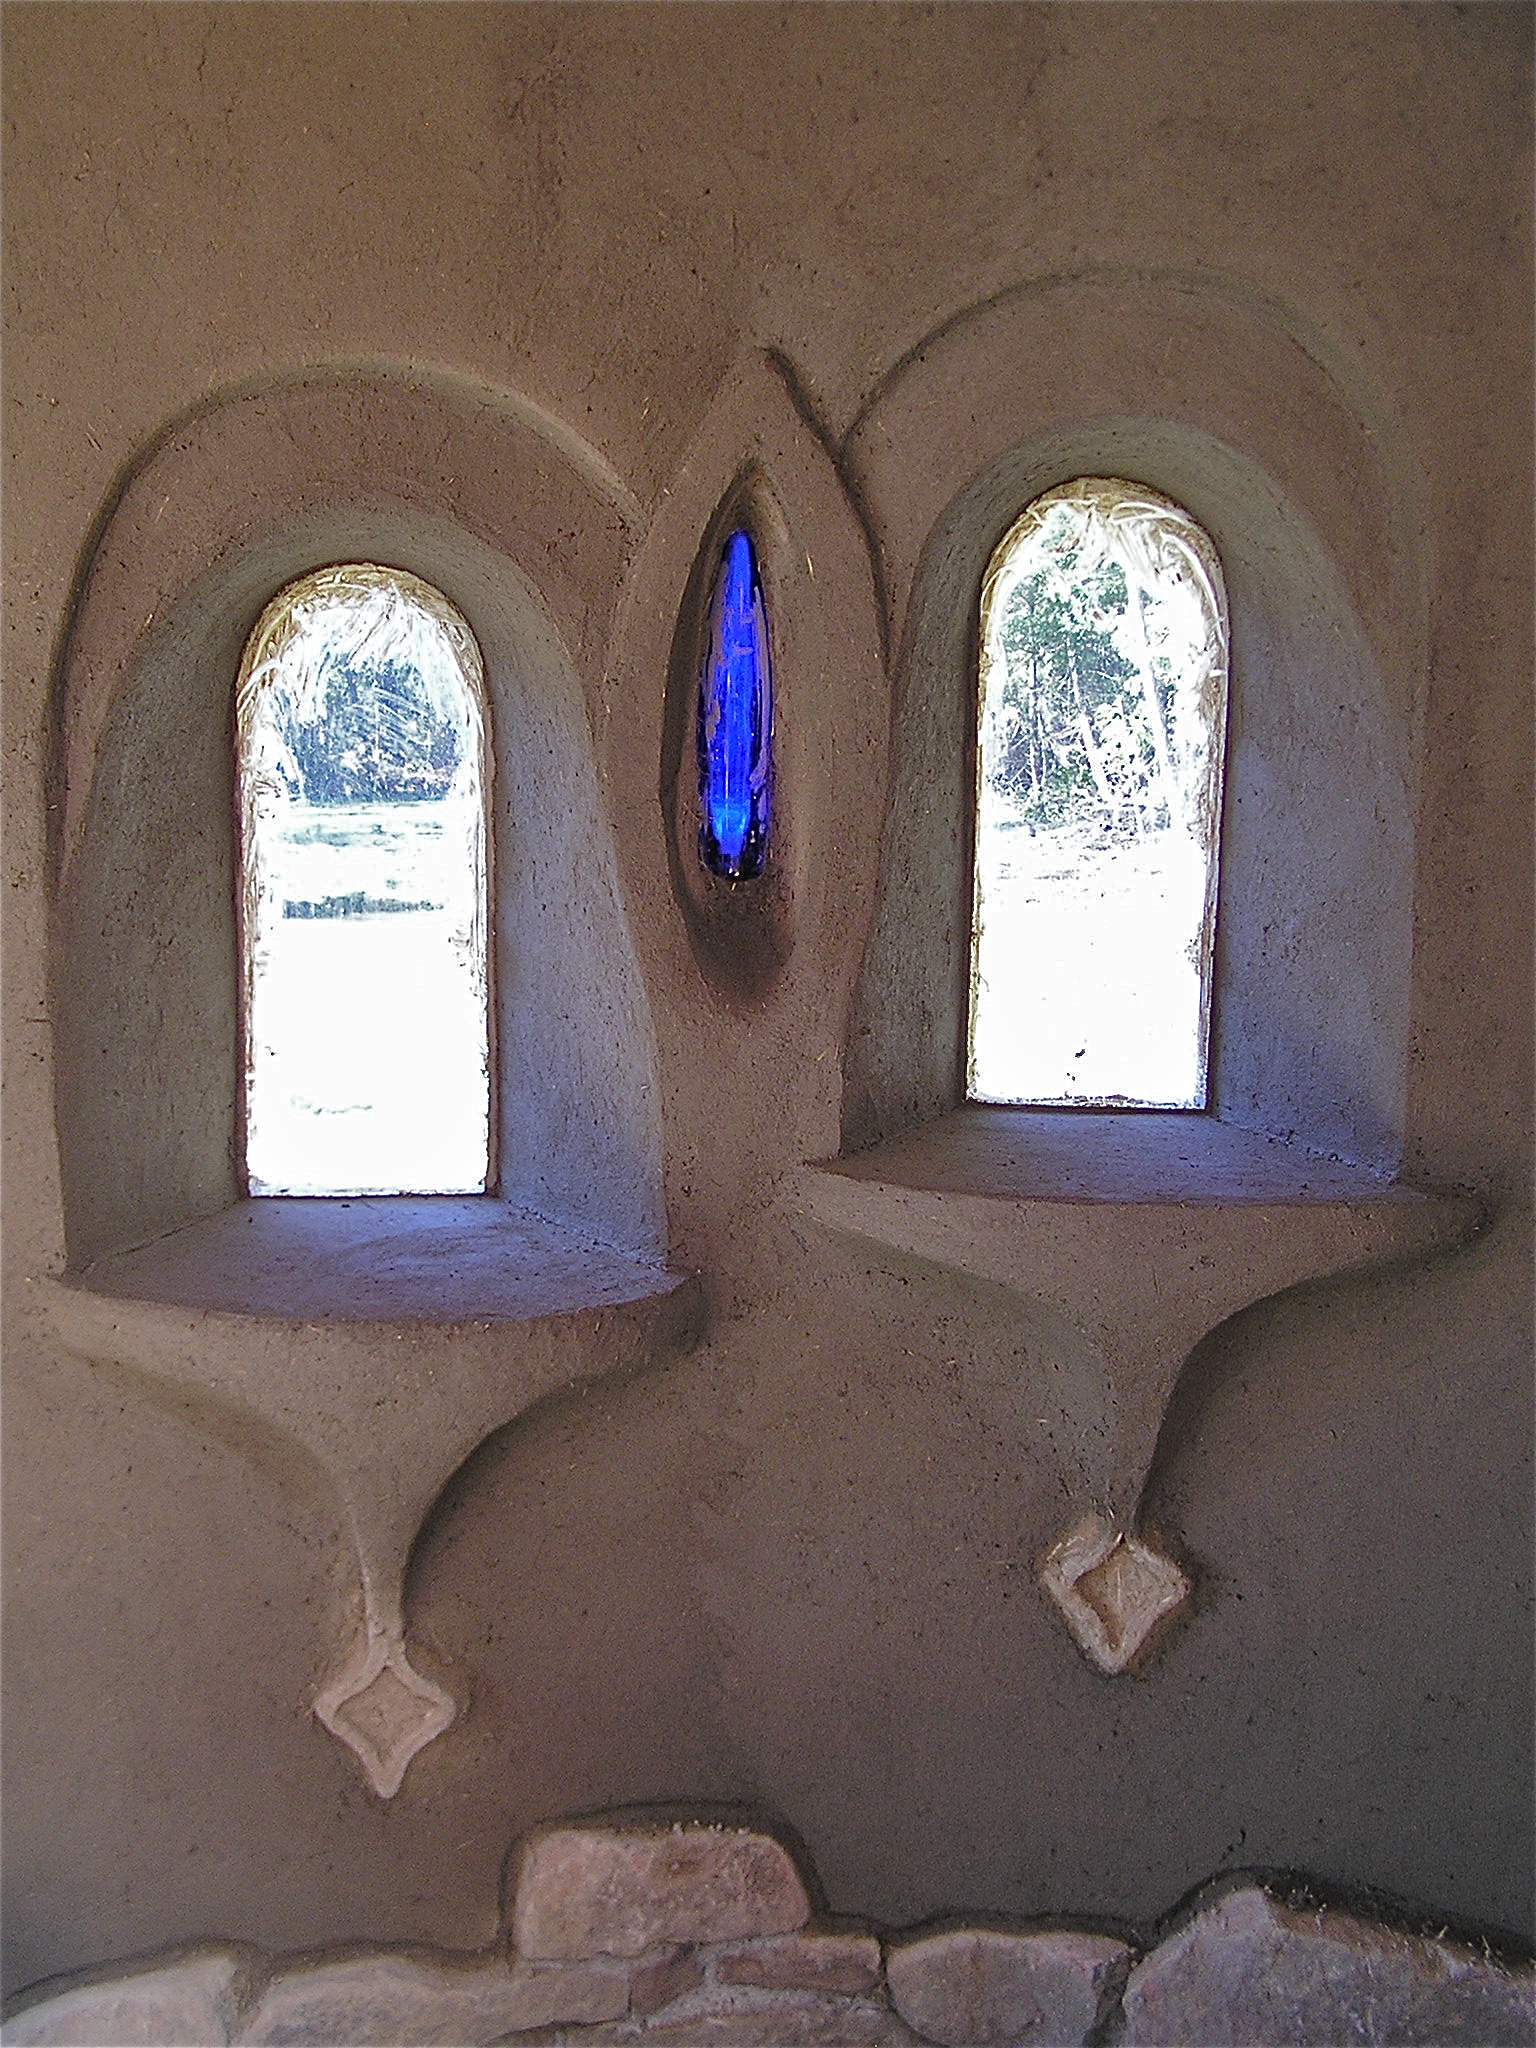
winter sun bouncing off the pond
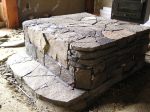
Our three forms of heat are the wood stove, hydronic in-floor heating, and passive solar orientation. The winter sun arches across the sky, sending it’s light and heat into our east and south windows (when it is out!) staying entirely above the top of the trees of the ridge across the valley of which we face. At certain times of the spring and fall, the light of the sun bounces off the pond below us which lights up our ceiling with ripply light- an unplanned bonus! We have an earthen floor in the front room, which noticeably absorbs the warmth and retains it into the evening. The wood stove sits on a two foot tall stone hearth and is backed by a short cob wall, both of which absorb sun heat as well as stove heat.
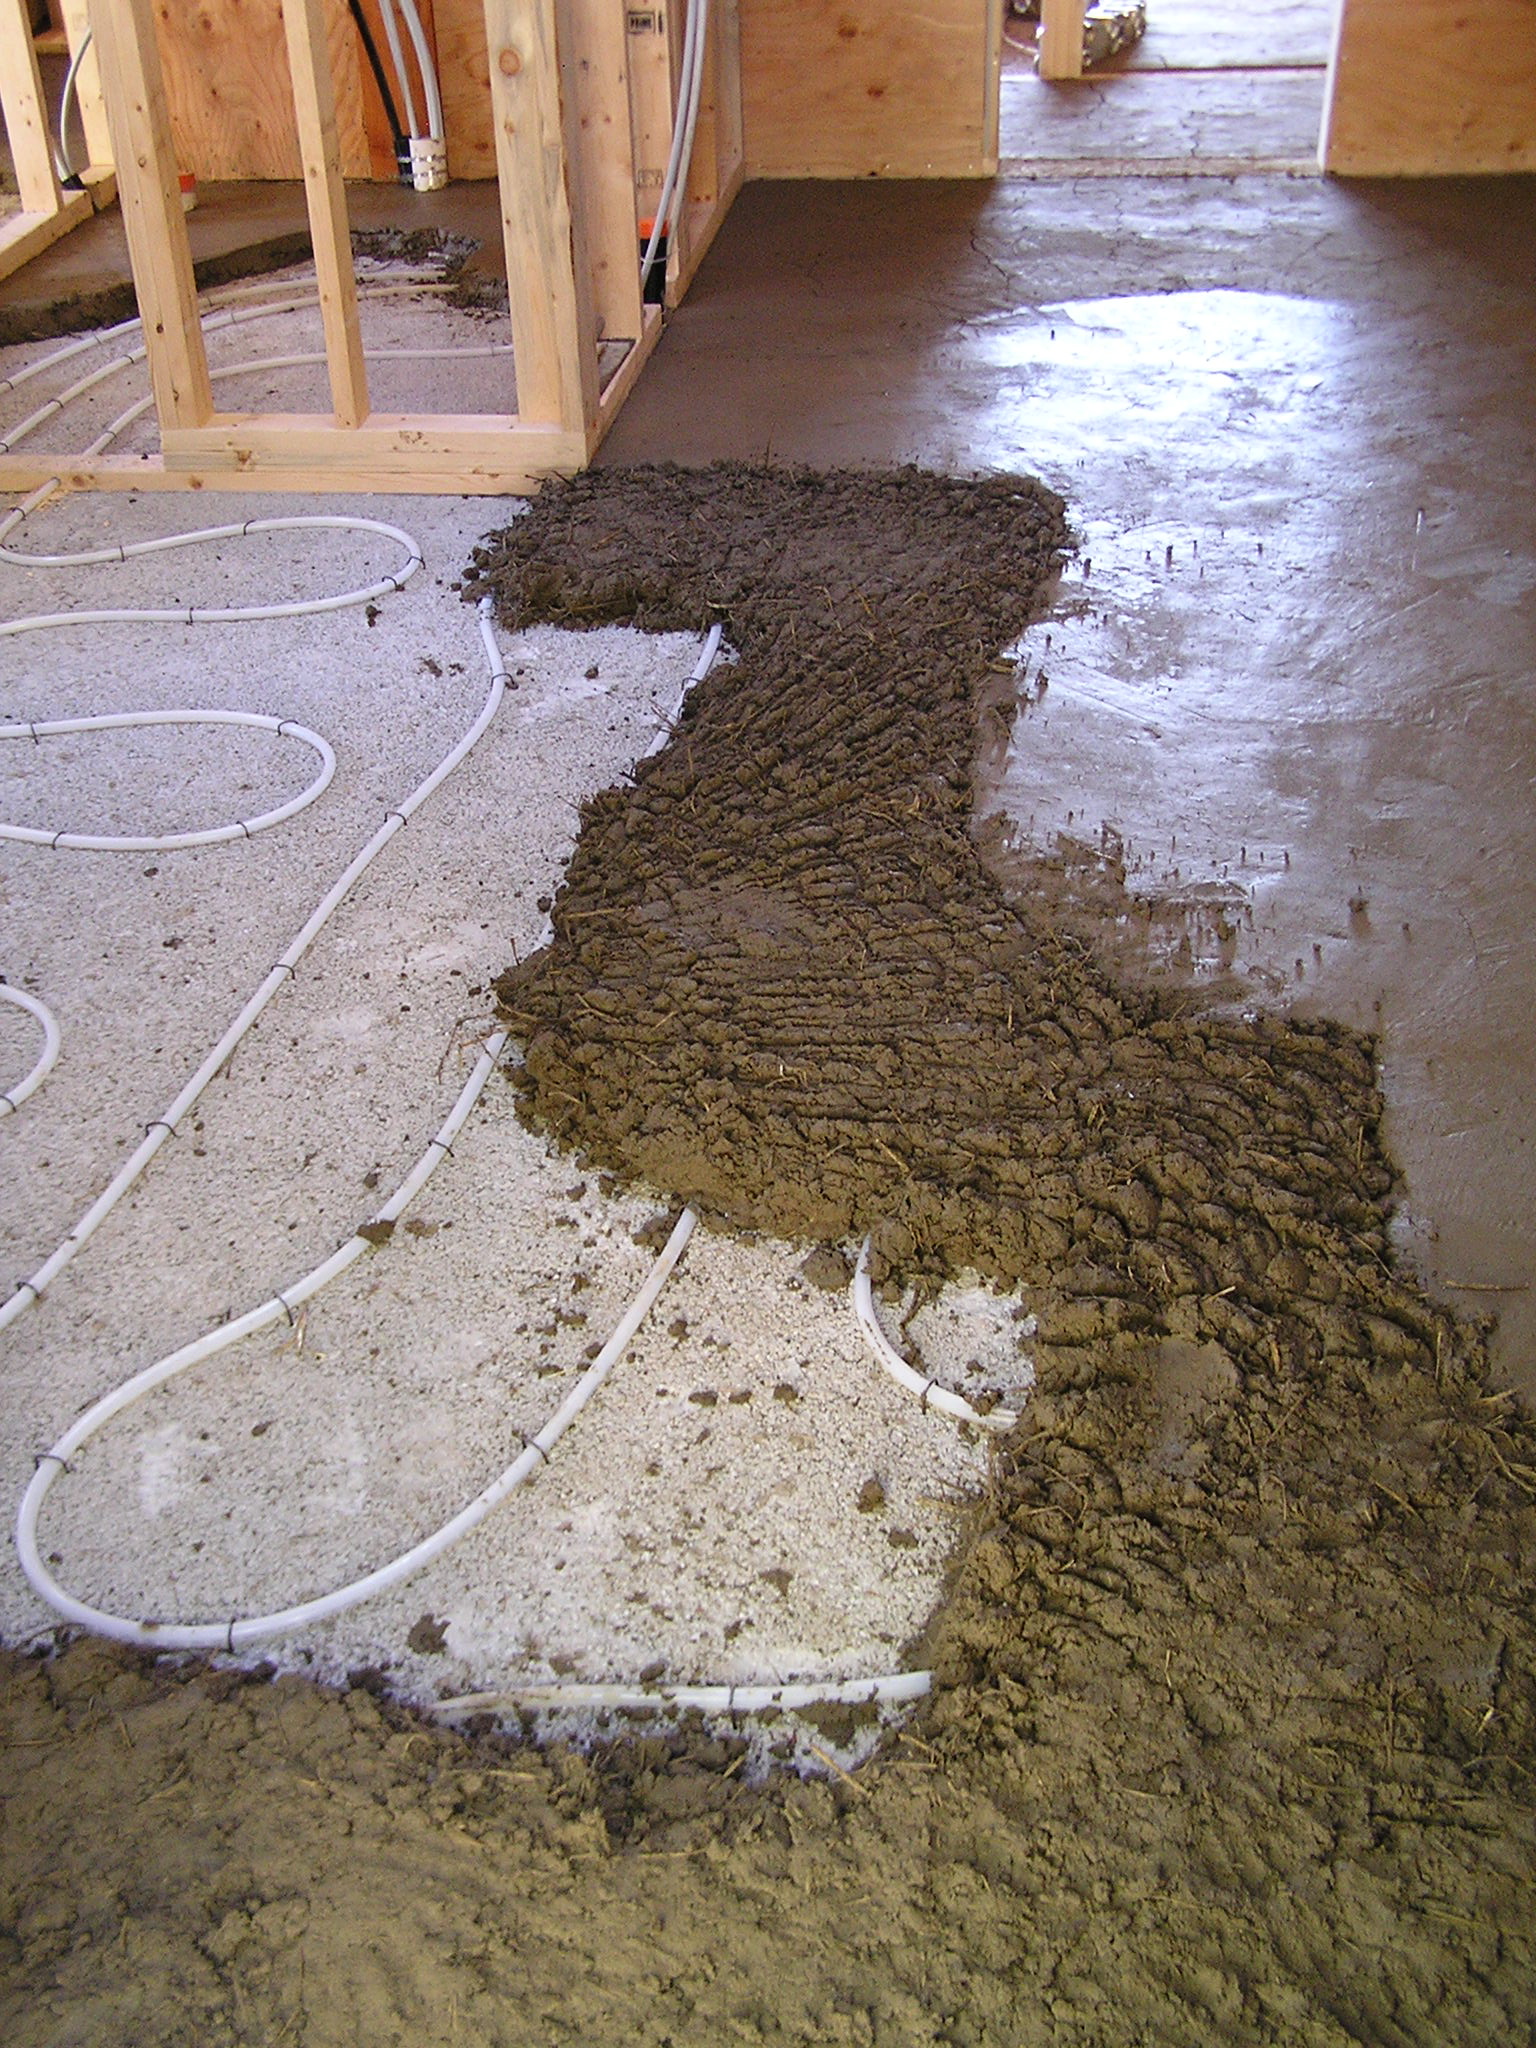
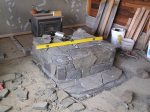
In floor heating tubes covered by 3 inches of cob sub floor mass
Our in-floor heating is divided into two zones, one for the bathroom and north side of the house, and one which circulates the front south room. They are set to come on if the temperatures of the rooms drop below 19 degrees celsius. The front room heating has never come on, and the backroom zone clicks on early in the mornings of the coldest days of winter. The tubes are embedded under 3 inches of cob, which then also retains heat for longer.
We primarily rely on the wood stove for immediate heat. This year we lit our first fire on November 20th, and mostly because we were nostalgic for that first cozy fire. We kept the fire going for about an hour, and then we were too hot. We have found that we really only need to light a fire around four or five o’clock, depending on the temperature outside, and let it die down around nine, otherwise it gets up to 25 degrees!  We have been having a cold spell right now, where temperatures fall towards -2 or -3 degrees at night (oh my!), and then we might light a fire at three in the afternoon. Our evening fires keep the house sitting at 20 until late the next day. Last year, this translated into our using less than half a cord of fire wood in the whole season. We have an older style stove that doesn’t have any of the newer reburning/efficient innovations, and our space is 920 interior square feet.
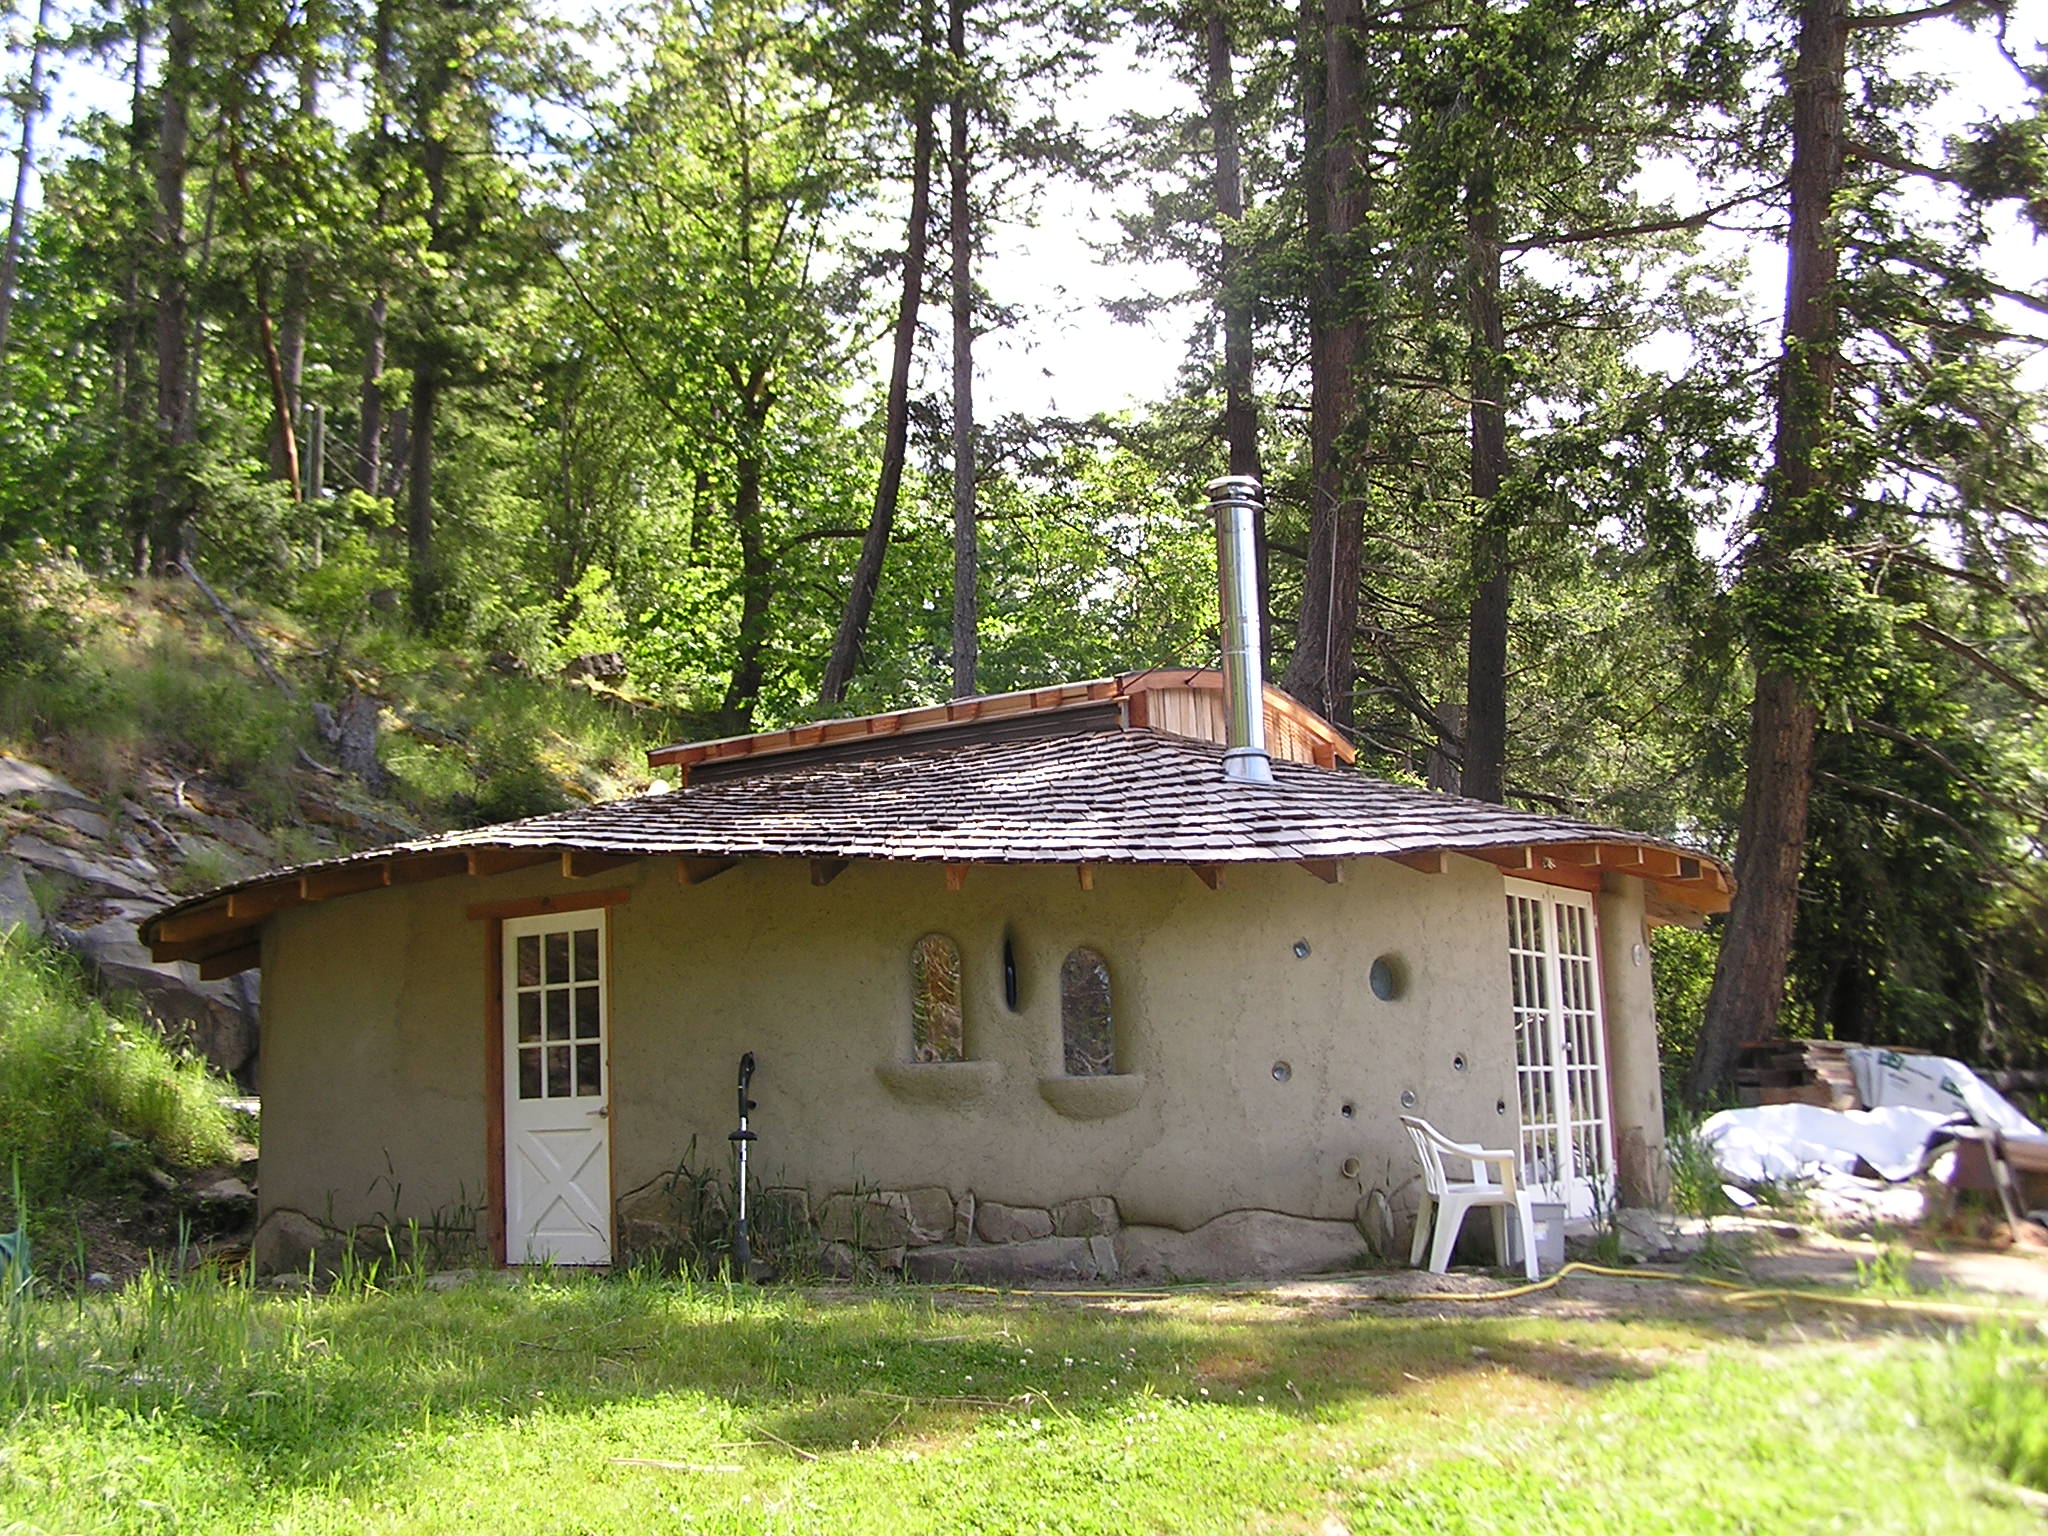
The southerly exposed room of the house is lowered by two steps, (which is where the wood stove is) and so the heat tends to naturally move towards the north side of the house as it attempts to travel upwards. If we leave one window open in the loft of the back room, the heat is pulled even more into that space. Another design feature of the walls themselves are the wrap- around construction – meaning that the bales are continuously wrapped around the outside of the timber frame, leaving no thermal breaks except where there are doors and windows. We used double pane thermal glass with argon gas and a low-E squared coating.
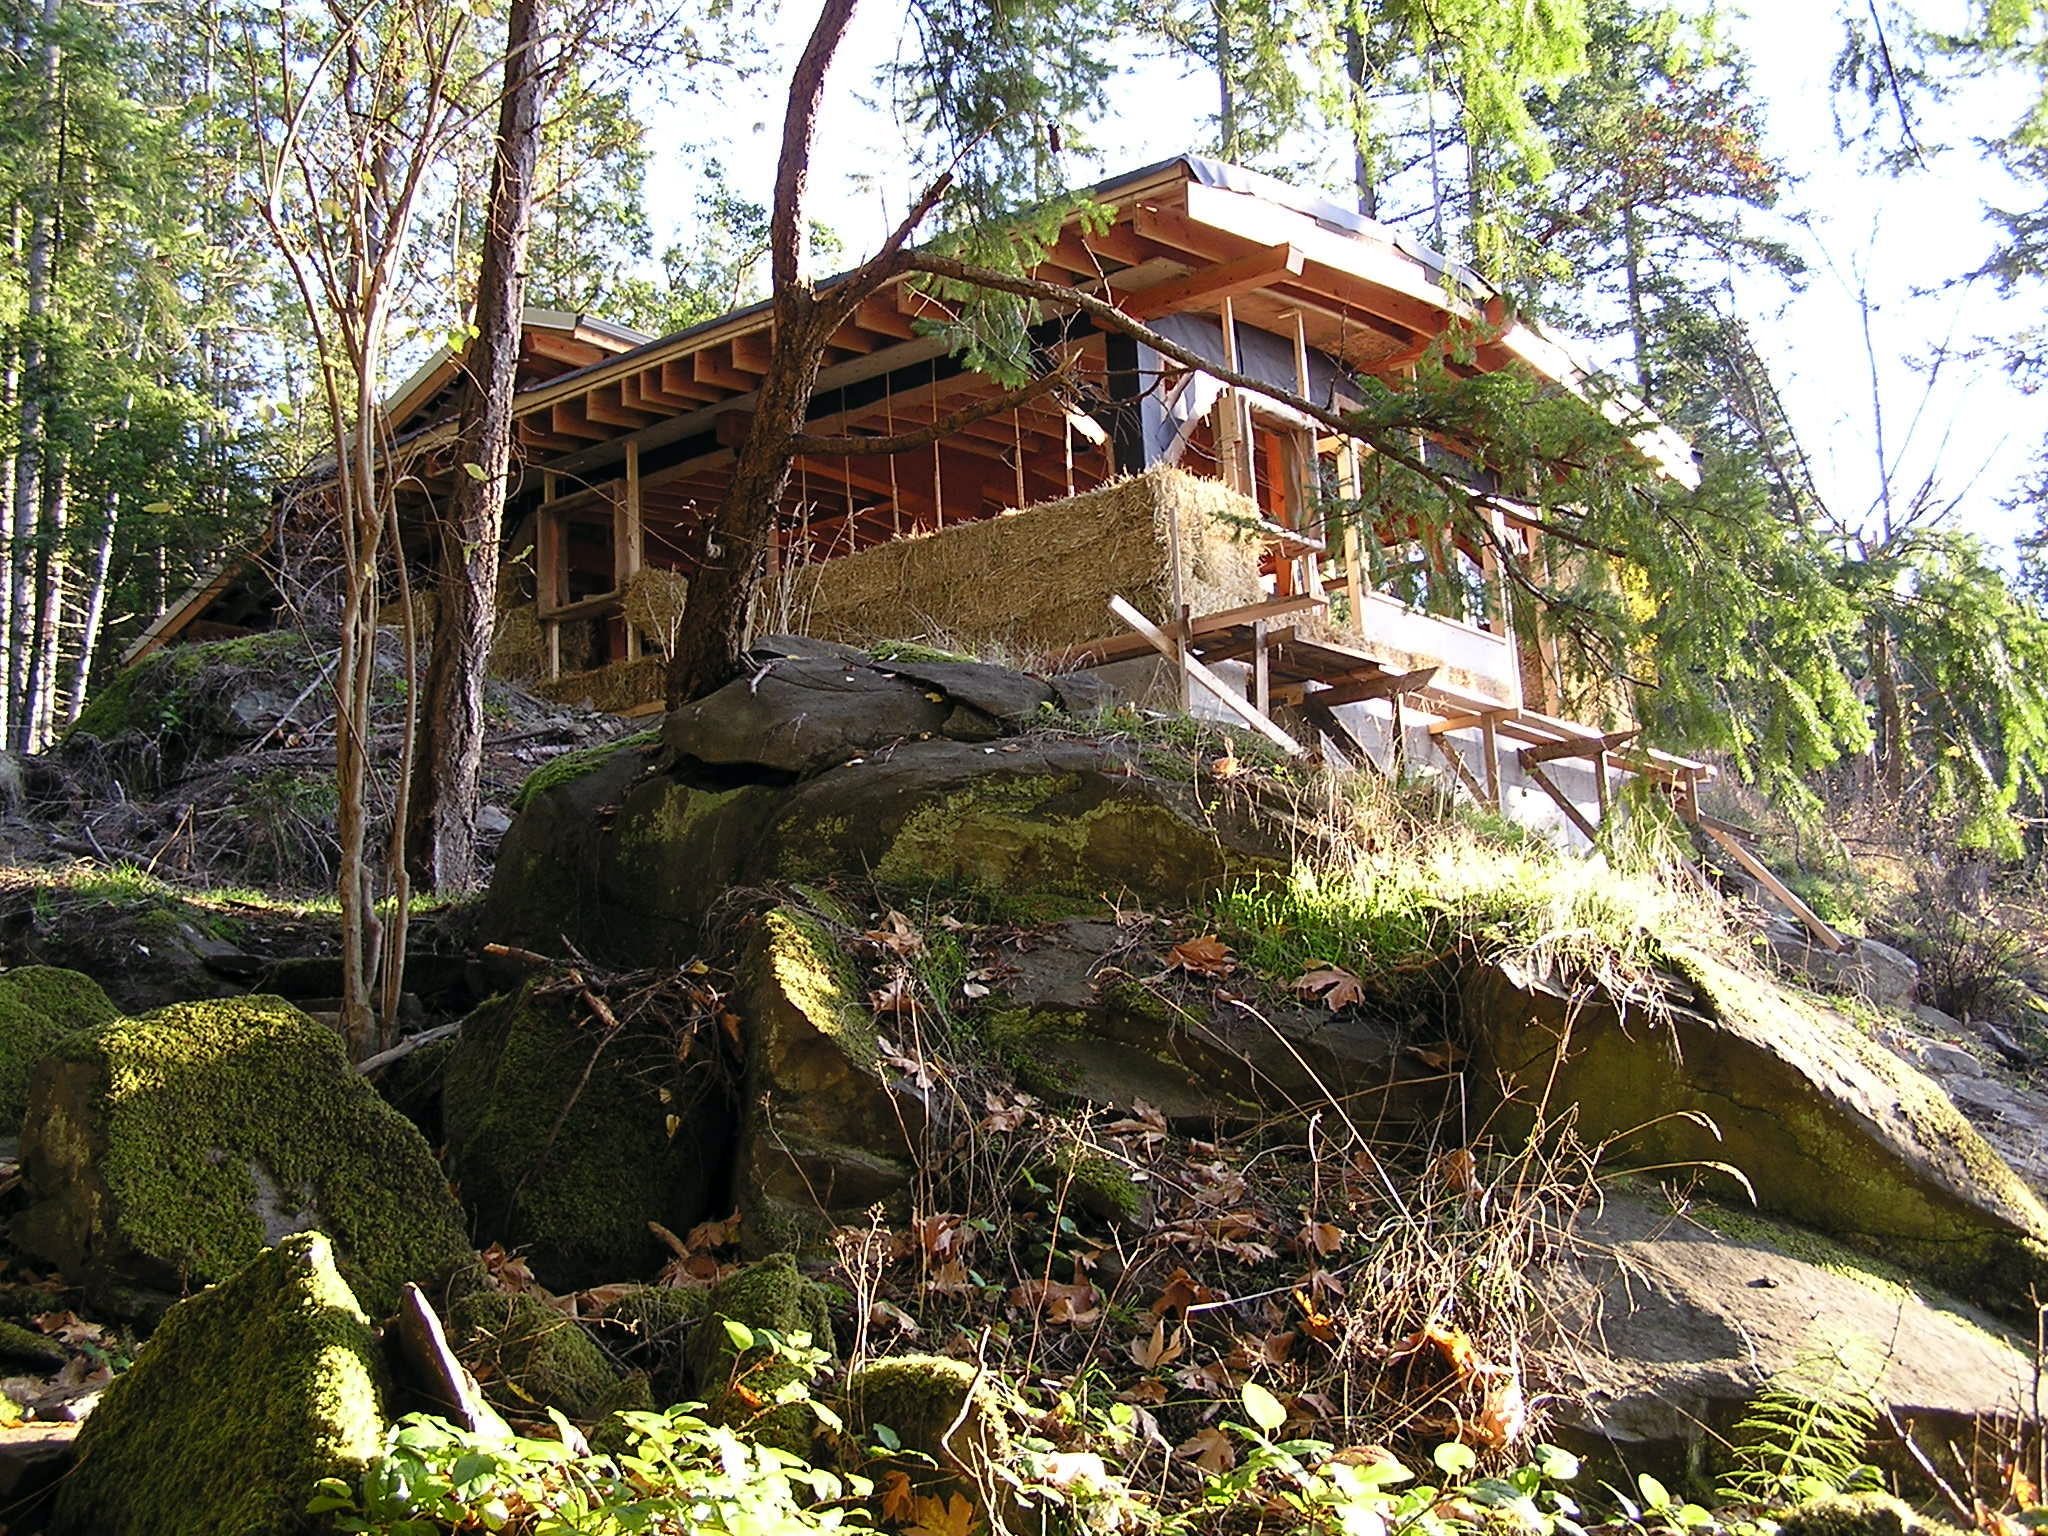
south and west side- wrapping bales, sun exposure, and roof overhang
I love the heat that a wood stove gives, but I am not excited about the amount of wood and trees that need to be burned. It is not entirely a “clean” way of heating. Eventually we will have three wood stoves on our property – this one, one in the work shop, and one in our addition to this house. Luckily, Colin’s business of crafting furniture from salvaged red cedar means that we have a lot of great kindling and fire wood just from his waste. I am comforted to know that we can potentially heat our spaces for years on just a few dead or cleared trees. We took out a few trees when building the house, and haven’t even started using them. This fall, I chopped almost two cords of wood from those trees, which will potentially be three years of wood. The less wood we go through the better – we even find that turning on the stove to make dinner warms the space efficiently some nights. Certainly, if we have friends over in the evening, lighting a fire usually leads to opening some windows.
Straw bales reportedly have an R value of 30-60. The building code requires that insulation needs to have an R value of 20 in walls. We have experienced this amazingly efficient quality of insulation, in the winter and in the summer, when the inside of the house is cool and refreshing on hot days. With a 3 foot overhang of the roof blocking out the sun’s light in summer and the rain in the winter, I am ever more convinced that straw bales are a fantastic way of providing natural temperature control in any climate.